
















Over at Computex 2017, Cooler Master showed us a bunch of new products and also the new COSMOS C700P – including the successors to both the HAF and COSMOS series, namely the H500P and C700P on Cooler Master’s 25th birthday. Needless to say, I’m excited about both these cases as I’ve been using the HAF932 for almost a decade now, yet I always have a soft spot for the COSMOS series. Then, the new COMSOS C700P came to us – and we gave it a whirl, despite its super heavy build.
Thanks so much to Cooler Master Malaysia for letting us get our grimy fingers on the COMSOS C700P’s sexy curved tempered glass! Show them some love over on their Facebook page! 😀
Without further ado, let’s move on to a lengthy review of this humongous yet beautiful monster of a PC case that is the Cooler Master COSMOS C700P.
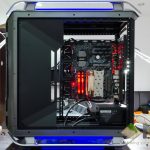
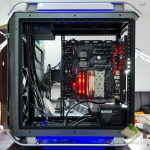
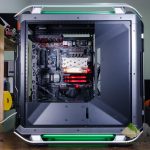
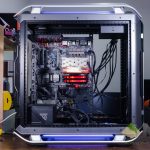
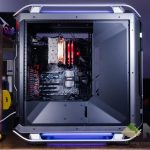
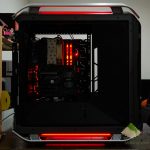
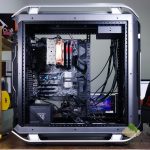
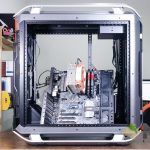
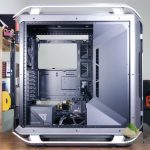
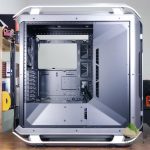
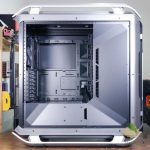
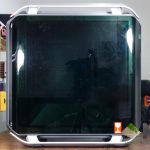
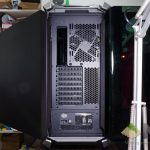
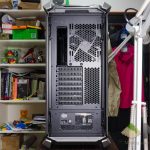
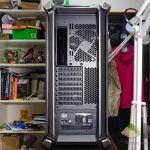
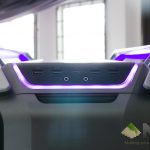
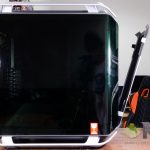
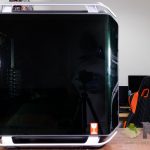
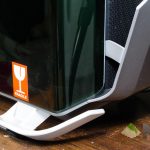
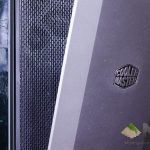
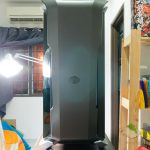
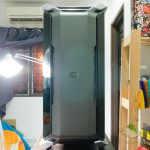
Here’s the gallery of all the pictures we’ve taken for this COSMOS C700P review. There are a lot of images – so take your time.
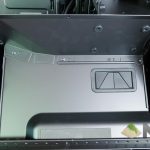
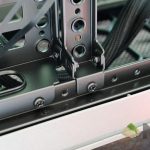
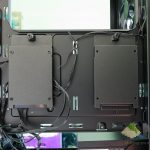
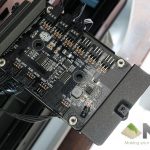
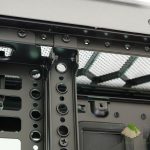
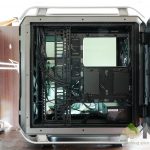
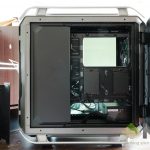
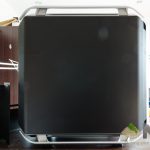
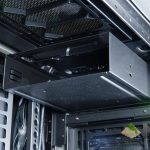
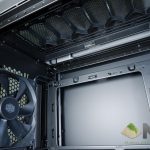
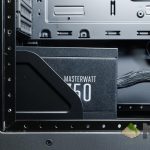
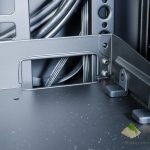
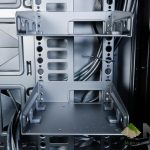
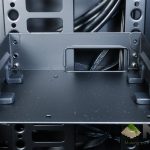
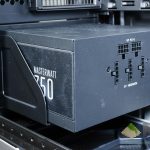
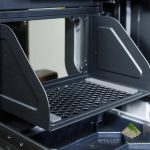


Unboxing
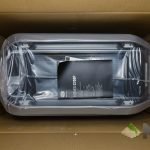
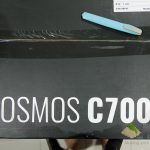
We all start from the box itself. It’s humongous, seriously. Transporting this whole thing is a problem. The box itself does look magnificent though – purple and black with white texts. Pretty much in line with their current design language.

With that said, the box doesn’t really have any place to hold other than the two sides. The width of this box, however, quite daunting – as this case will definitely require two people to carry.

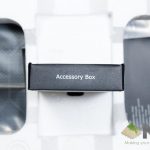
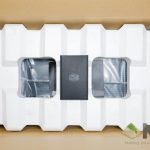
Opening the top of the box reveals a box with the Cooler Master logo on it. It’s seated snugly on the piece of styrofoam, too.
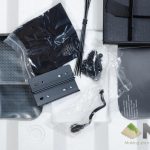
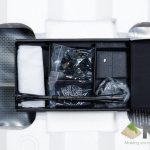
This black box is actually the accessory box, and it’s quite weighty as well. Opening up the accessory box reveals quite a lot of things inside – a microfiber cloth with the Cooler Master logo on it, a bunch of zip ties, an RGB header, a pack of screws (wish Cooler Master would separate by types of screws like Sharkoon did for their BW9000-W), and two pieces of steel for 2-bay ODD or function panel bracket.
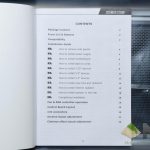
Removing the extra thick layer of foam reveals the user manual that has the warranty information card in it.

The user manual itself isn’t really that detailed or helpful, as there are many parts of the case that just aren’t explained properly. Instructions to rotate the motherboard orientation on the COSMOS C700P is rather simplistic, in my opinion.
[nextpage title=”Design”]
So here goes – let’s start off with how we unboxed and how we look around the entire case from thereon.
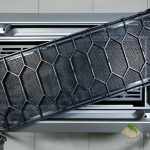
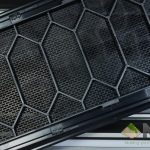
At the bottom of the case we can see a removable mesh filter that can be pulled out from the front. This removable mesh piece covers the entire length of the case, all the way until the power supply itself.
You can technically mount up to 2 more 140mm fans at the bottom, but that’ll require an additional accessory.

The iconic Cooler Master COSMOS C700P’s design is reminiscent of the original COSMOS series. The two sets of handlebars are still there at the top and bottom, albeit they’re flatter than before now.
And oh – the entire top panel is removable, giving total complete access to the removable fan bracket.

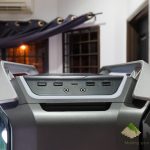
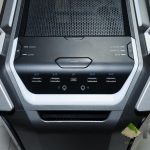
Looking at the top front area, there’s a fan speed controller to have the fans to run in either run in high speed or low speed mode. There’s also a button to control the RGB lighting, as there is a built-in RGB controller board in the case itself. Then, there’s another huge power button around the edge, and the tiny reset button is placed on the opposite side. These buttons are tactile, and I absolutely love pressing them.
As for the I/O, Cooler Master ditches USB 2.0 entirely and opted for 4x USB 3.0 ports and a single USB 3.1 port, alongside with the usual headphone and microphone jack.
At the front, we see a plate that covers the entire front of the case. It has a Cooler Master logo at the center, too. This plate can be removed by pulling it away from the case at the top, and then lifting it off the case.
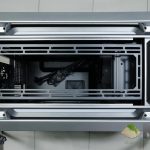
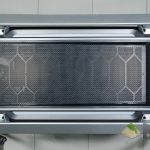
That will reveal the front mesh panel, which actually has a removable plate for the ODD… if you have one, that is. The only gaps that allow air to flow in is the two slits at the side of the front face plate.
At the back, it’s the usual story – as the power supply is mounted at the bottom and a 120mm or 140mm fan mount that can be moved up and down. So far, I’ve only seen cases from Cooler Master that has adjustable height for its rear fans.
As for the two side panels, Cooler Master opted for a curved tempered glass side panel on the left side and a solid sheet of matte gunmetal grey metal on the other side. They are interchangeable too, thanks to its modularity.
Which leads us nicely into the next section…
[nextpage title=”Specifications and features”]
The COSMOS C700P is filled with features all over the place, but first, we have to go through the list of specs of the COSMOS C700P, as it is indeed one of the most complex case out in the market today.
Of course, the specs sheet doesn’t tell the entire story about the COSMOS C700P, so we’ll go in detail on what it is truly capable of.
| Product Name | COSMOS C700P | |
| Available Color | Gun Metal / Black | |
| Materials | Outlook | Aluminum, Steel, Plastic |
| Body | Steel | |
| Side Panel | Tempered Glass, Steel | |
| Dimensions (LxWxH) | 639 x 306 x 651mm | |
| Weight | 22.2 kg | |
| Motherboard Support | Mini-ITX, Micro-ATX, ATX, E-ATX (Support 12″ x 11″) | |
| Expansion Slots | 8 | |
| Drive Bays | 5.25″ | 1 |
| 2.5″/3.5″ HDD | 2 | |
| 2.5″ SSD | 2 | |
| Drive Bays support | 5.25″ | 2 |
| 2.5″/3.5″ HDD | 8 or 9 (with ODD bay removed) | |
| 2.5″ SSD | 2 | |
| I/O Port | USB 3.1 Gen 2 Type C x 1, USB 3.0 x 4, Fan Speed & RGB control buttons, Audio In / Out (supports HD Audio) |
|
| Pre-installed Fans | Front | 140mm fan x 2, 1200RPM |
| Rear | 140mm fan x 1, 1200RPM | |
| Fan Support | Top | 120/140mm fan x 3 |
| Bottom* | 120/140mm fan x 2 | |
| Front | 120/140mm fan x 3 | |
| Rear | 120/140mm fan x 1 | |
| Liquid Cooling Support | Top | 120mm, 140mm, 240mm, 280mm, 360mm (requires removal of ODD cage) |
| Bottom* | 120mm, 140mm, 240mm | |
| Front | 120mm, 140mm 240mm, 280mm, 360mm, 420mm (requires removal of ODD cage) | |
| Rear | 120mm, 140mm | |
| Clearances | CPU Cooler | 198mm |
| GPU | 490mm (without 3.5″ HDD cage) 320mm (with 3.5″ HDD cage) |
|
| Power Supply Support | Bottom Mount, ATX PS2 |
|
| Lighting Support | RGB Control Board x 1 (Cycle, Static, M/B modes) to embedded lightings One RGB connection available |
|
| Note | * Required additional cooling bracket | |
Features
The COSMOS C700P has way too many features that we want to highlight, so we’ll have to break it down to individual sections and highlight them one by one.
It’s worth noting that the entire COSMOS C700P can be stripped down to its bare frame by removing all of the screws – and they’re all using the same type of screw. Just keep in mind that it’ll be a mess.

The entire COSMOS C700P is built upon the idea of total modularity, and it’s really up to the user’s creativity on how they want the components to be mounted in the COSMOS C700P.
External features
Let’s just go through the external features first, and by that we mean that we’ll touch the outside first. We’ll strip it down as much as possible.
The side panels come off pretty easily. They’re held onto the case with pegs and hooks system at the back of the case, and swivels the entire panel to the front and secured with magnets. Popping the side panels on and off are quite tricky, as the side panels are large and heavy, yet the 3 pegs will have to be aligned and secured in parallel.

The removable fan bracket at the top can hold up to a triple 120mm or 140mm fans, or up to a 360mm radiator. I presume that you can do push-pull configuration here, given the excessive amount of space between the top of the case and the motherboard tray.
At the front, there are two removable layers – the face plate and a mesh cover. These two layers peel off from the top and then can be lifted up and out effortlessly, revealing the large opening for fan mounts.

You can mount a total of triple 120mm or 140mm fans again, or up to a 420mm radiator. That’ll require you to remove the ODD, though.

The handlebars can be removed too, if you wish to do so. It’s held by screws and they can be easily removed. Just note that you’ll need a screwdriver with a long and thin neck. Else, the screws can’t be reached.
The back plate can be removed with a few screws too, though that requires you to either remove the side panel hinges, or remove the rear 140mm fan first. And yes, those side panel hinges can be removed too.
Internal features
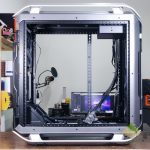
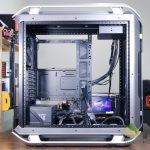
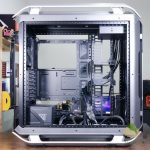
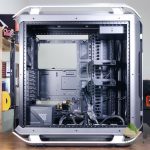
Moving inside the case itself, let’s start off with the left side first. The COSMOS C700P has two covers – one PSU shroud and another hard drive bay shroud. As pictures do speak more than a thousand words in this case, let us take you through a series of pictures on how we strip the COSMOS C700P down.
We removed the left tempered glass side panel, then the right side panel, and then the two shrouds on the left side. This alone requires quite a lot of unscrewing work to be done. Then the shroud on the right side was removed. Eventually, we removed the hard disk bay too. That leaves the motherboard tray alone, which we also removed.

The motherboard tray is removed in an unorthodoxed way, which is through unscrewing everything and lifting it off the pegs and hooks, then taking it out of the COSMOS C700P itself. It’s a tedious job, and the user manual is definitely did not specify some of the hooks and pegs system.
Rotating motherboard tray
After wrestling the entire motherboard tray out of the COSMOS C700P for the first time, the mechanisms used on the COSMOS C700P will be much clearer. It will then be apparent that Cooler Master is using hooks and pegs system to have all the modular parts latch on each other first before screwing them in to secure the parts.
Cooler Master did advertise the COSMOS C700P as a case with rotatable motherboard tray, and we tried that out too. It’s fairly simple to do once you understand the mechanisms that Cooler Master uses.
The motherboard tray can be rotated in either 90° (chimney layout, motherboard rear I/O facing upwards) or 180° (inverted layout). We tried something funky, as we’ve only rotated the motherboard itself but the power supply remains at the bottom of the COSMOS C700P. Technically, it can be mounted at a 270° with the motherboard rear I/O facing downwards too, but we’ve yet to test that.
Mounting the motherboard in chimney layout will require another piece to replace the rear panel, so that cables can come out from above.
There is one thing I want to highlight – the front I/O connectors might have issues reaching the motherboard – especially the front panel audio jacks.
[nextpage title=”Building experience”]
As I’ve said earlier, this case is not a conventional case and many of the parts can be removed. While this is true, it’s also worth highlighting again that the user manual doesn’t do the COSMOS C700P any justice. Illustrations on the user manual do not convey enough information.

Removing the parts from the case itself is a painful process at first, since I do not understand how the mechanisms work. Just make sure you have a magnetic bowl handy when you’re working with the COSMOS C700P – there will be lots of screws to keep track!
When I was dismantling it for the first time, I had to look at the user manual countless times. And yes, it doesn’t help – so I ventured in with whatever knowledge I had acquired from the manual.

It took me quite some time to dismantle it for the first time, but once I had done it once, I understood how the mechanisms work. It’s pretty much just hooks and pegs all over the place to hold parts together before securing them with screws. Rather interesting choice of locking mechanism, I’d say.
Building in the COSMOS C700P is a breeze thanks to its ample space. The hard disk drive bay has a little cutout for cable connections, too. Once building is complete, cable management is rather simple too. Everything can then be hidden with the cover plates.
Technically, there are a total of 3 dedicated 2.5-inch disk mounts in the COSMOS C700P itself, but one of them is taken up by the RGB+fan controller behind the motherboard tray. That leaves a singular 2.5-inch disk mount at the PSU shroud itself. Or the 2.5-inch disks can be mounted on the HDD disk mounts.
It’s a rather big change to have a whackton of HDD bays to just two 3.5-inch disk mounts and two 2.5-inch disk mounts. I presume Cooler Master will sell more 3.5-inch disk mounts as accessories in the future, but until then – this is what we have to work with.
Also, the COSMOS C700P requires a screwdriver to get anything done with the case. It’s a stark contrast with the COSMOS II, as it was one of those cases that tried to be toolless whenever it can.
For those who places their PC cases on the floor, then the COSMOS C700P will have zero issues with it. There is ample of space within the case itself, so the power supply can definitely breathe without issues.
Once the build is complete, all I can say is that the COSMOS C700P looks absolutely gorgeous. The RGB lighting is soft and of equal brightness throughout the length of the case, yet bright enough to lighten up my entire room.

[nextpage title=”Wrapping up the Cooler Master COSMOS C700P review”]
It’s a very huge case that’s reminiscent of the classical COSMOS’s silhouette but changed its geometries to have a more modern look and feel. Some parts of the COSMOS C700P felt unpolished, like how the plates are placed in and out of the case will cause scratches to the frame itself. While I do understand that screwing in the parts is the most secure, I do wish to see a little more toollessness for certain components like the hard disk.
The RGB lighting is done perfectly as the built-in RGB controller can communicate with modern motherboard’s RGB headers without issue. Though, it is a 4-pin RGB controller instead of the more advanced RGBW.

For the price of RM1,350, it’s a truly premium-priced case indeed. It’s meant for a niche market that seeks modularity, expandability, and sleek futuristic looks.
From what we know, Cooler Master Malaysia is bringing in the accessories early 2018 – so for those who want to try out the fancy 90° rotated motherboard layout or just want to install more than two 3.5-inch hard disks, then you’ll have to wait.
- Pros
- Ample of space to work with
- Build with modularity in mind, and it shows
- Can rotate motherboard to 90° or 180° layout
- Great expandability with accessories
- Cons
- Horrible user manual
- Lots of screws
Like our Facebook Page here at NasiLemakTech.com for more news and in-depth reviews! Also, join our Facebook Group for insightful information and memes!
Subscribe to our YouTube channel too!