










Over the past decade, 3D printers have gotten really affordable and accessible to everyone. Now, even laser engravers are affordable yet portable too. This is the xTool F2, a dual-laser engraver that can literally be hand-carried and used on many materials that we have on hand.
Important notice
We’re dealing with Class 4 lasers, which is hazardous. Safety and precaution are paramount, so always use the appropriate safety goggles and never leave the machine unattended under any circumstances. No exceptions!
For the case of the xTool F2, we have a blue laser diode which is visible to the human eye, but the IR laser is totally invisible. Even if we can’t see it, the laser will still damage our eyes.
Also, since the xTool F2 has two different lasers, the safety goggles have to protect against both 455nm and 1064nm laser beams, as said in the user manual.
Unboxing
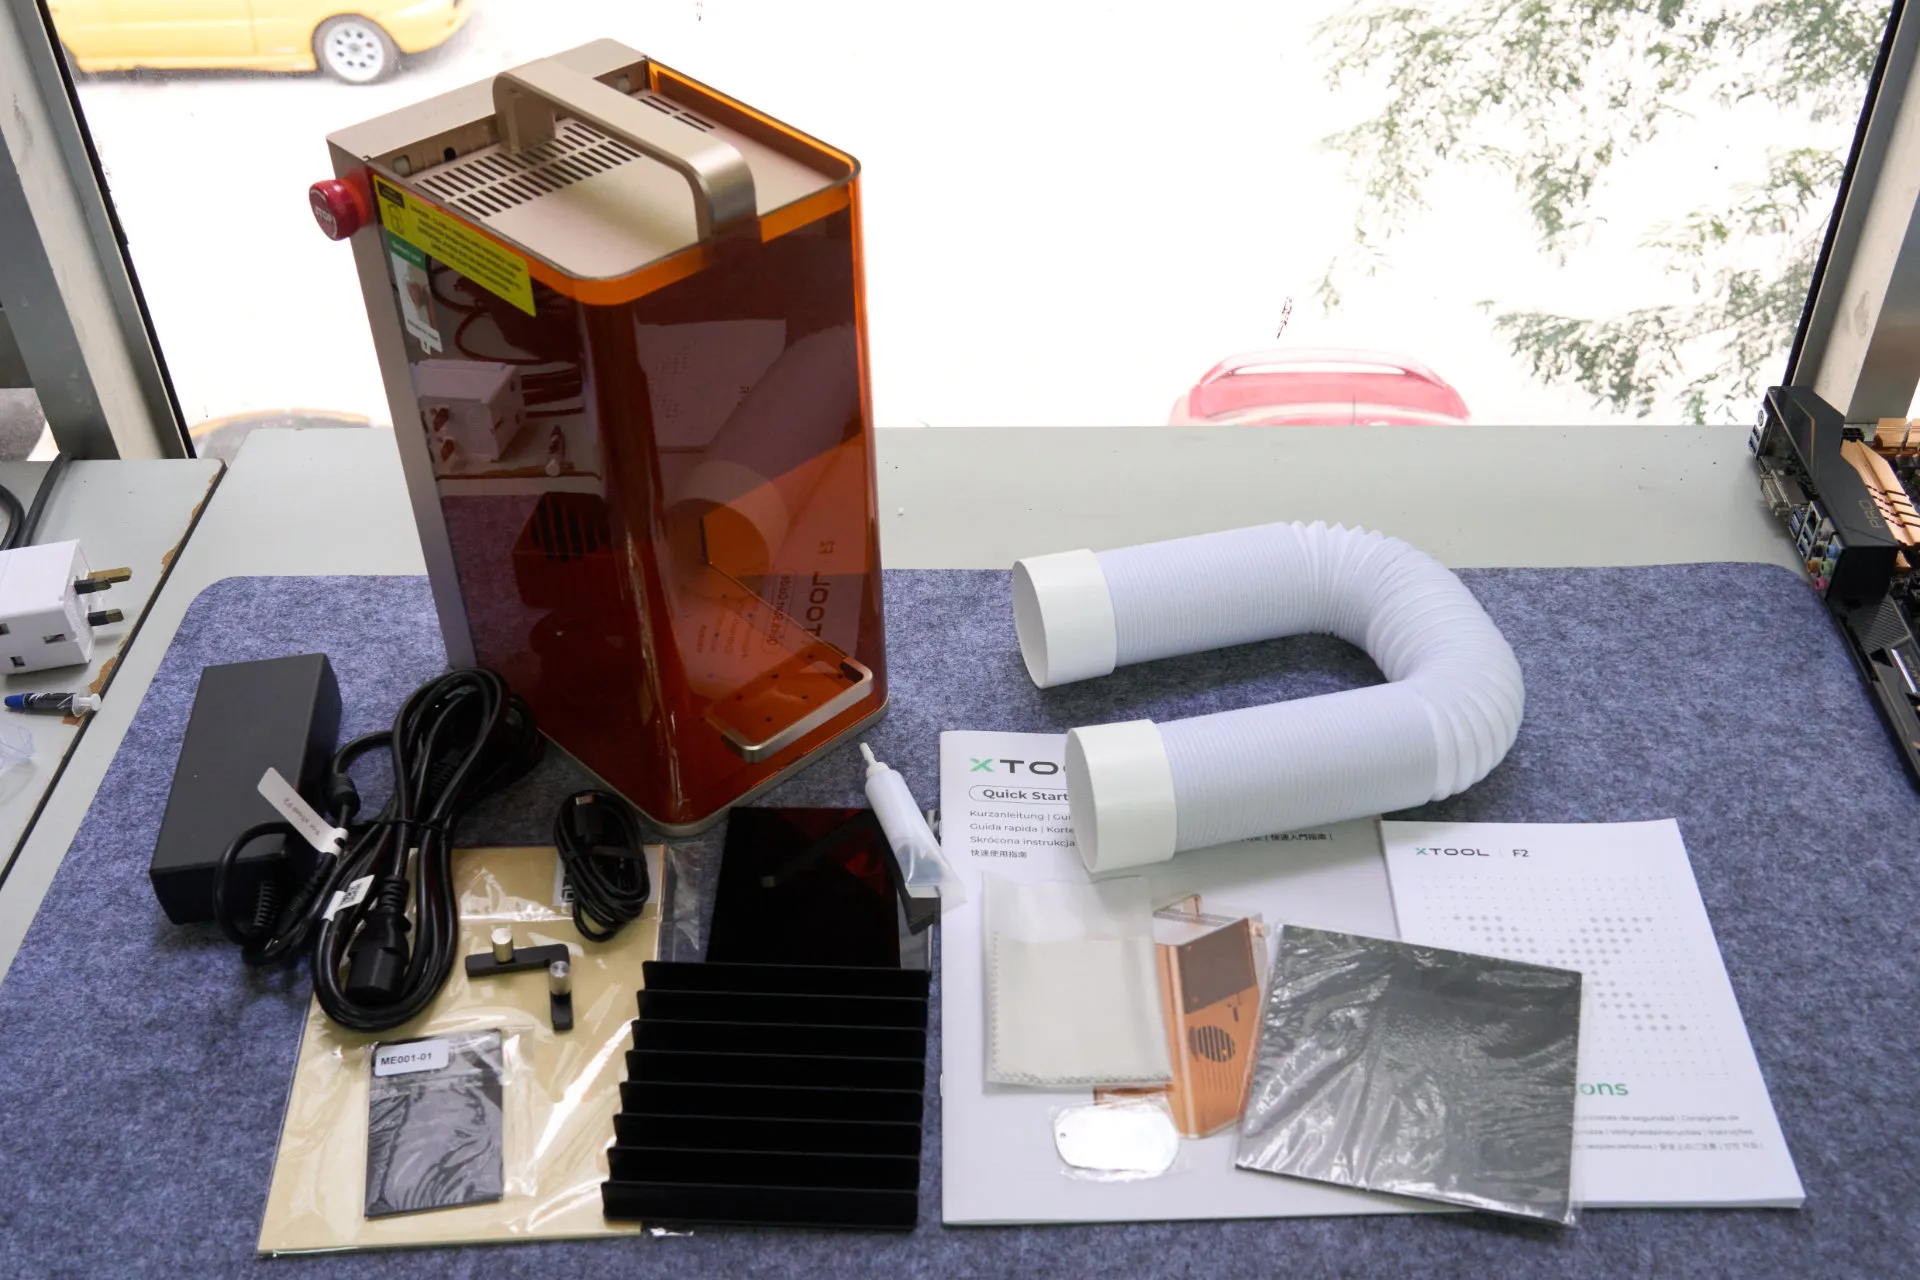
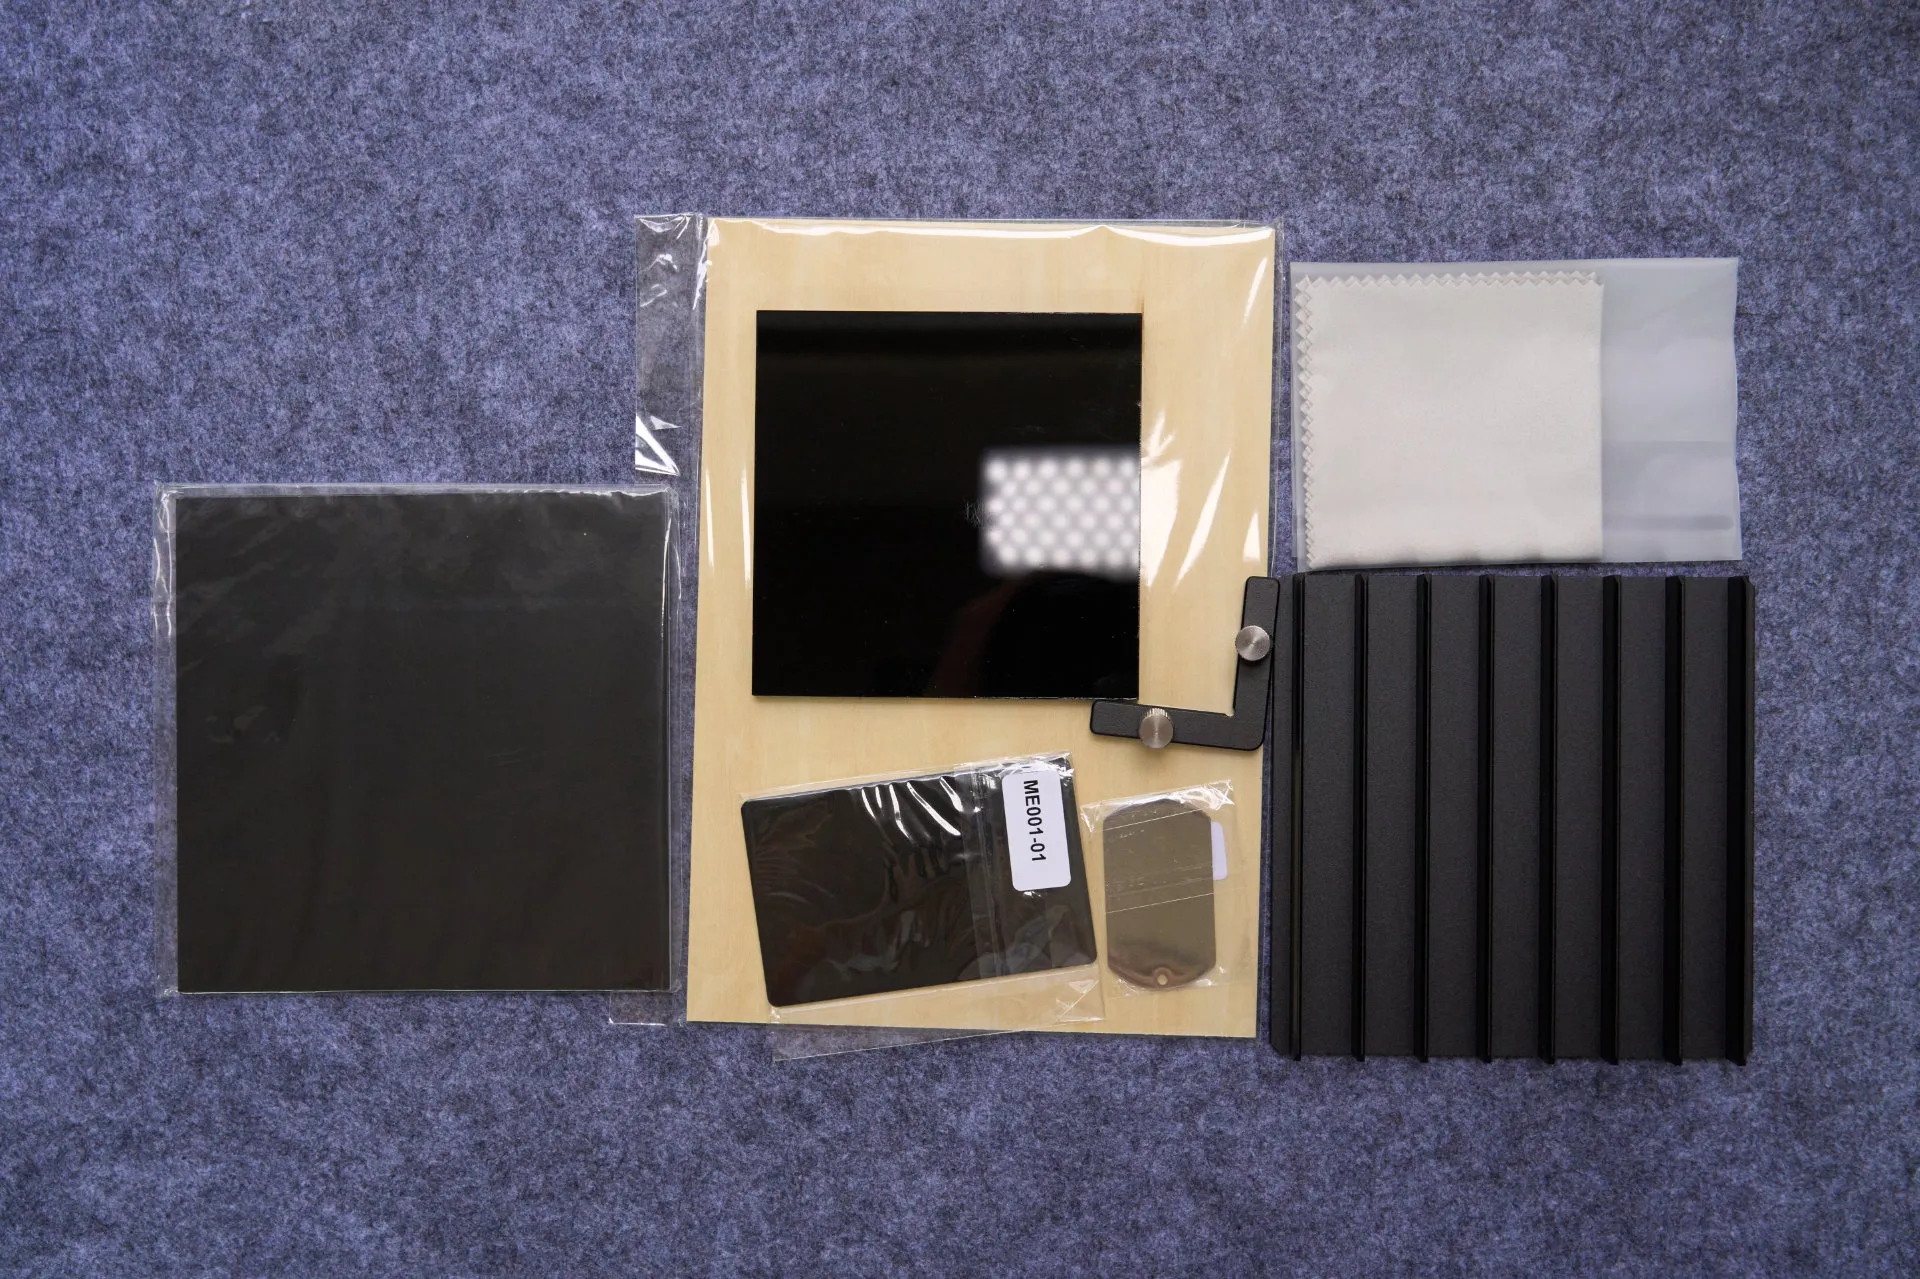
The unboxing is pretty simple. We have all of these items in the box to get started, but do take note that there are no safety goggles provided and it is sold separately. We have to get one ourselves. In the box, we also have a variety of sample materials to learn how to use the xTool F2 too.
The entire setup process is actually quite straightforward. In my case, I highly suggest reading the user manual thoroughly to ensure the device is operating properly.
The device itself
The laser engraver is very sleek in its design. It’s in a bright orange color that I actually like, and the xTool logo shines through it.
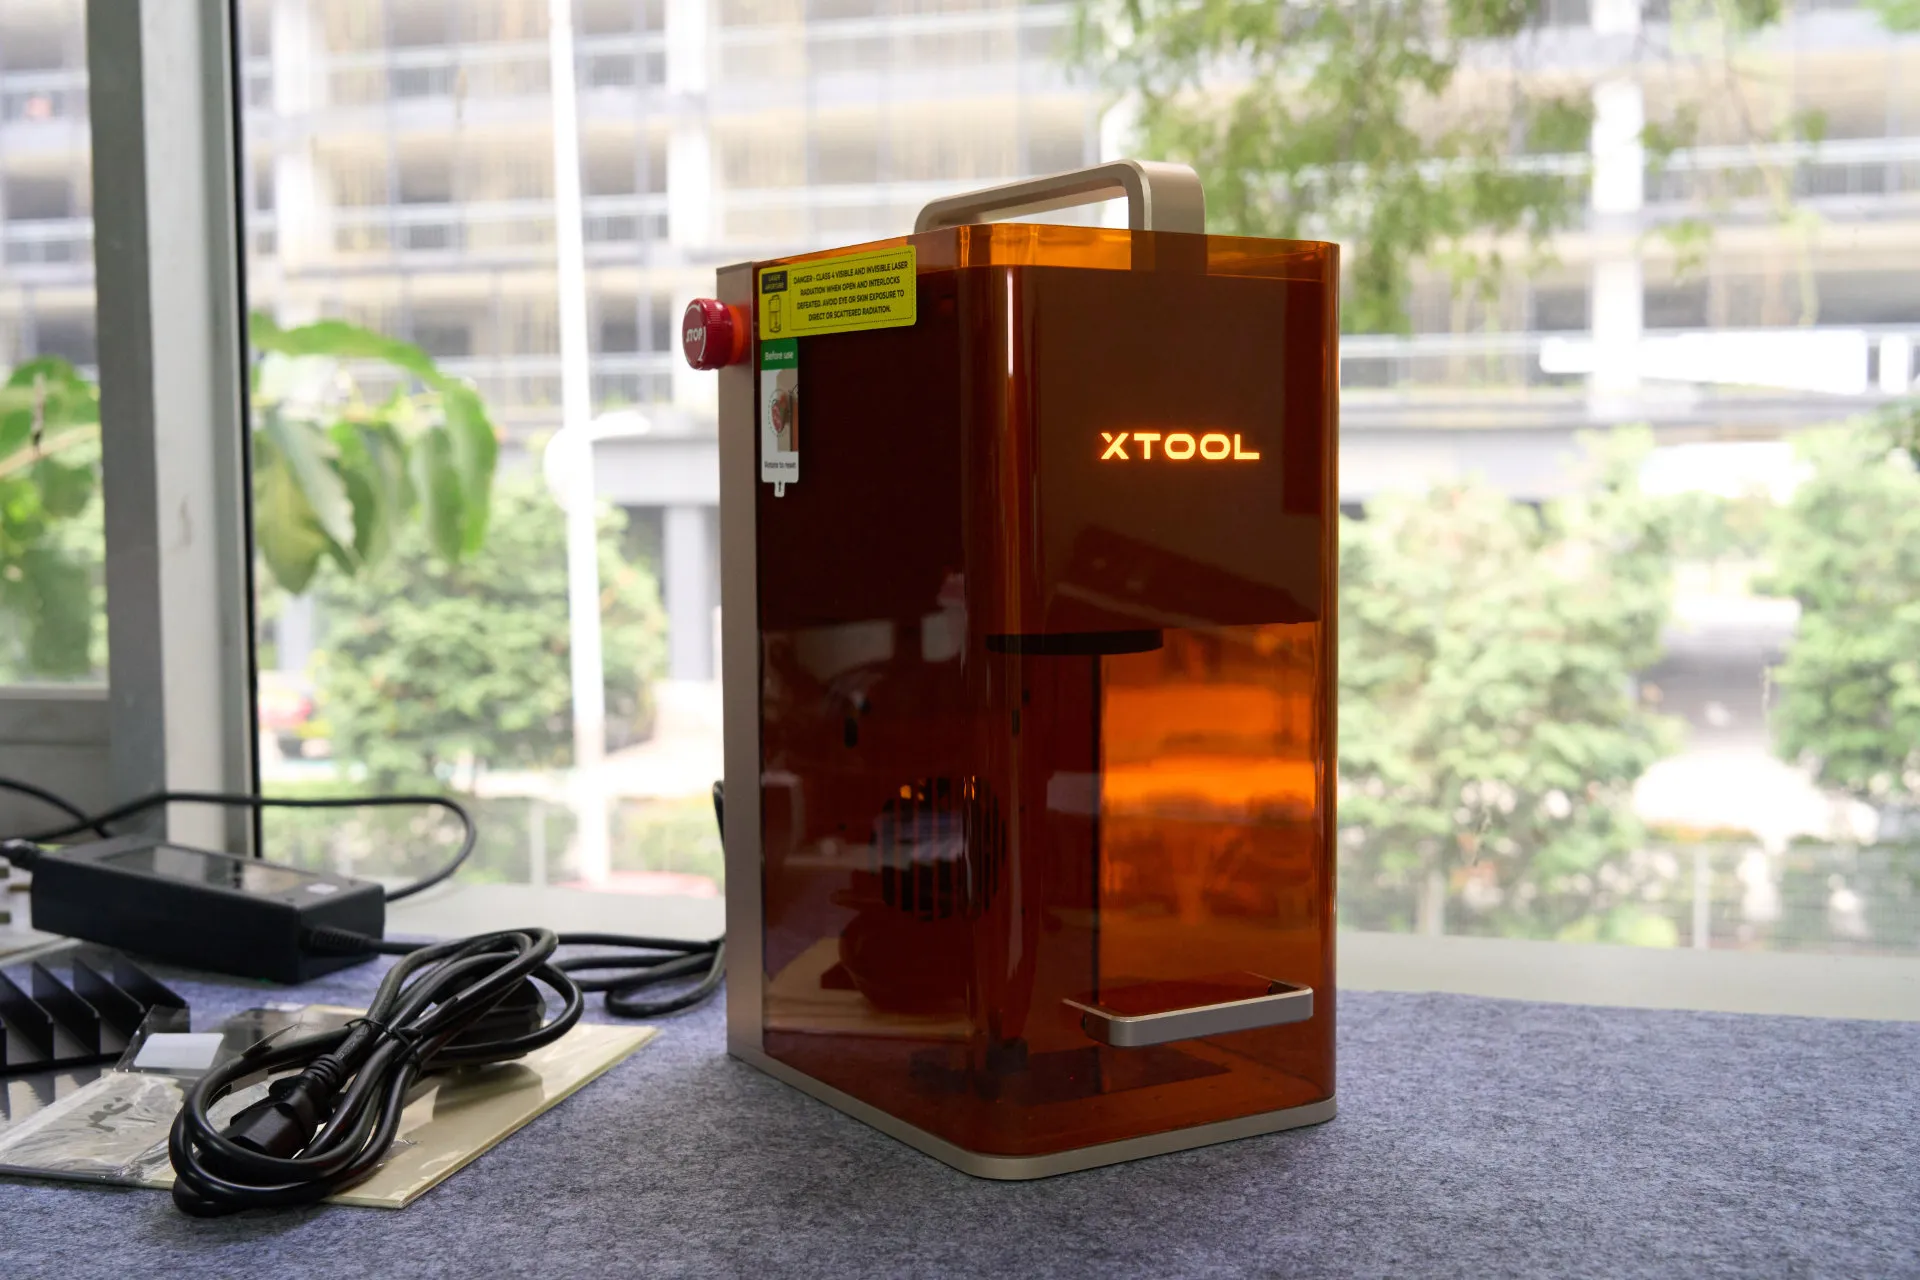
That entire orange cover slides up and down, so we can load in our materials and close the back to prevent hazardous lasers from leaking through. Yes, Class 4 lasers are dangerous even if they’re indirectly entering our eyes.
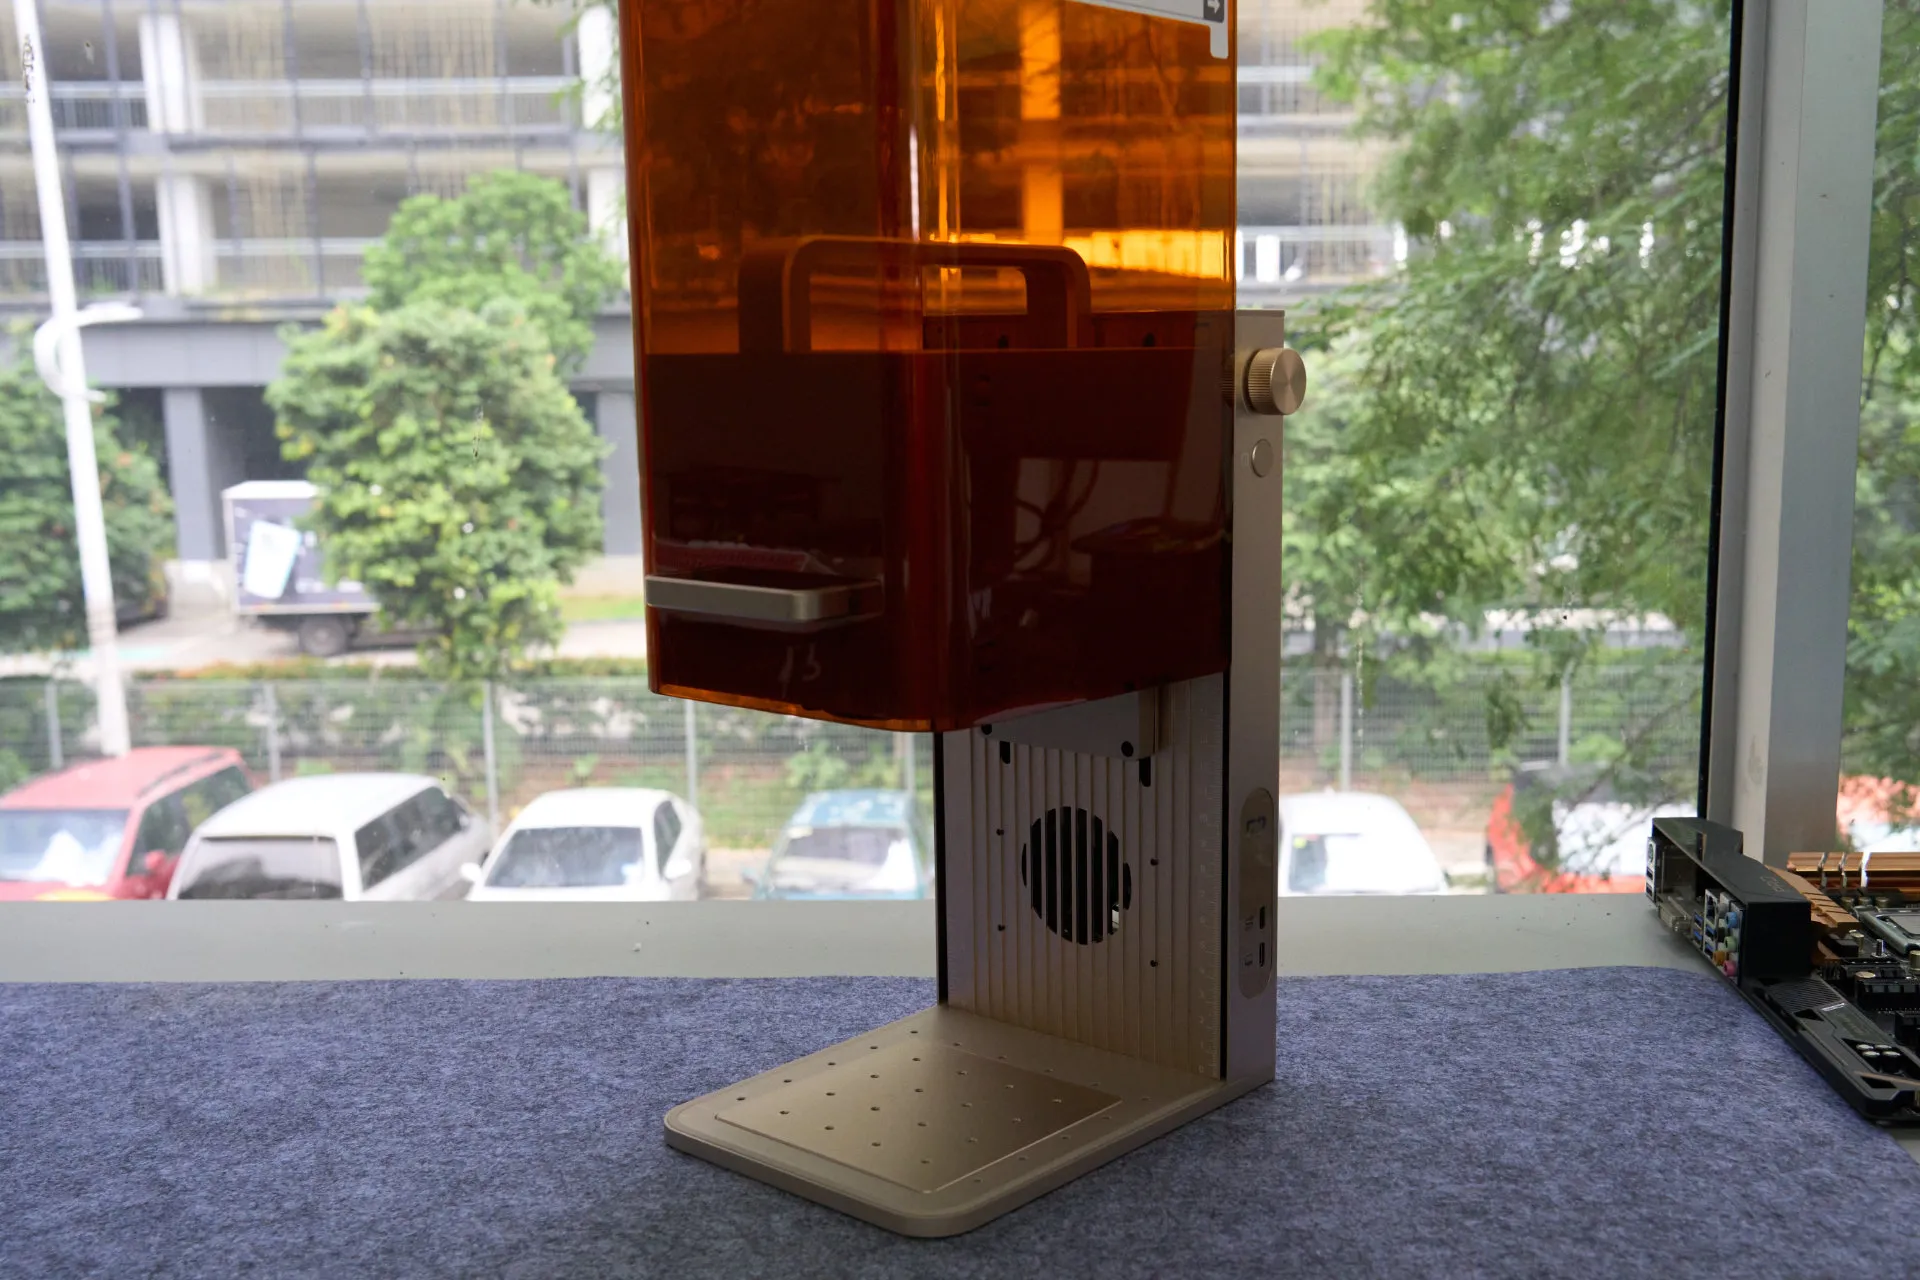
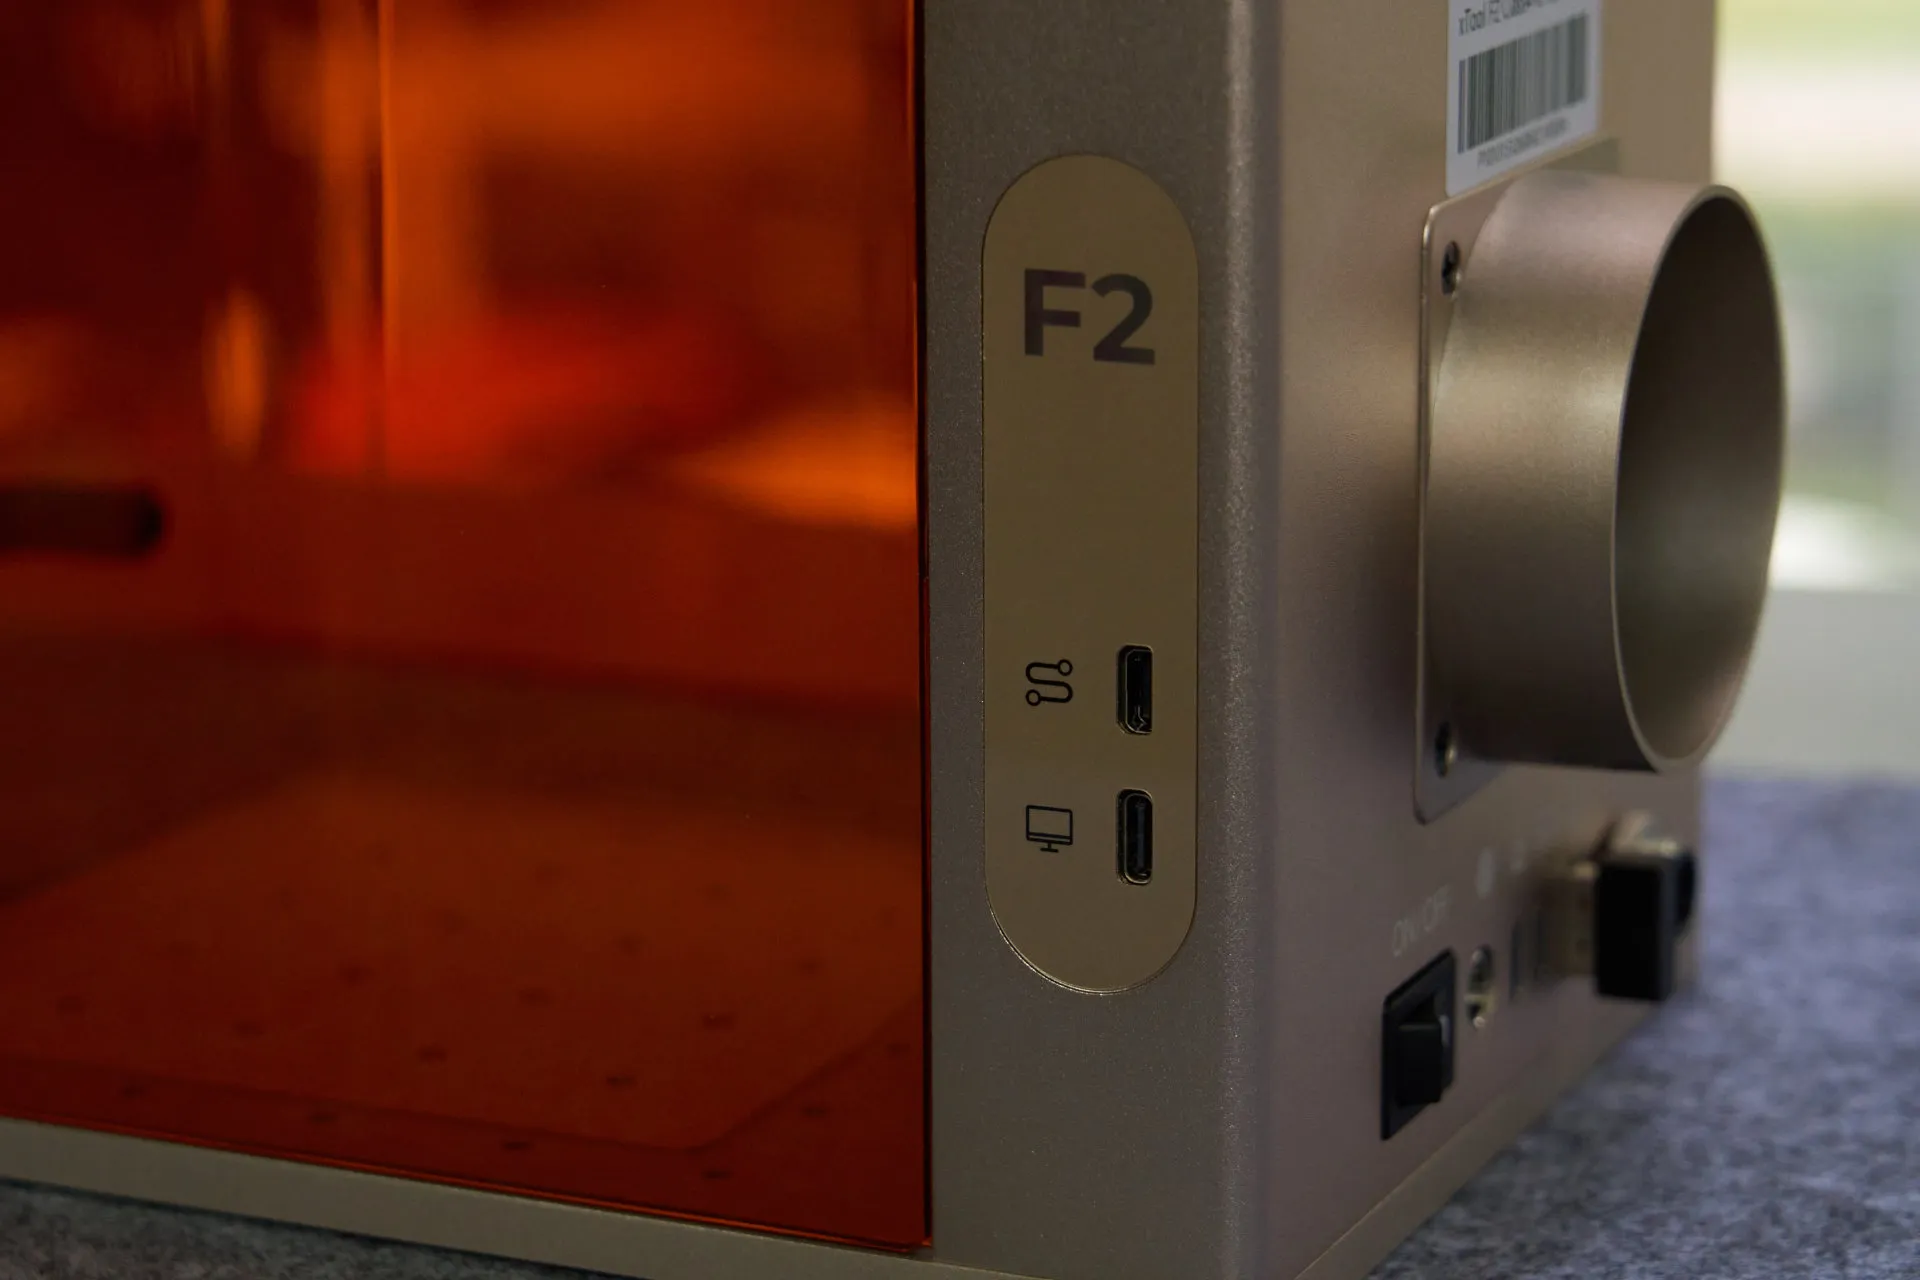
At the back, we have an on/off switch, the power jack itself, two USB-C ports that are meant for specific use cases, a USB-A key to “unlock” the laser, and also a coaxial jack for yet another specific use case.
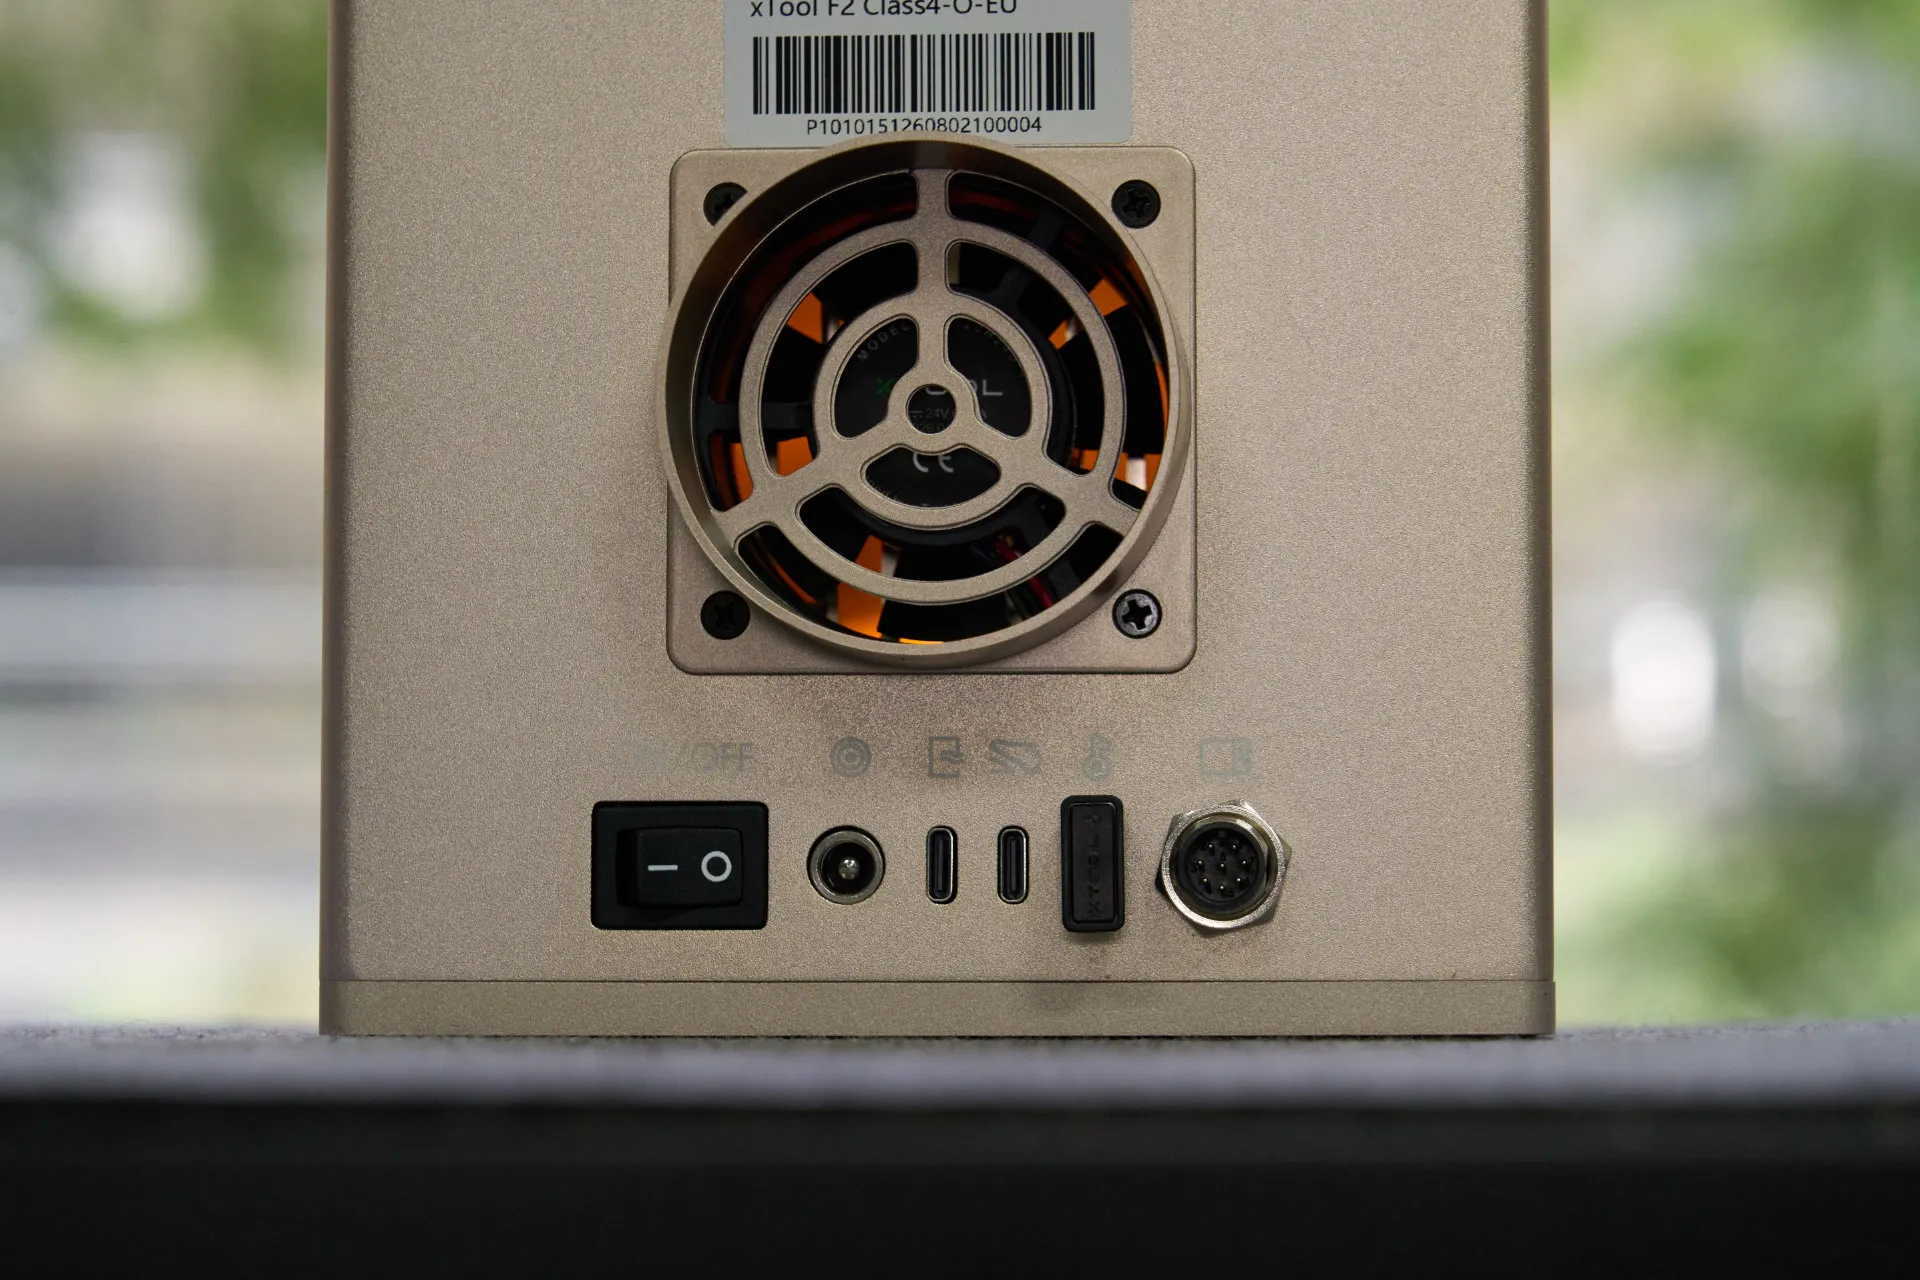
That fan above all the ports is where the fumes exit from the device. Of course, we don’t want to be in the same room as the fumes, so make use of the included duct and exhaust it out the window, or purchase another accessory that xTool offers – the air filter.
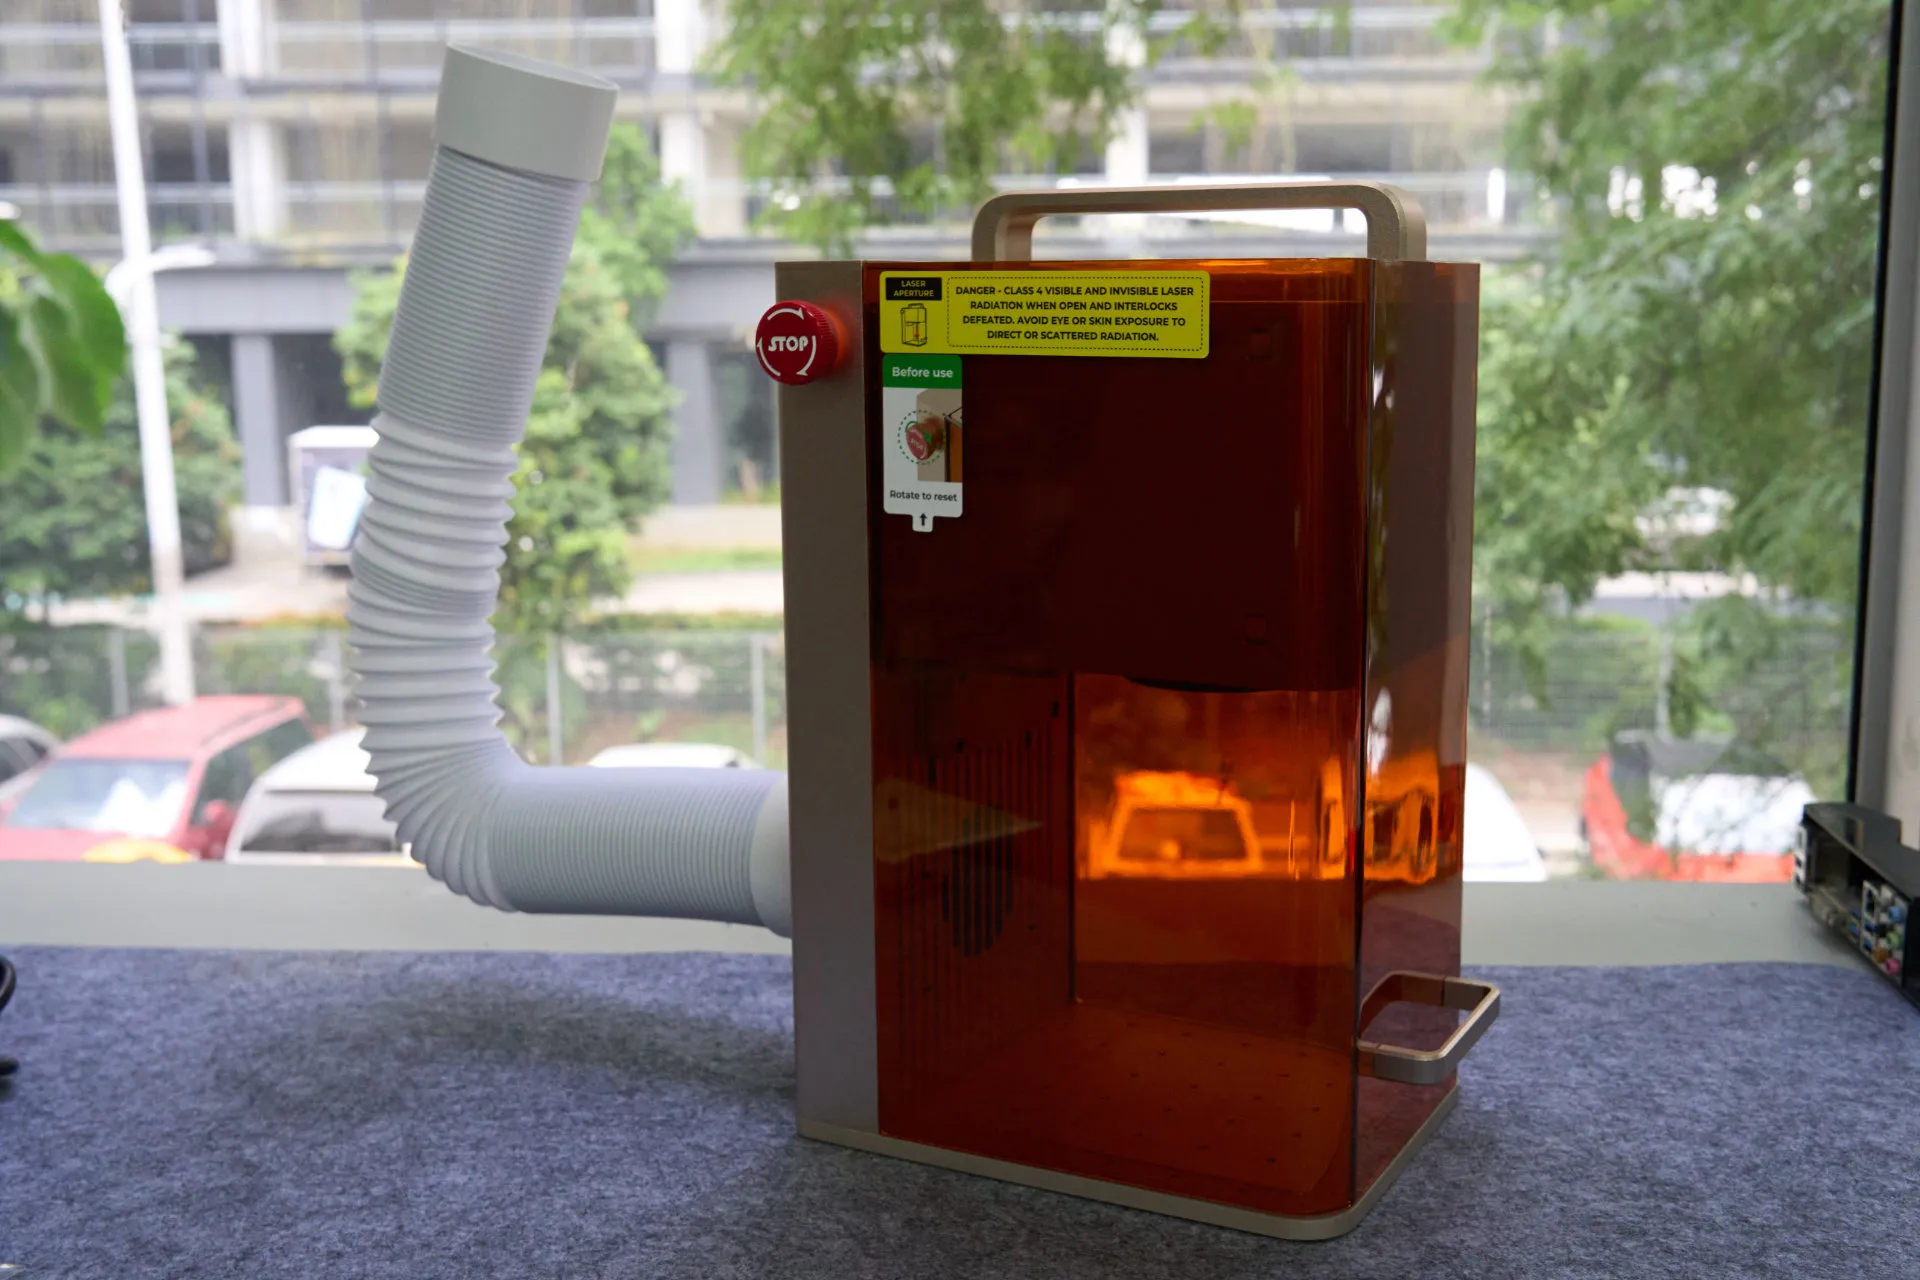
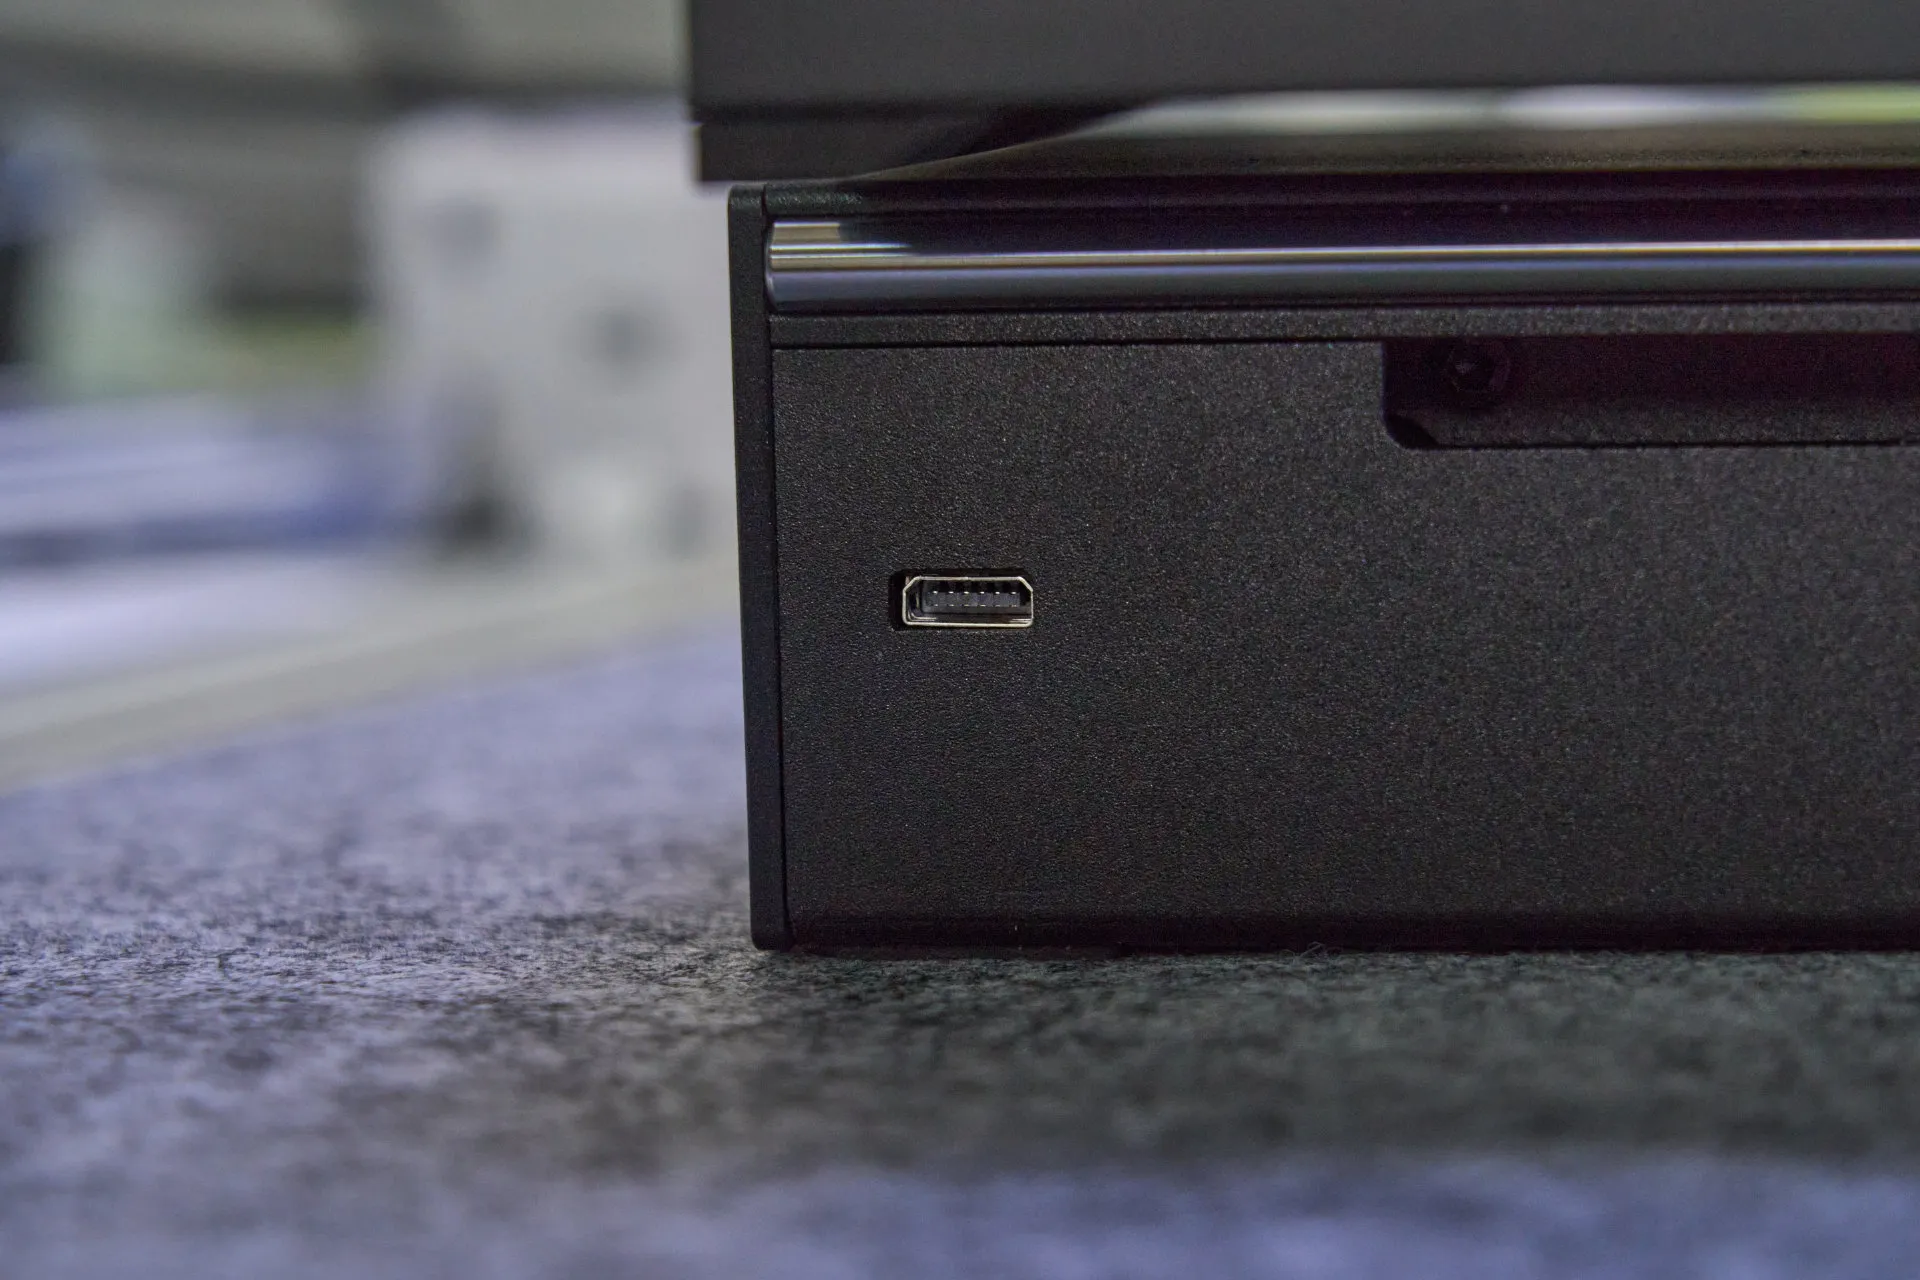
The side is where we can find a proprietary port – which we’ll get into later, and another USB-C port to connect to our computer to control the engraver.
The xTool Studio app
The xTool Studio app is provided for free by the company, and it’s actually very intuitive and easy to use too. I think the company knows that many of us will only skim through the user manual, so the company made the app to guide us through the laser calibration steps in an interactive way too.
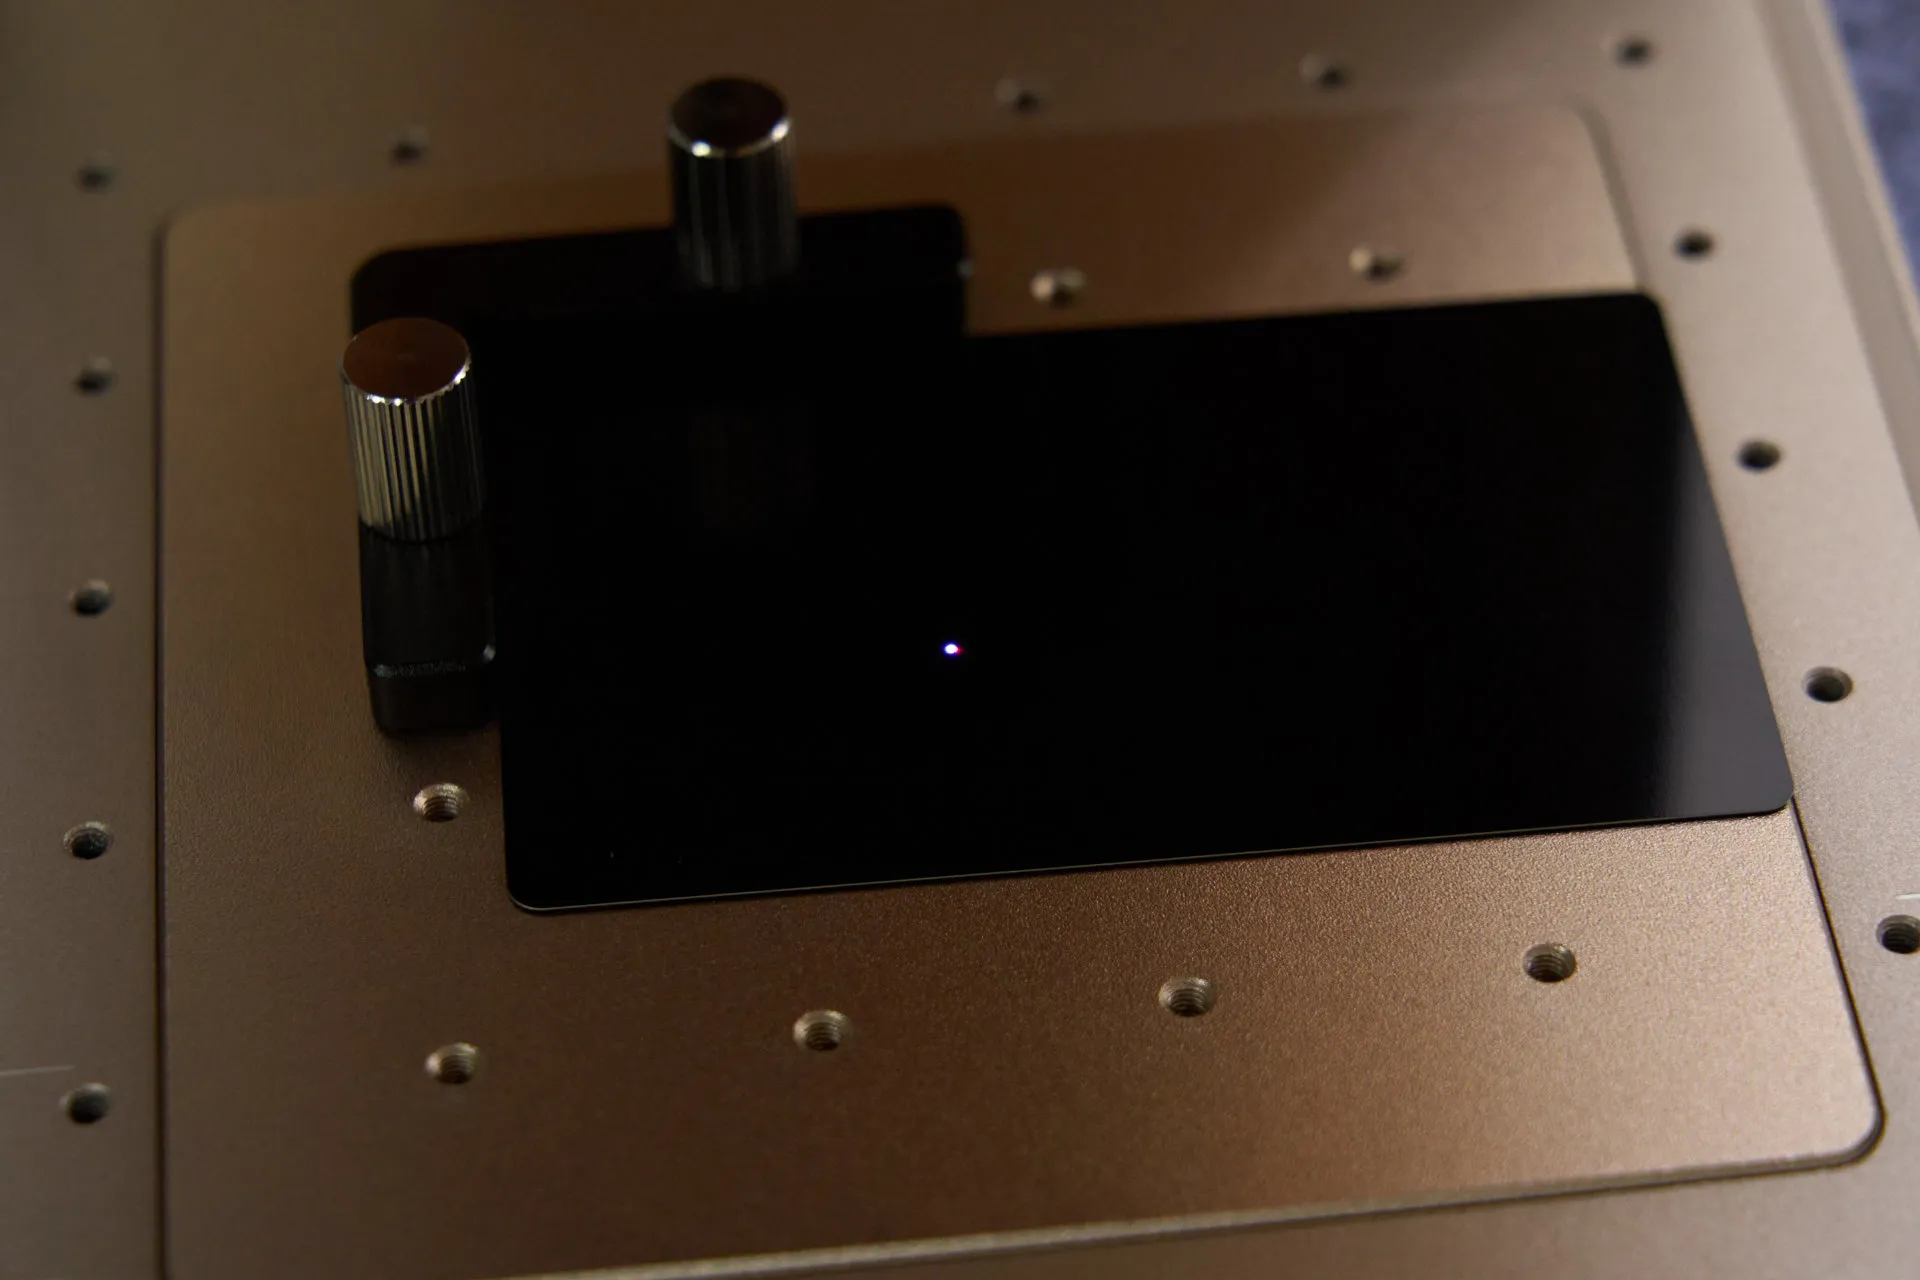
I did all the steps, and the important thing is that both the red and blue laser colors lay directly on each other when zeroed in.
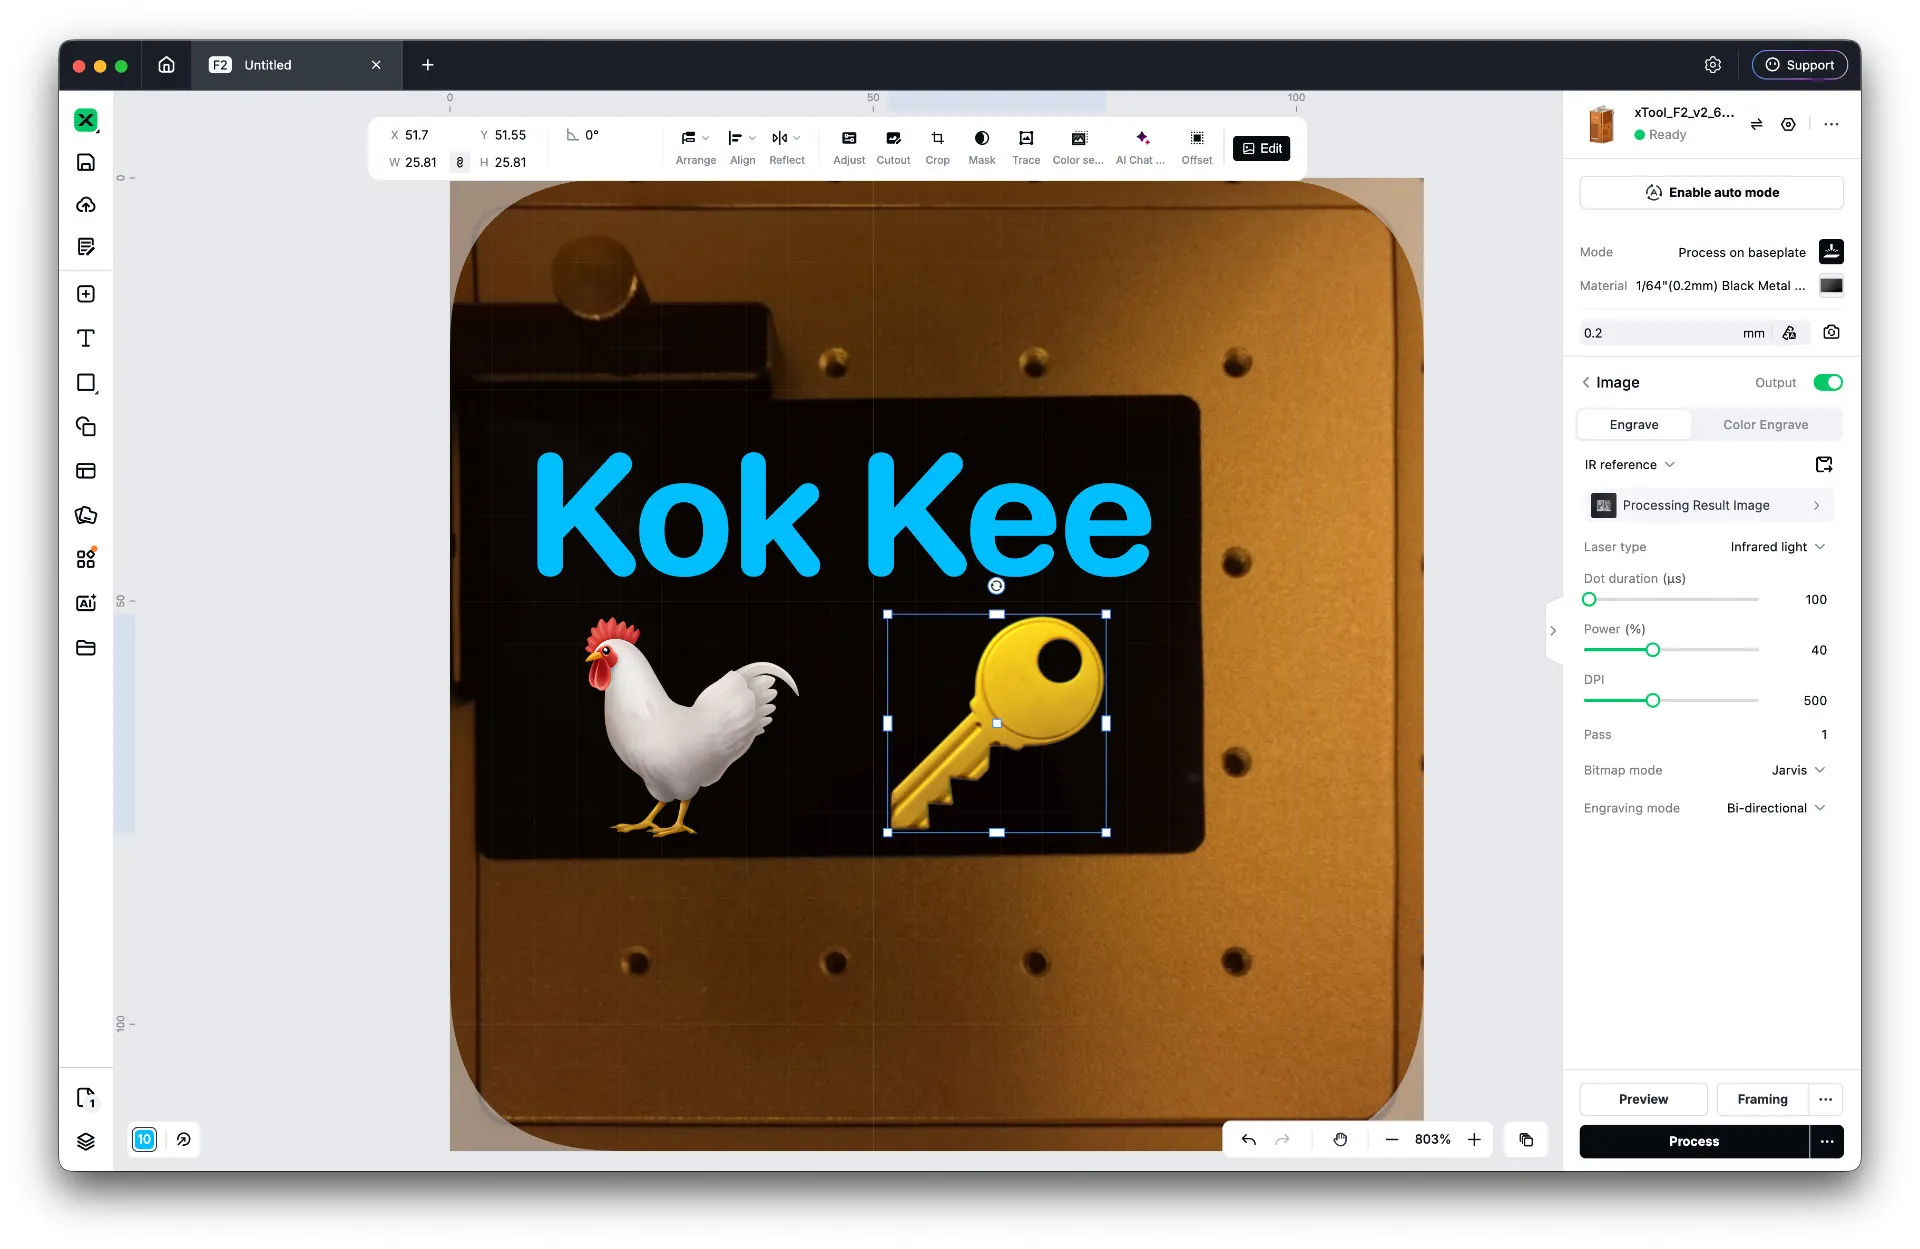
This app also gives us a bunch of tools to start making our first custom design. For me, I just downloaded a few emojis, and dragged them into the app. It immediately showed up, and we can crop the image, delete the background, and also resize it so we can fit the image on whatever we want to engrave.
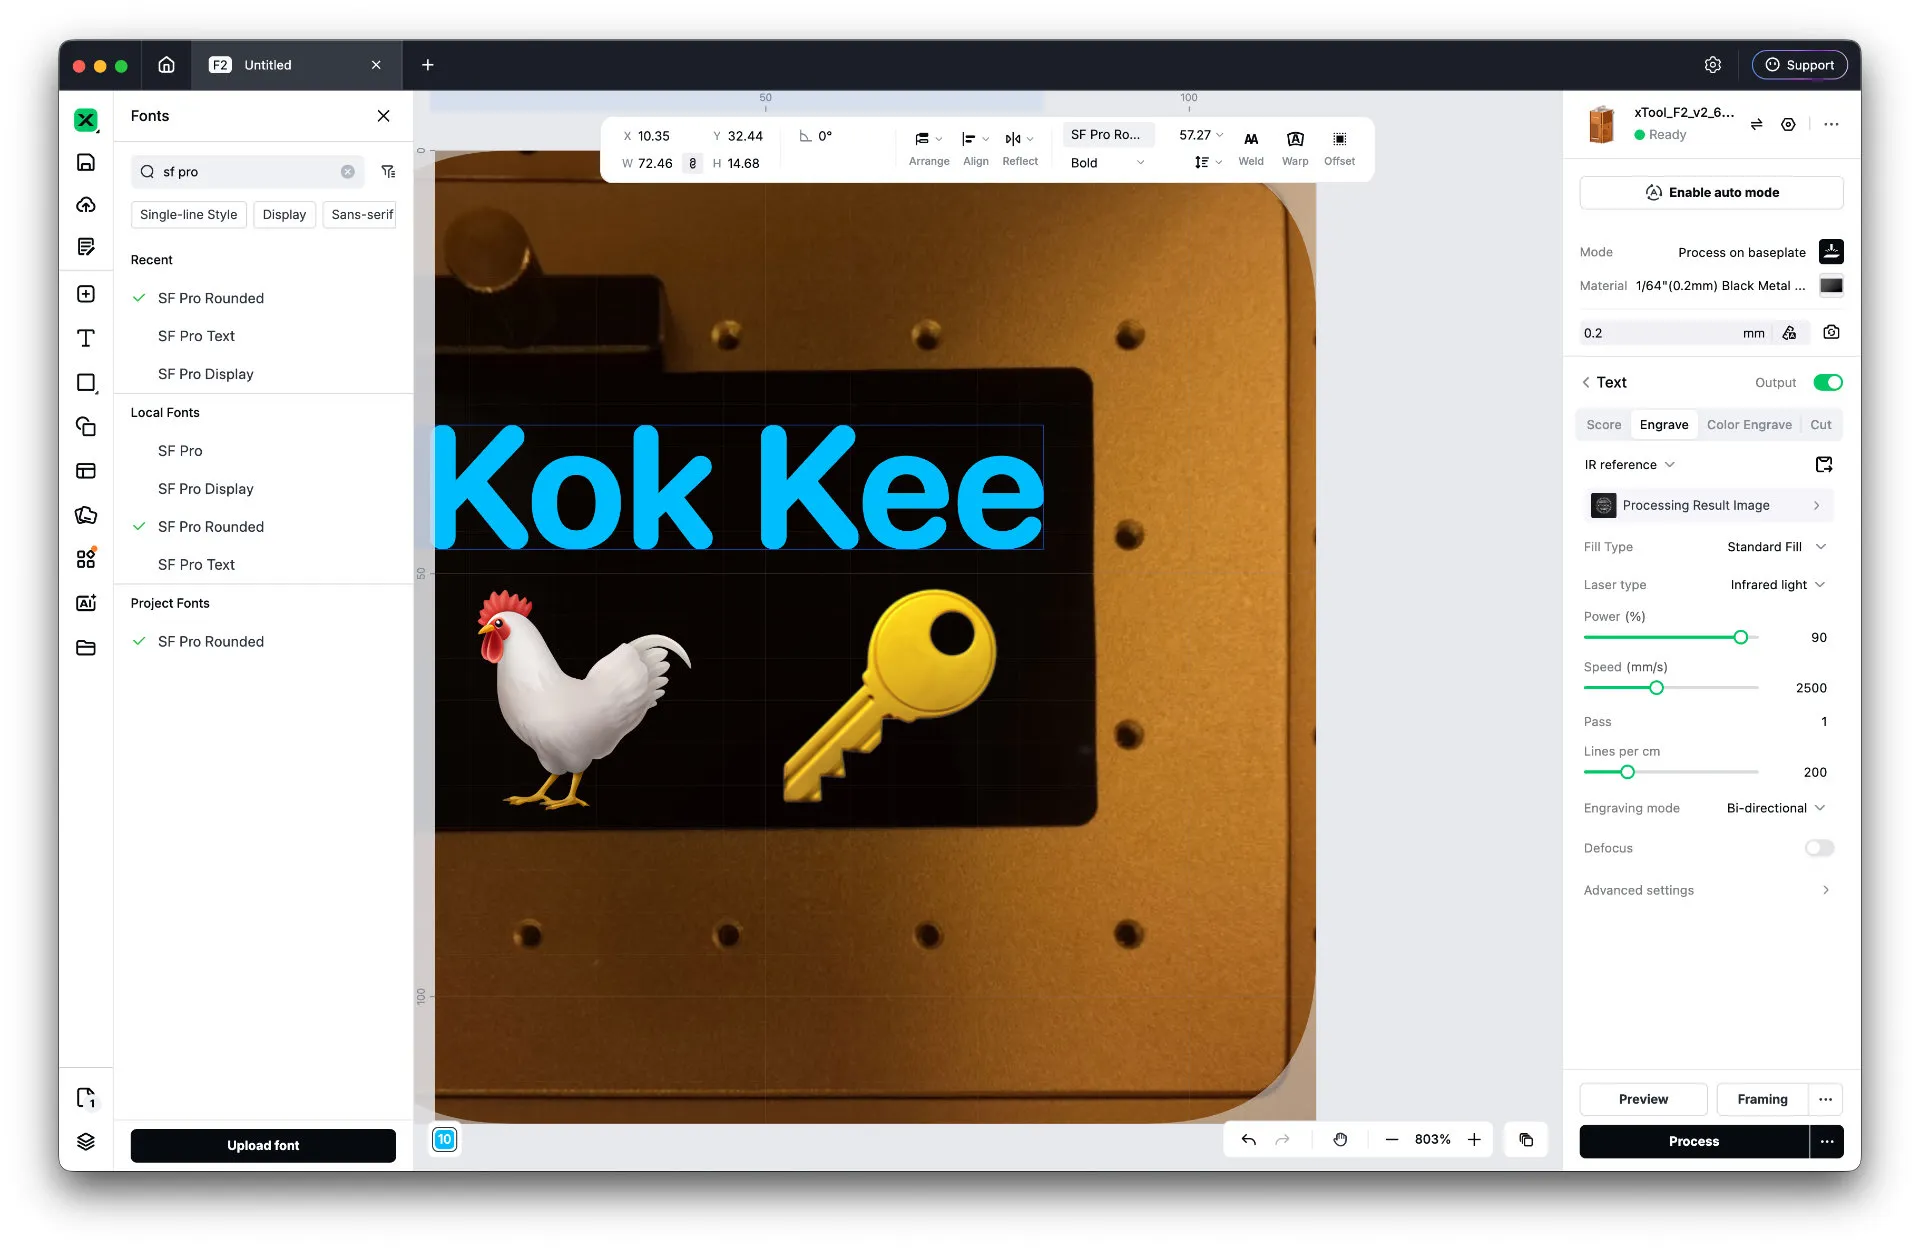
We can also add texts, and have it just draw an outline of the text or fully engrave the text. We can select whatever fonts we want, the size, all of that as well. Again, very intuitive and comprehensive set of tools.
How to start engraving?
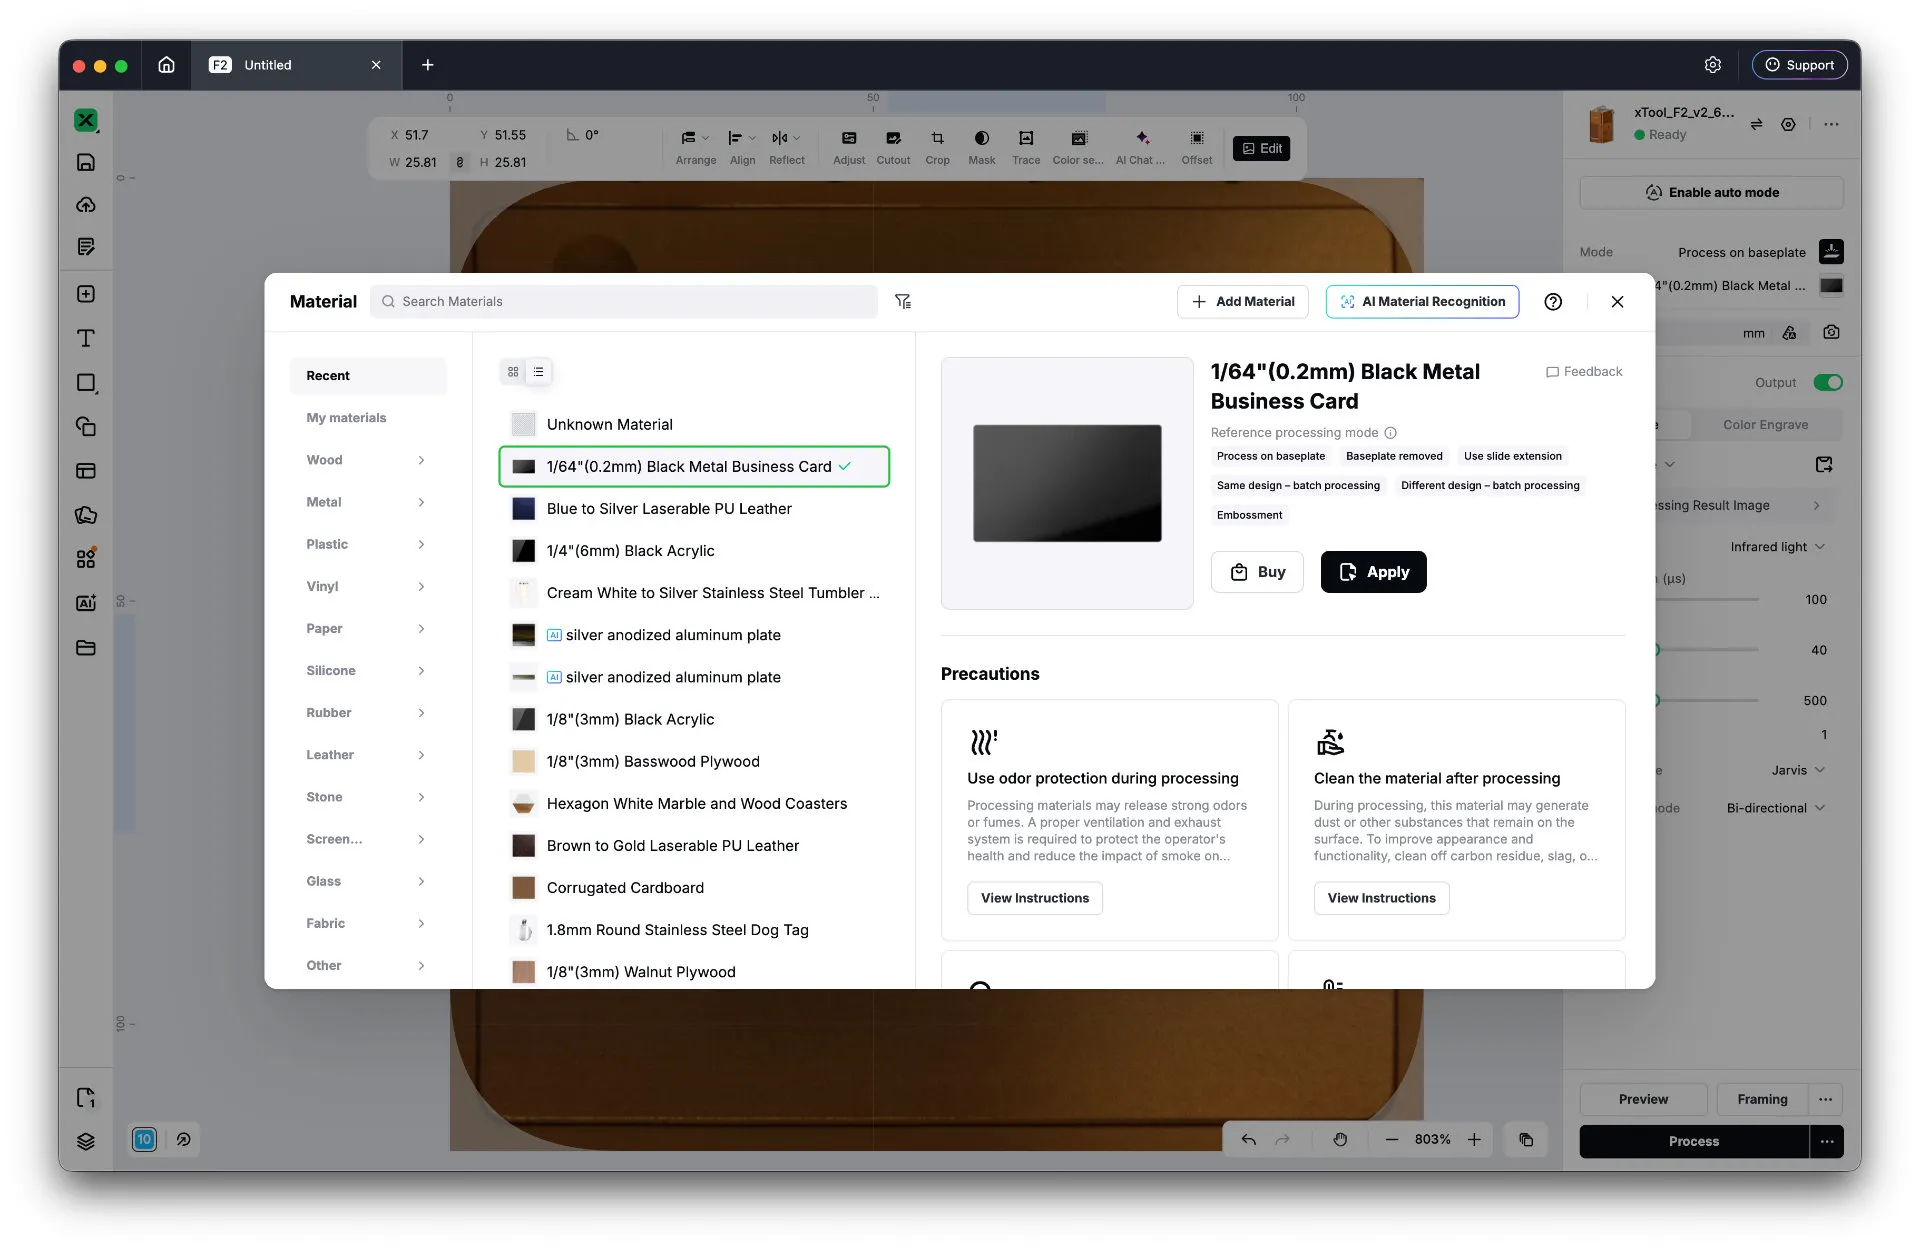
To actually start engraving, xTool provides a tutorial already. I already did it, so it’s time to load up the material. I used the included business card with a thickness of 0.2mm. Since we’re using a material provided from xTool, there’s already a preset in the materials list. It has the type of laser, the laser power, and the focus distance dialed in already.
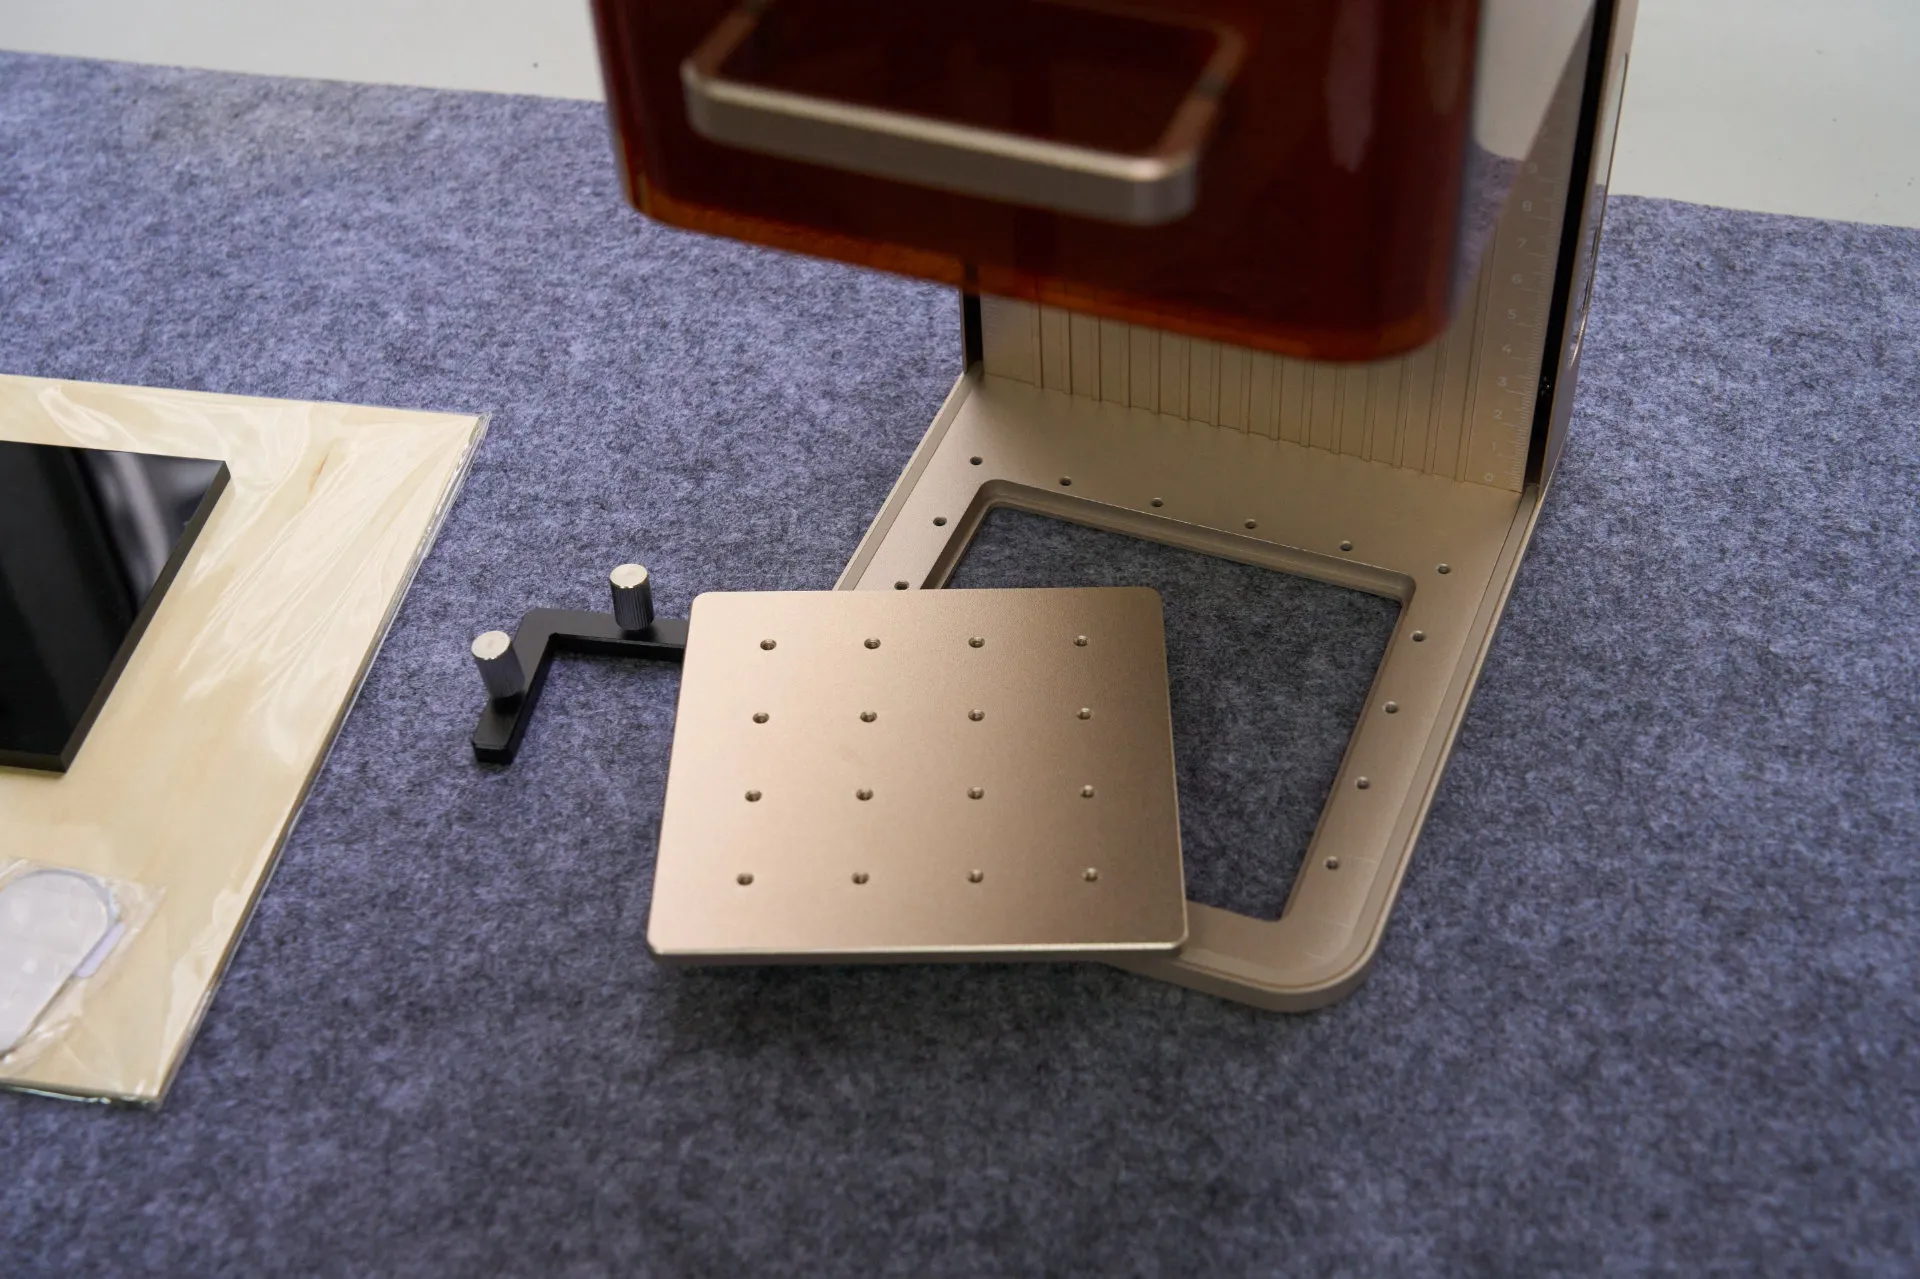
The 50MP in the engraver will also show us the card and we can position the things we want to engrave. To ensure the card is at an upright position, I used the included bracket and screwed it on the base plate.
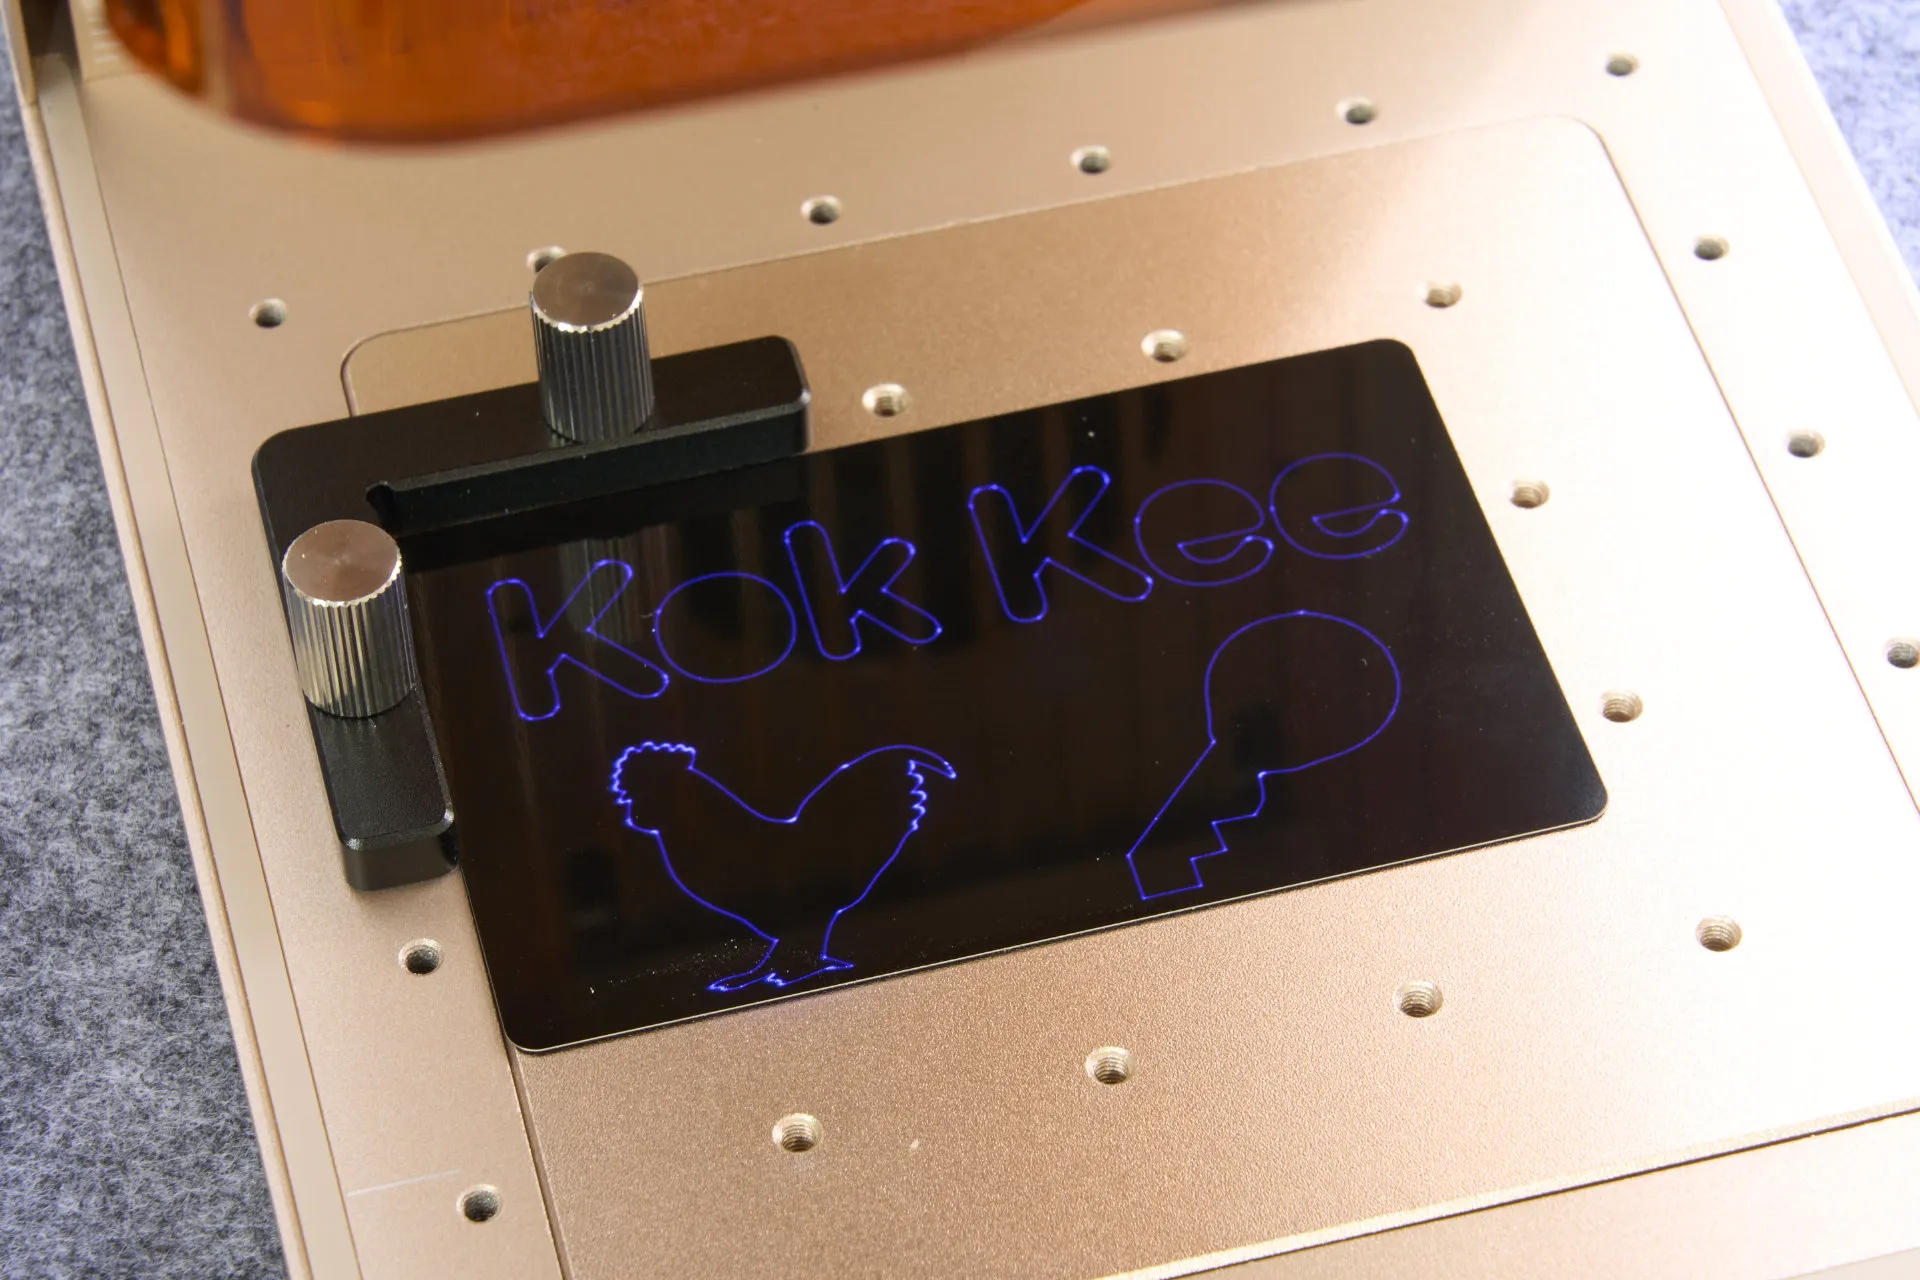
We can still hit the “framing” button, and it’ll draw an outline of what we’re engraving on the card itself. If we’re still unhappy with it, we can still move things around.
Once everything is set, we can finally start engraving. We’ll still have to press on this button for it to actually start the operation as a safety measure.
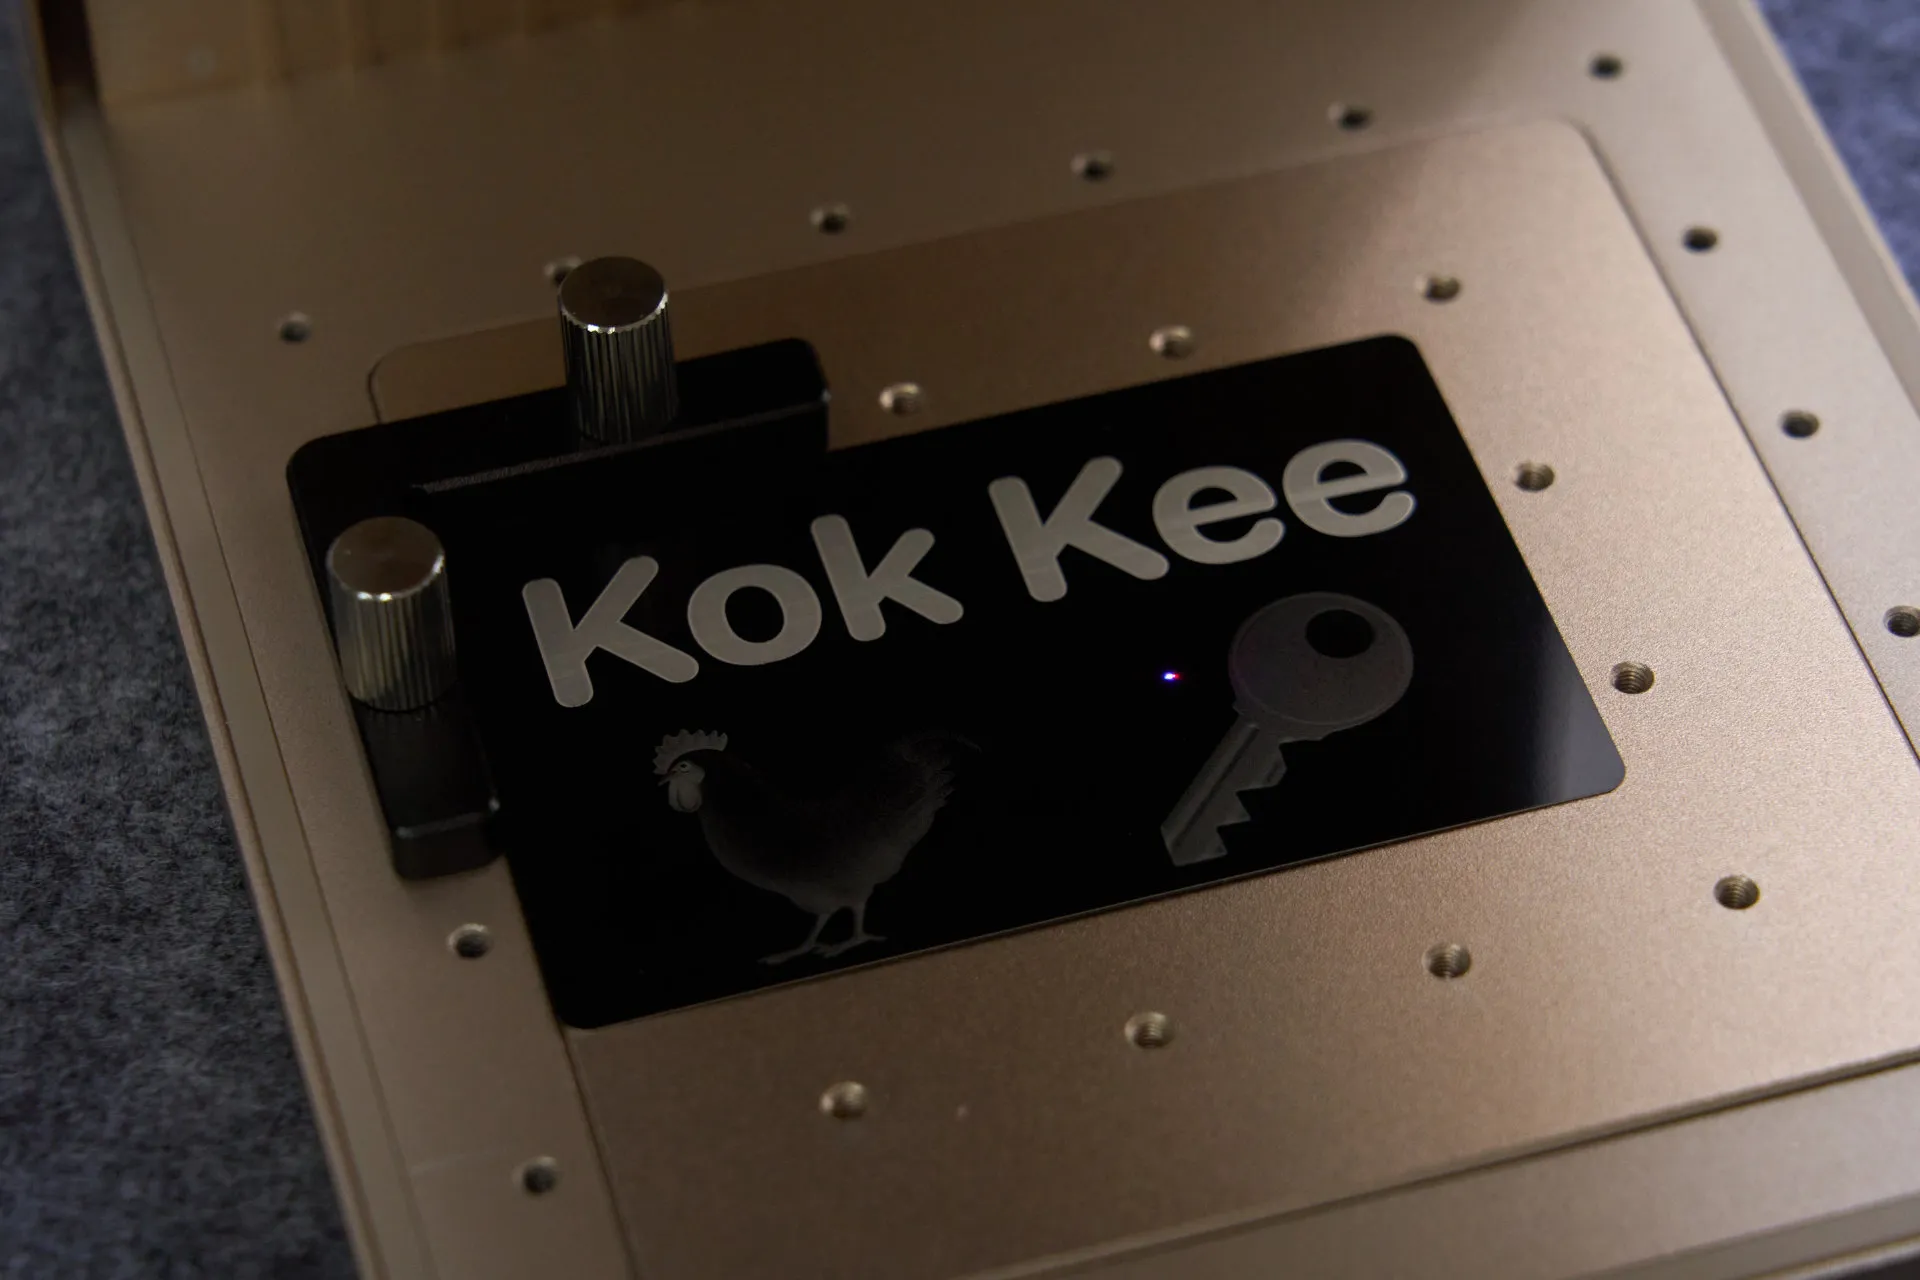
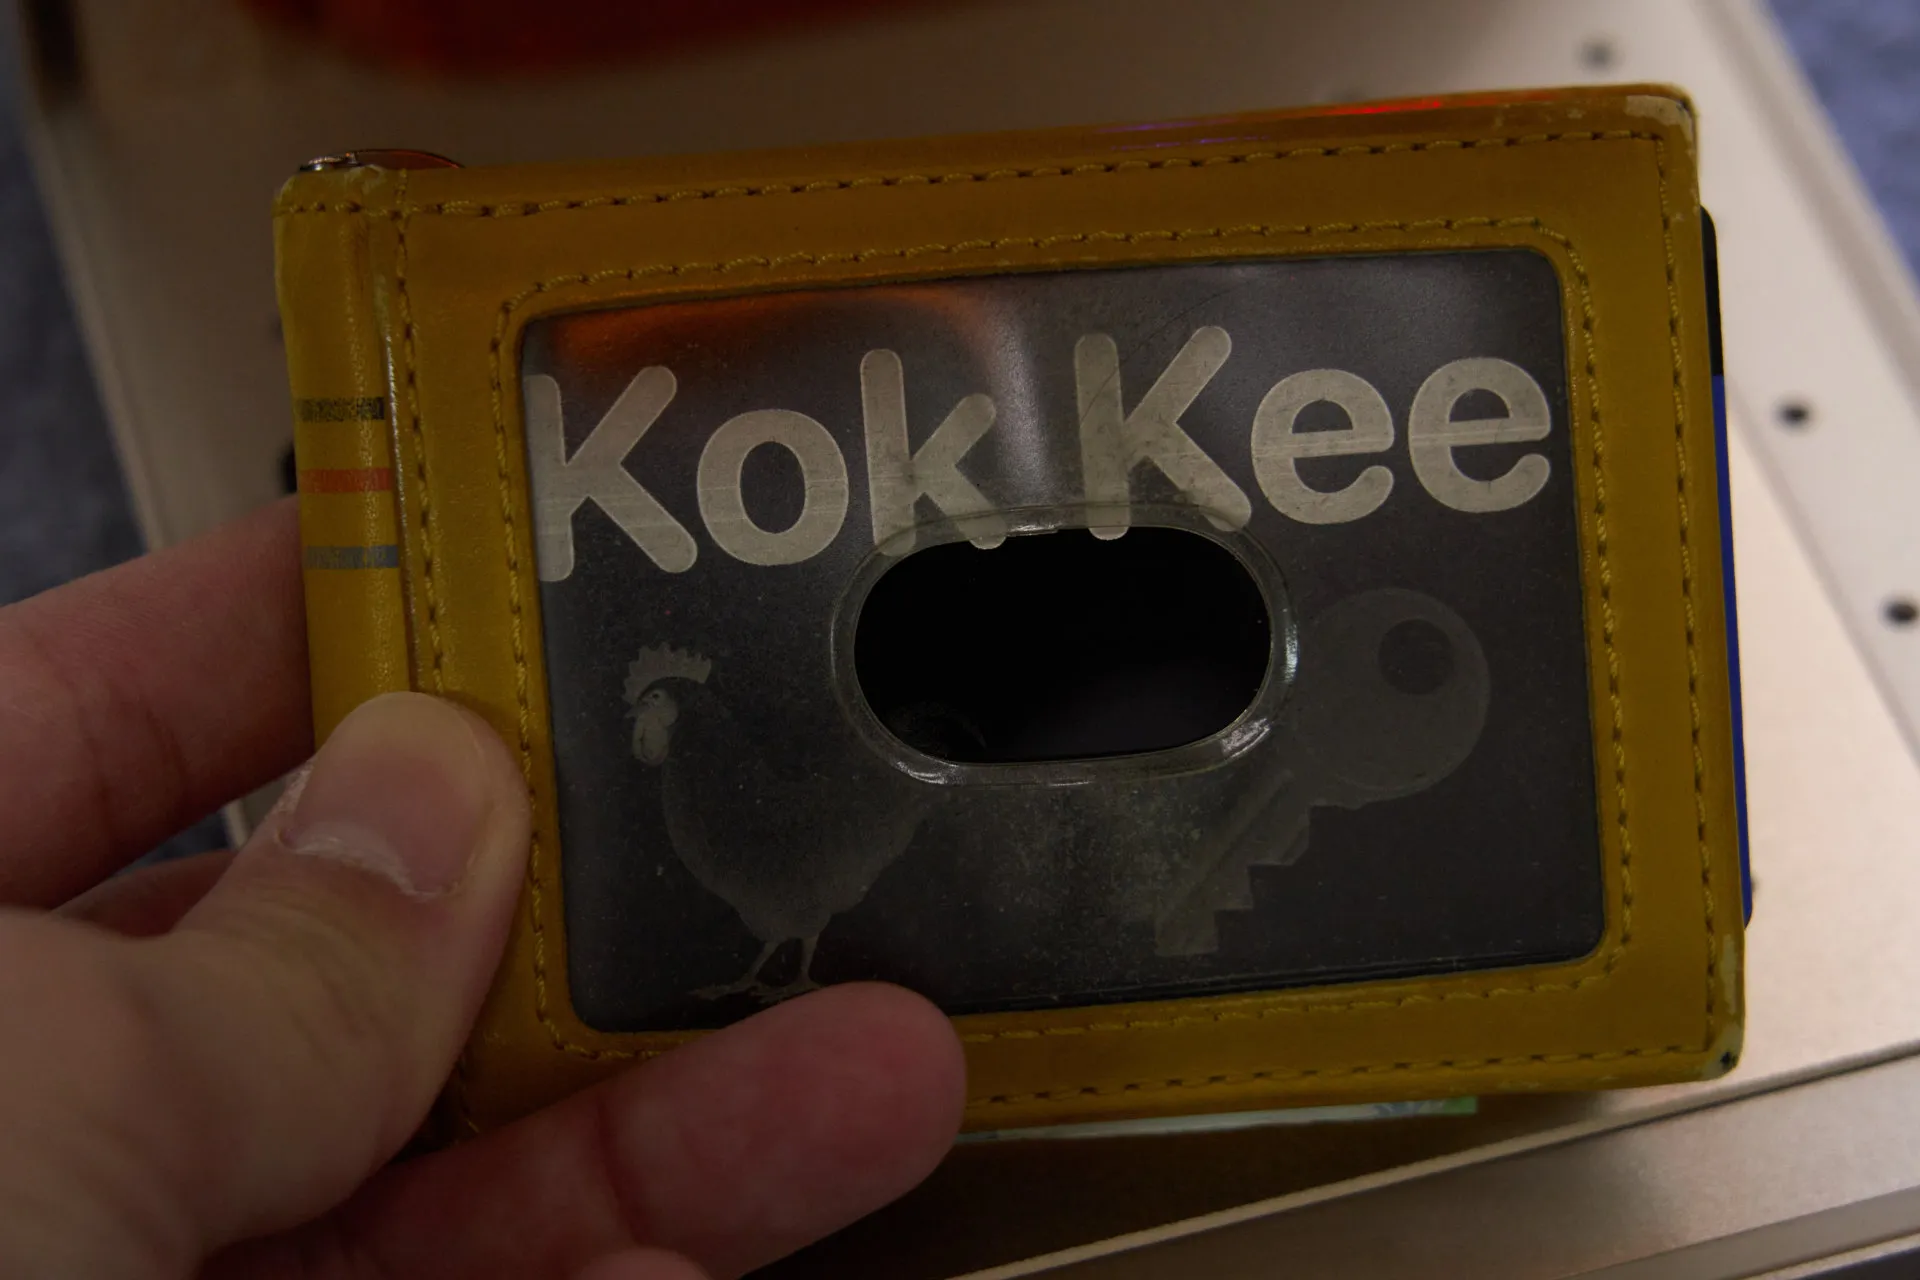
Within a minute, we’re done! The card is engraved, and I also slotted it into my wallet as an identifier. My phone number is on the other side of the card as well.
Engraving other materials
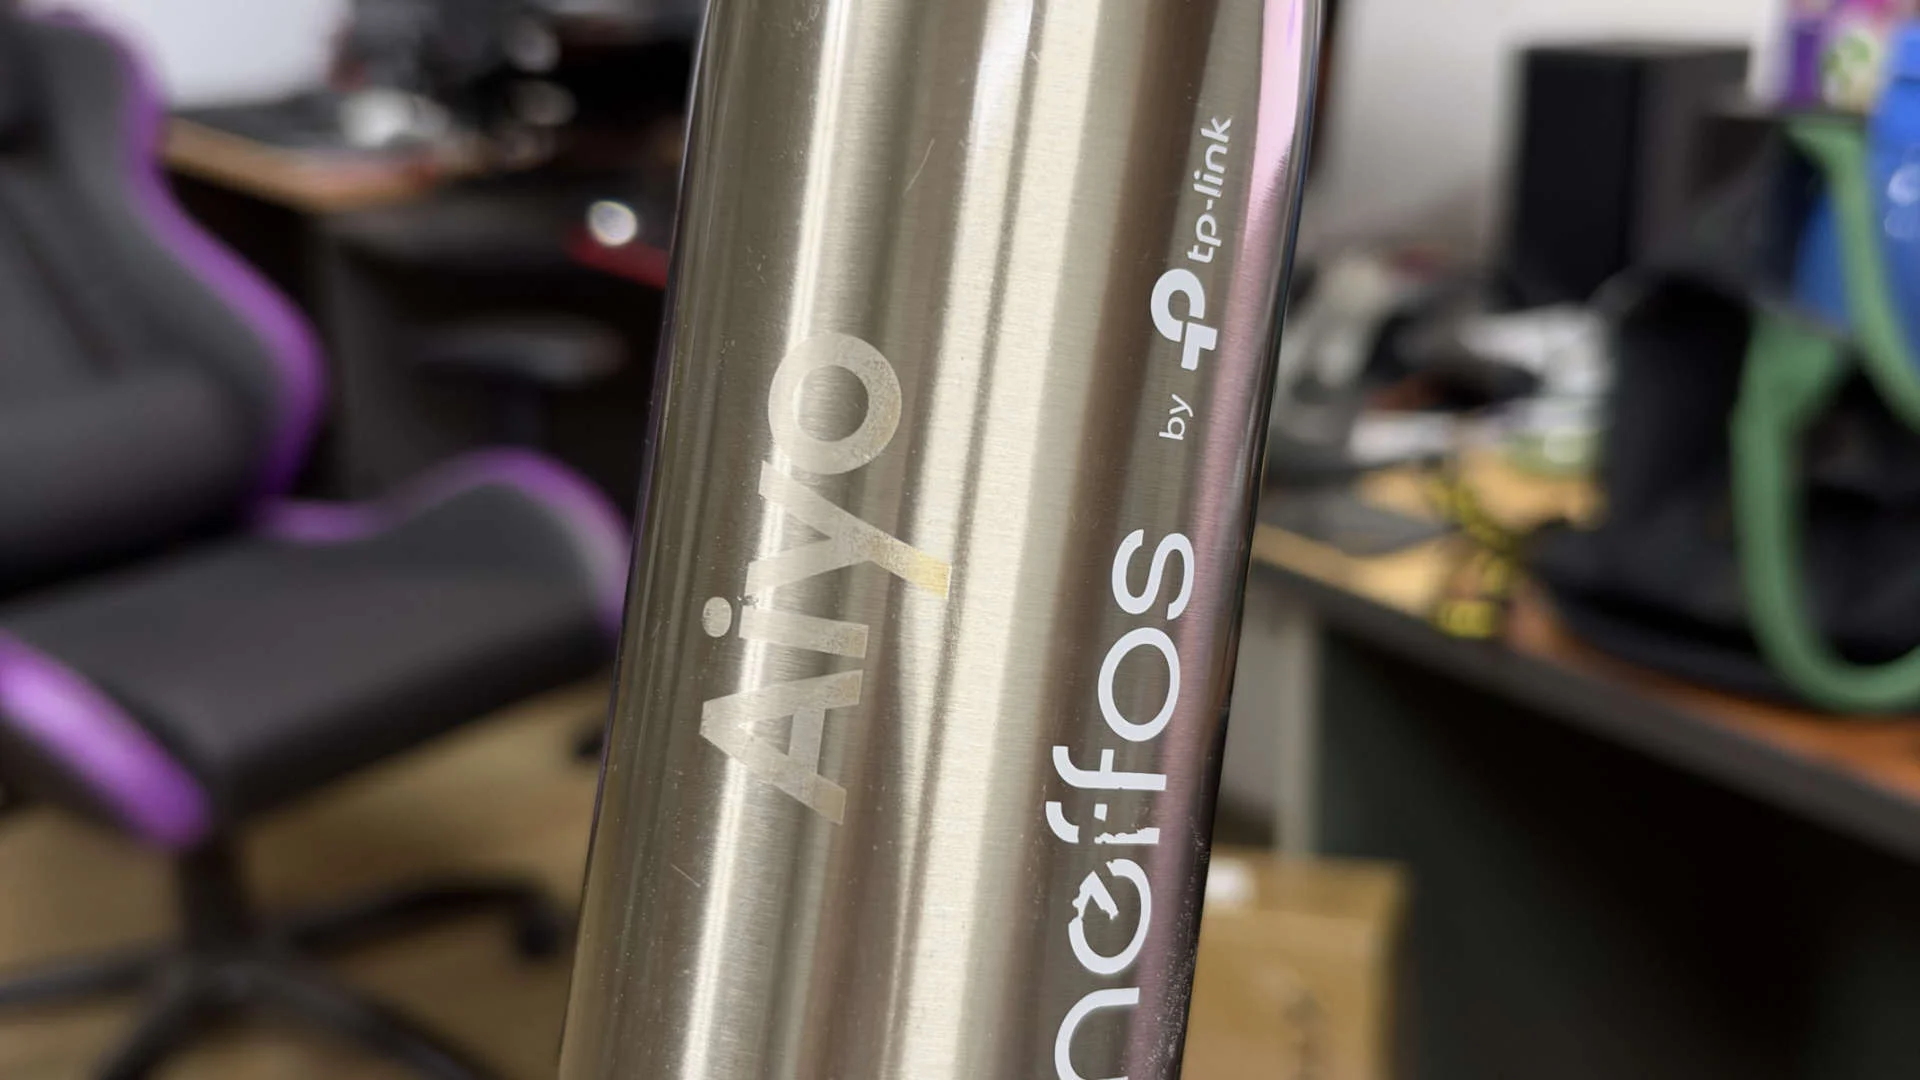
Obviously, not all materials are found within the xTool menu. We can customise the settings and engrave whatever we want. I tried engraving my steel water bottle, and it worked – though it’s not the best result since I didn’t clean the surface beforehand.
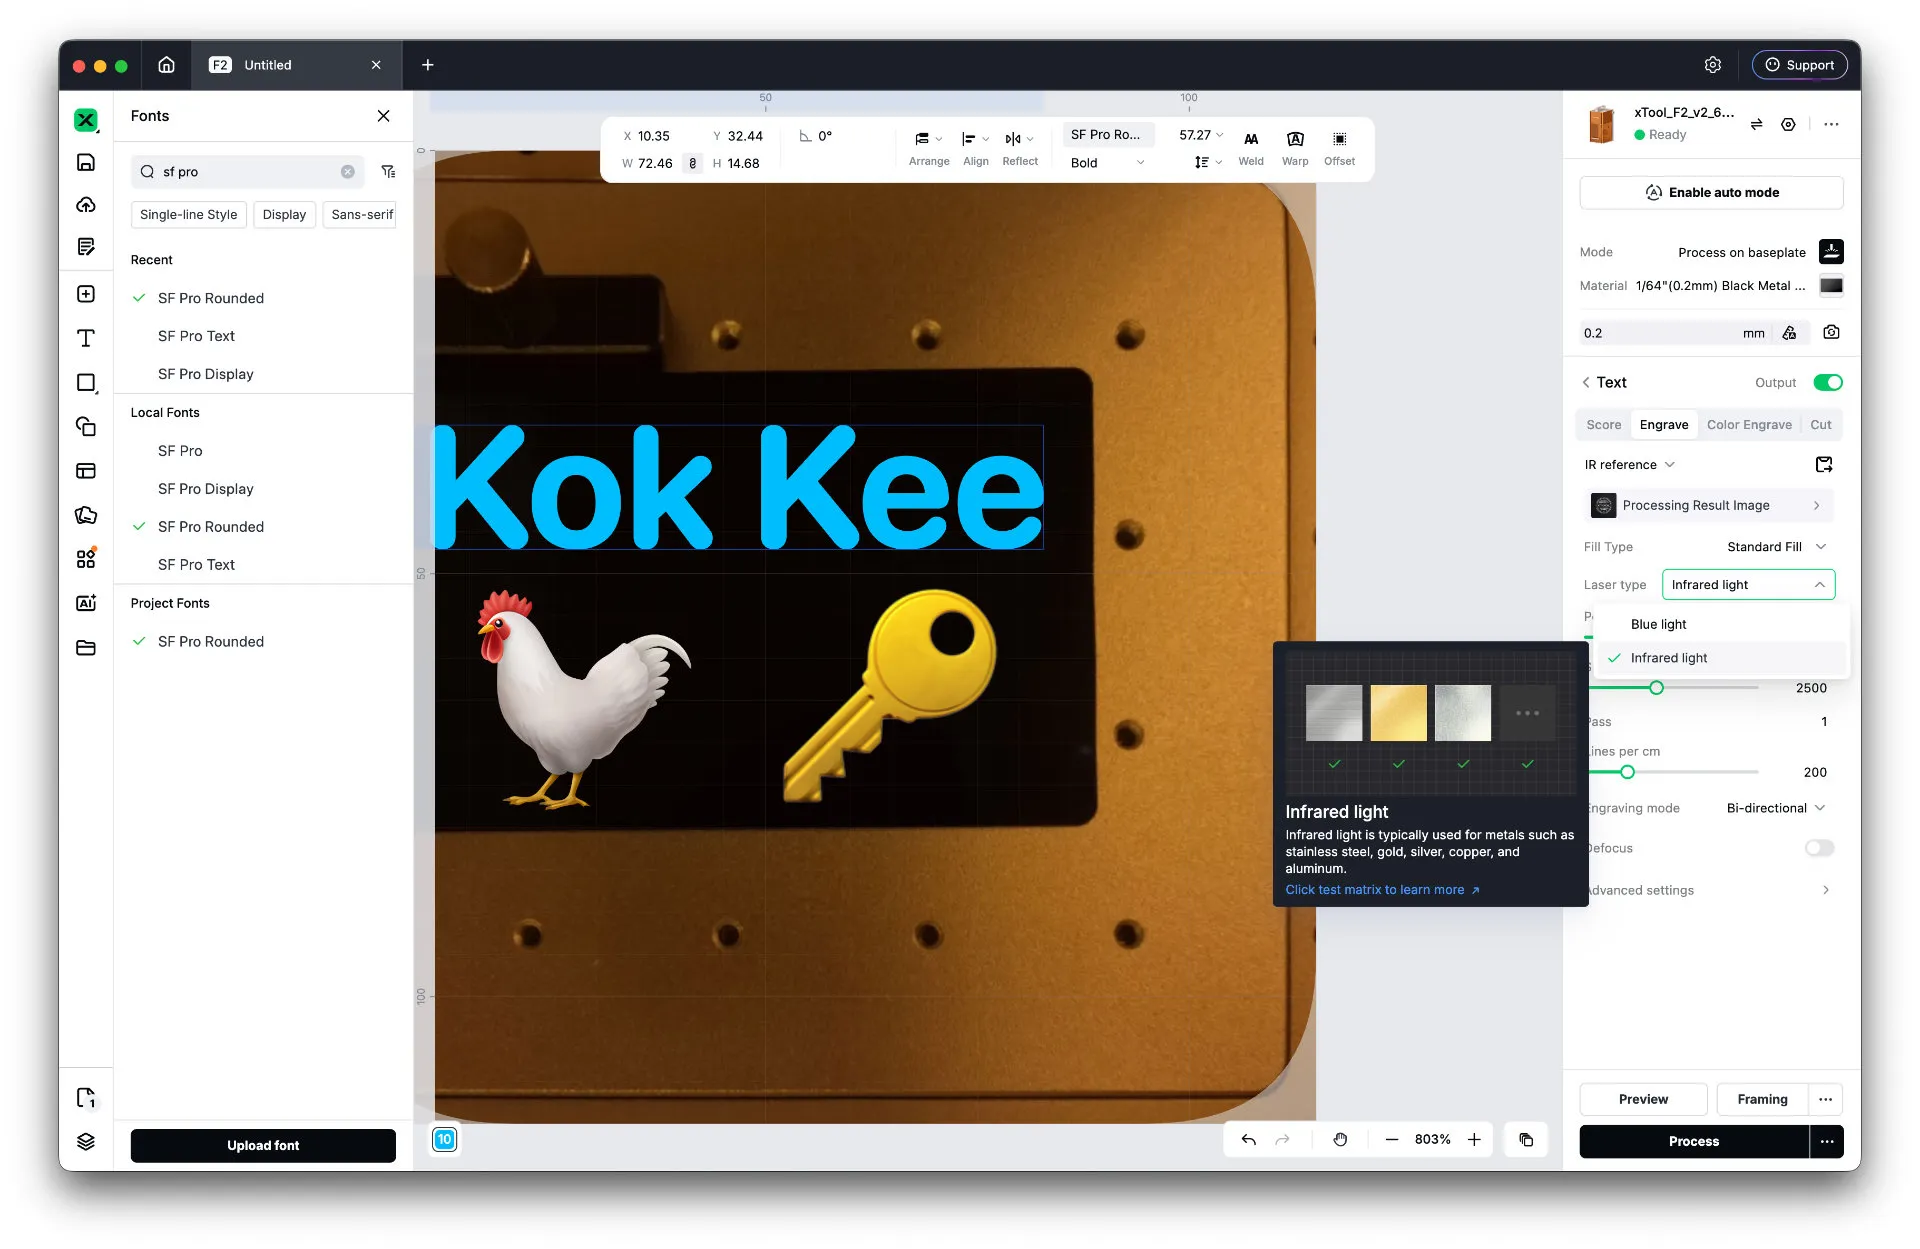
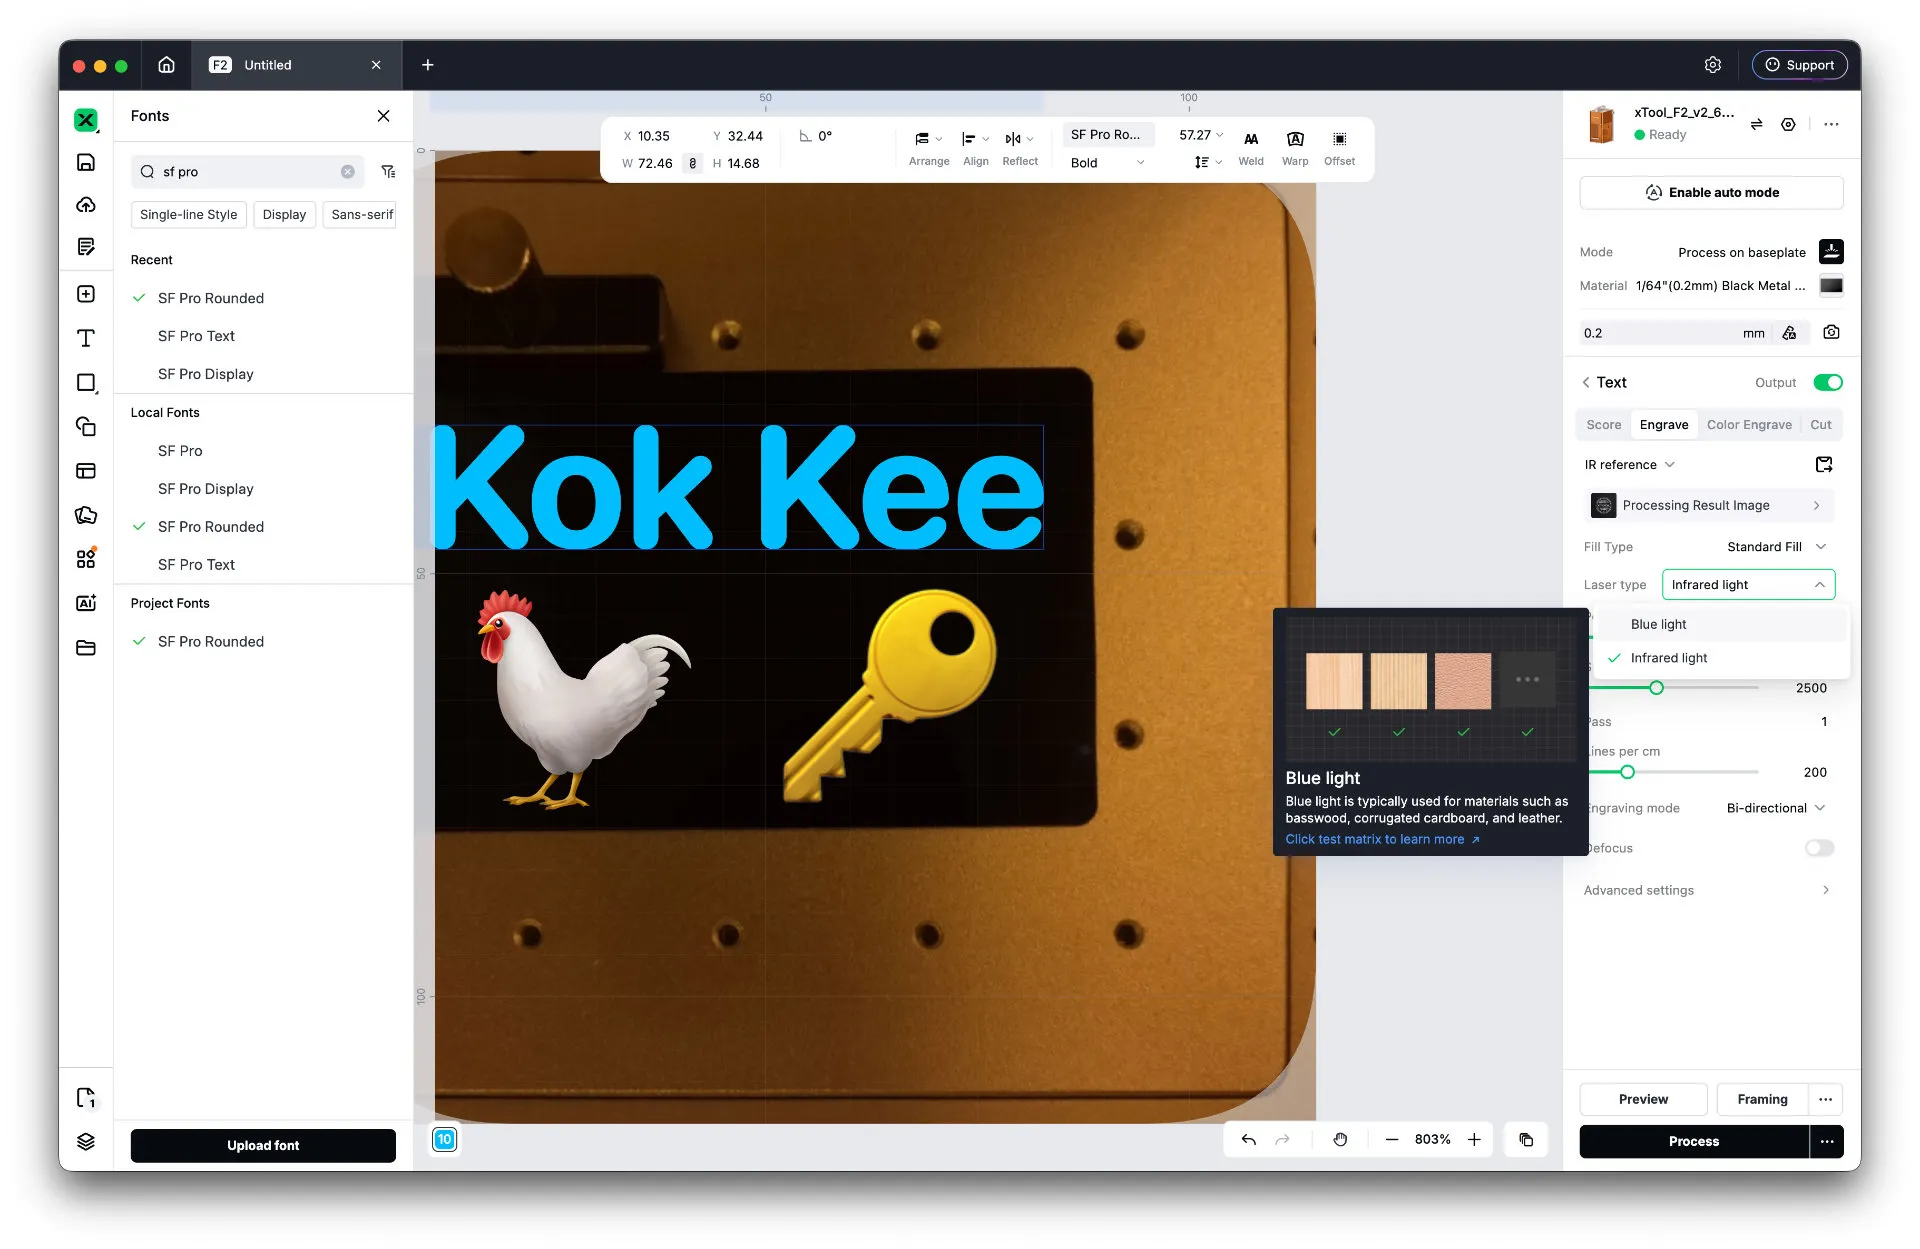
We have to know what material we’re engraving before we actually start. The xTool F2 has two lasers – one 5W IR laser is for metallic surfaces, and the 15W blue light laser is for everything else.
We’ll also have to calibrate the focus distance before engraving. Remember when we said both the blue and red light has to be on the same dot? Yeah, when both lasers are shining on the same spot on the object – it means the focus distance is correct.
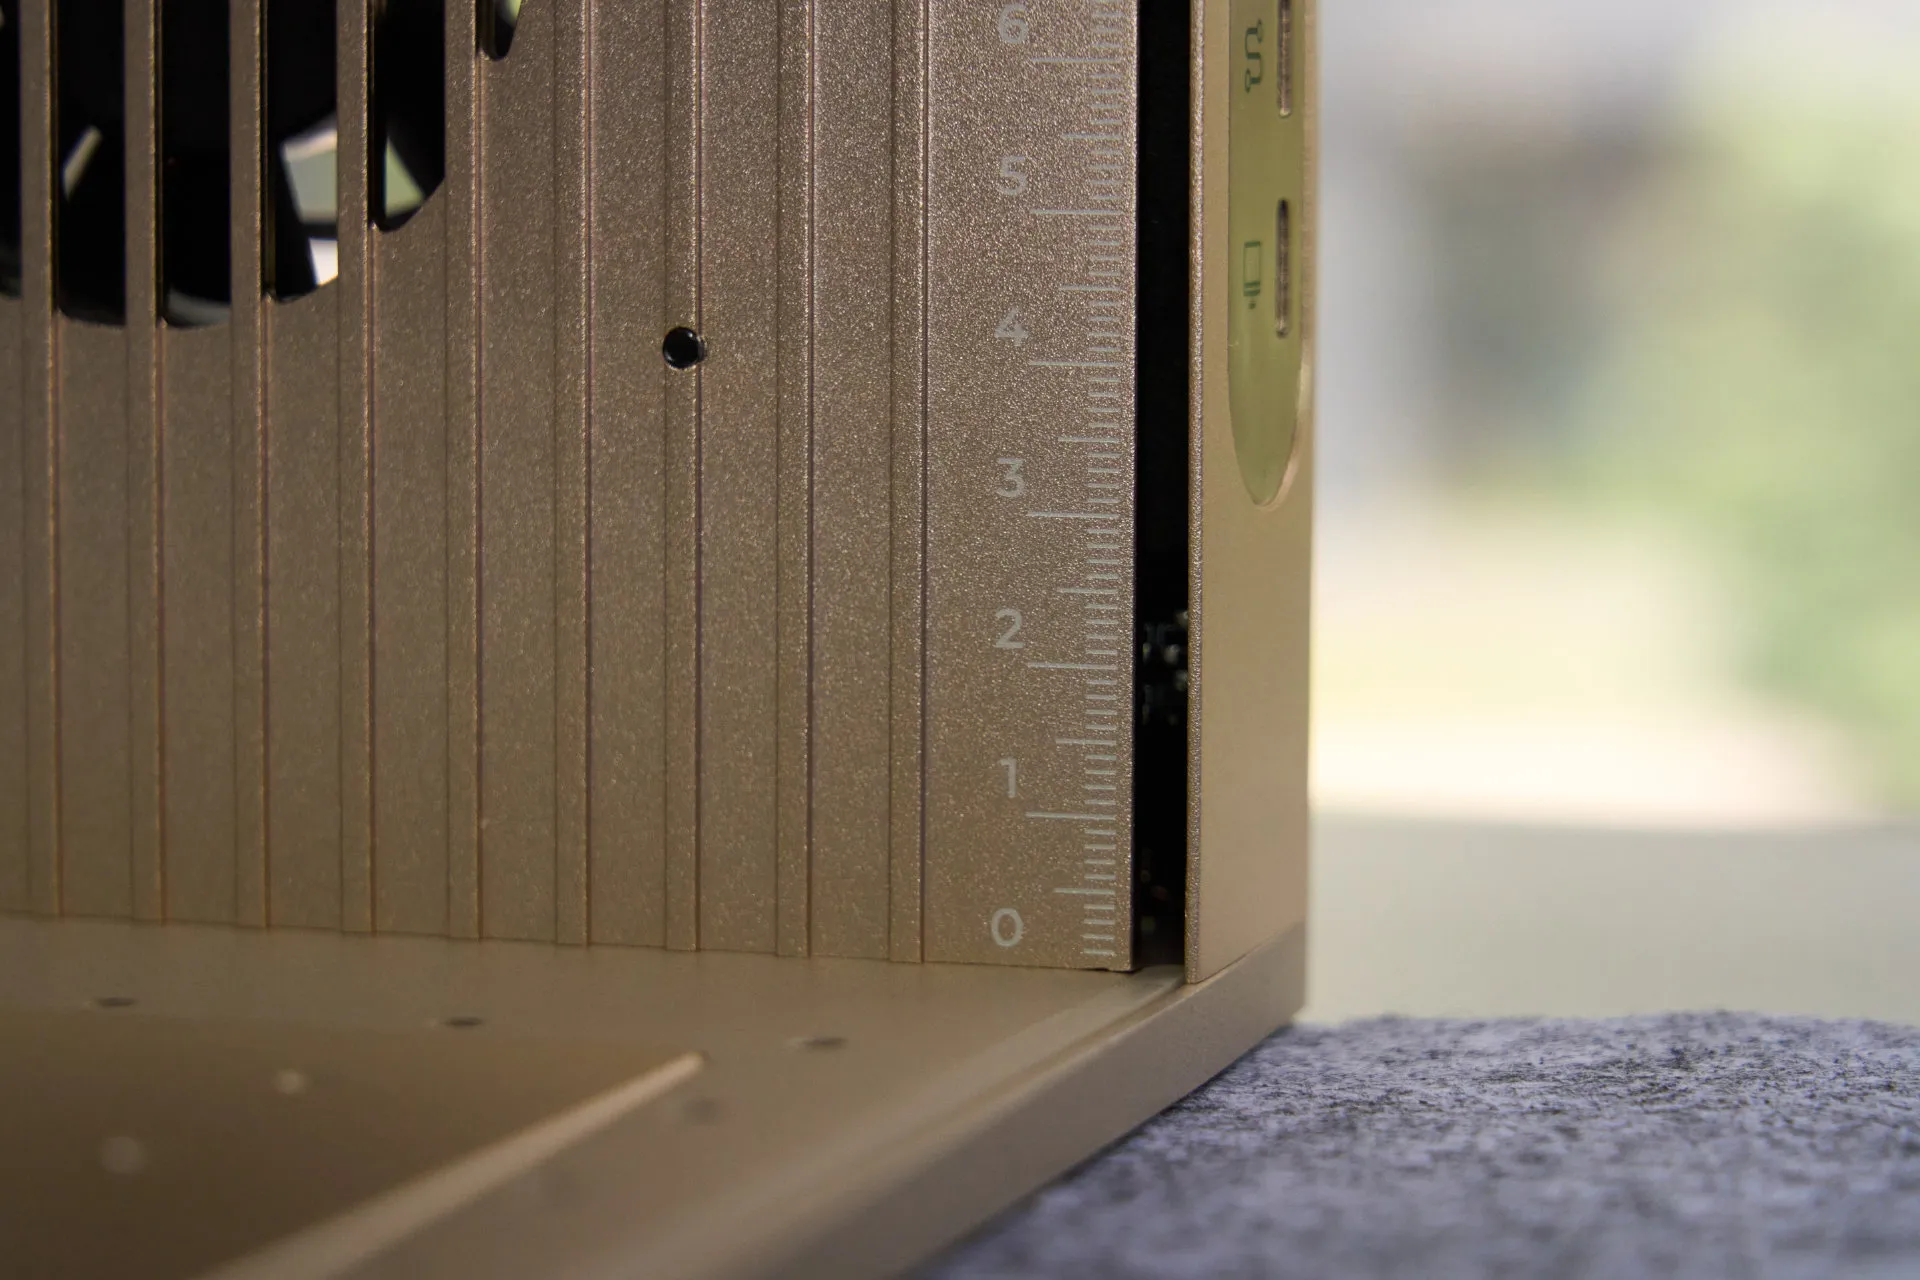
The wall of the engraver is also graduated so we can make manual focusing a tad bit easier by just eyeballing it – or just use the automatic focus distance button.
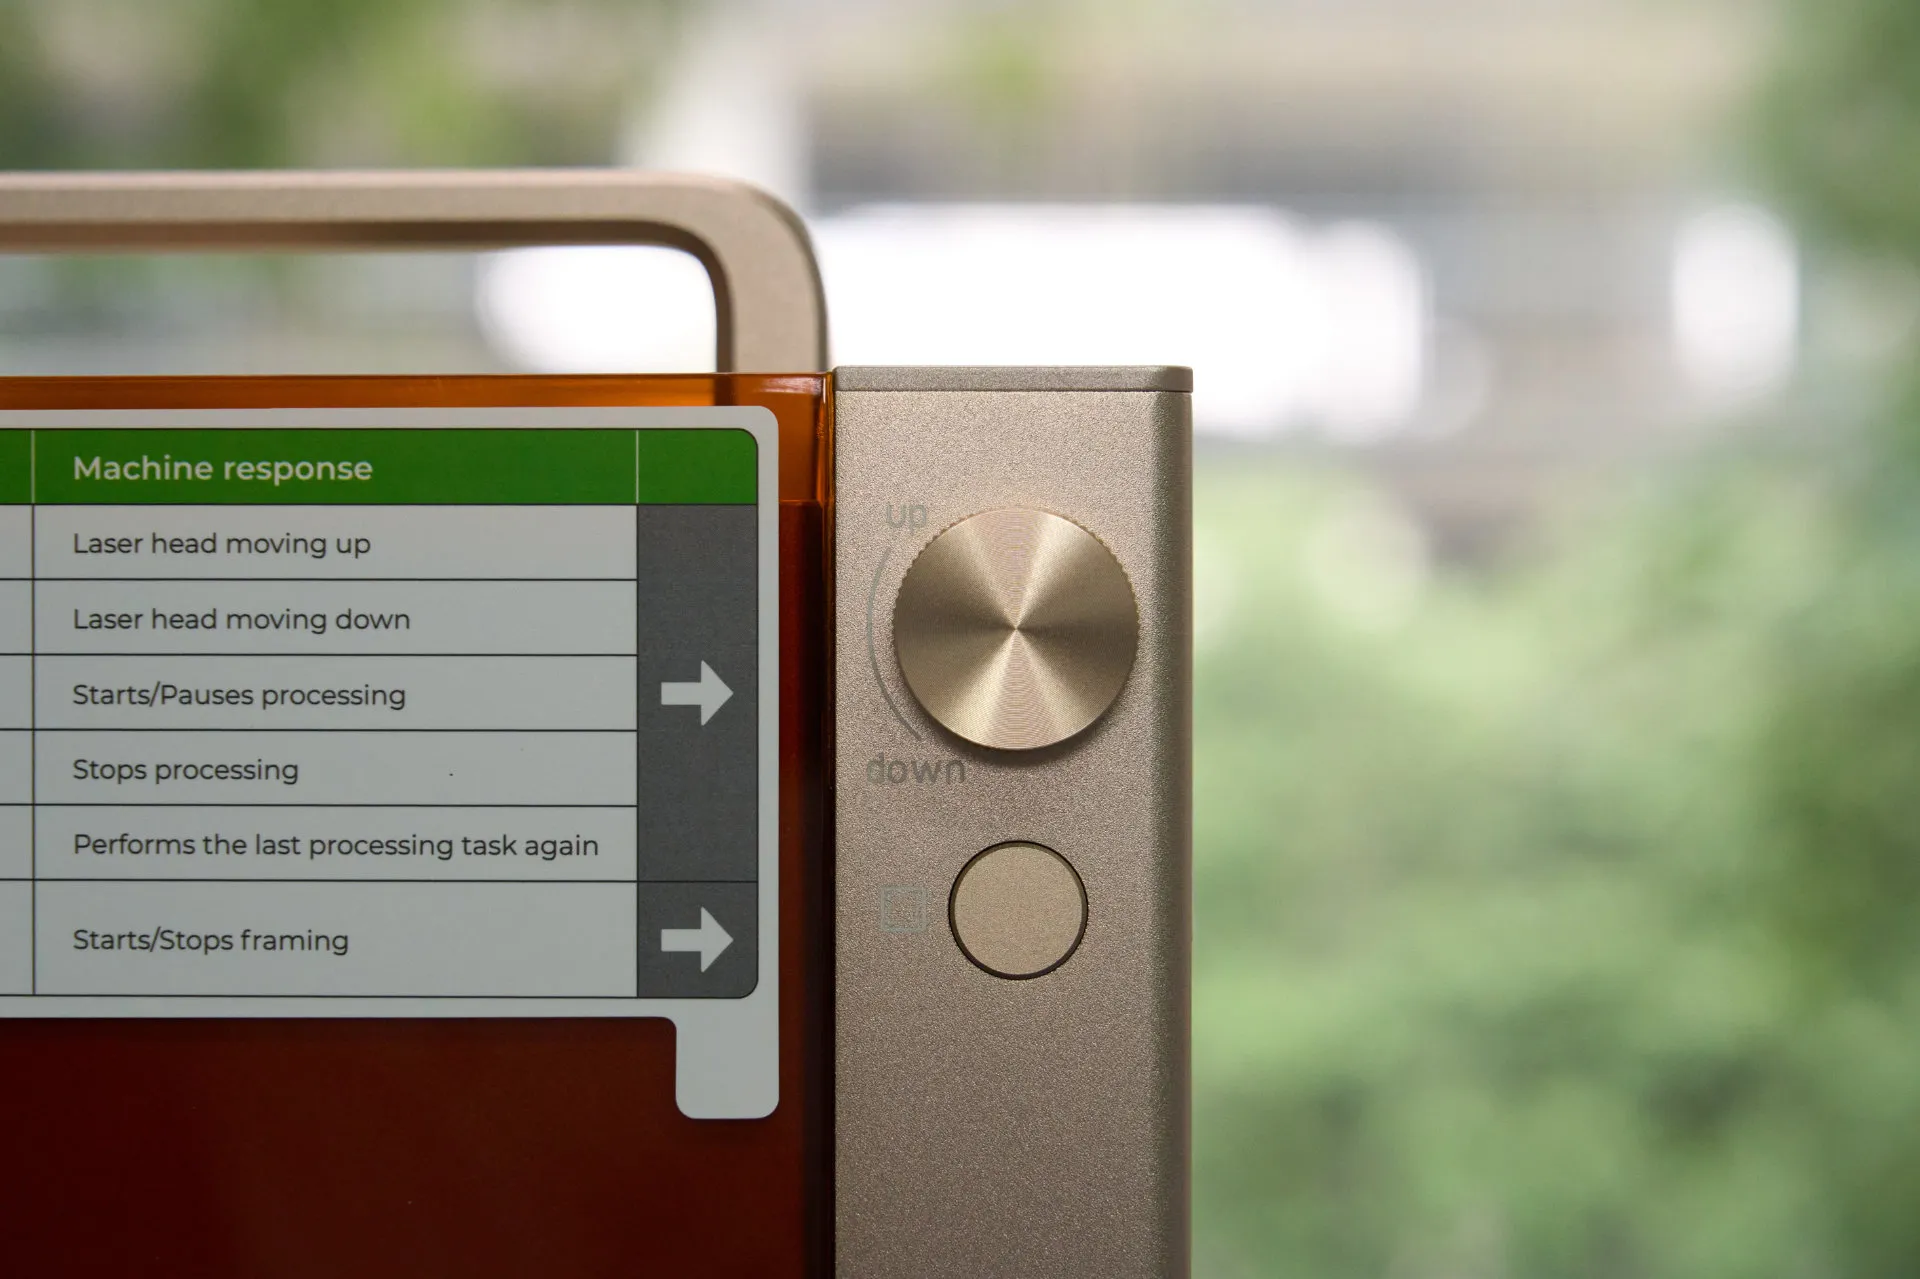
We can also turn this knob to adjust the focus manually too.
Then, we’ll have to select the laser’s power. For me, I think that we can start with a relatively low power if we are unsure how the material responds to the laser – then slowly turn it up or re-engrave to deepen the engraving if needed. It’s better to go under than to go over as too much power can potentially damage your item.
Once everything is done, we can start engraving. It’s that simple.
Other accessories
There are actually a bunch more accessories that work together with the xTool F2. The company offers a rotary tool for engraving rings, tumblers, or anything circular – and also a slide extension.
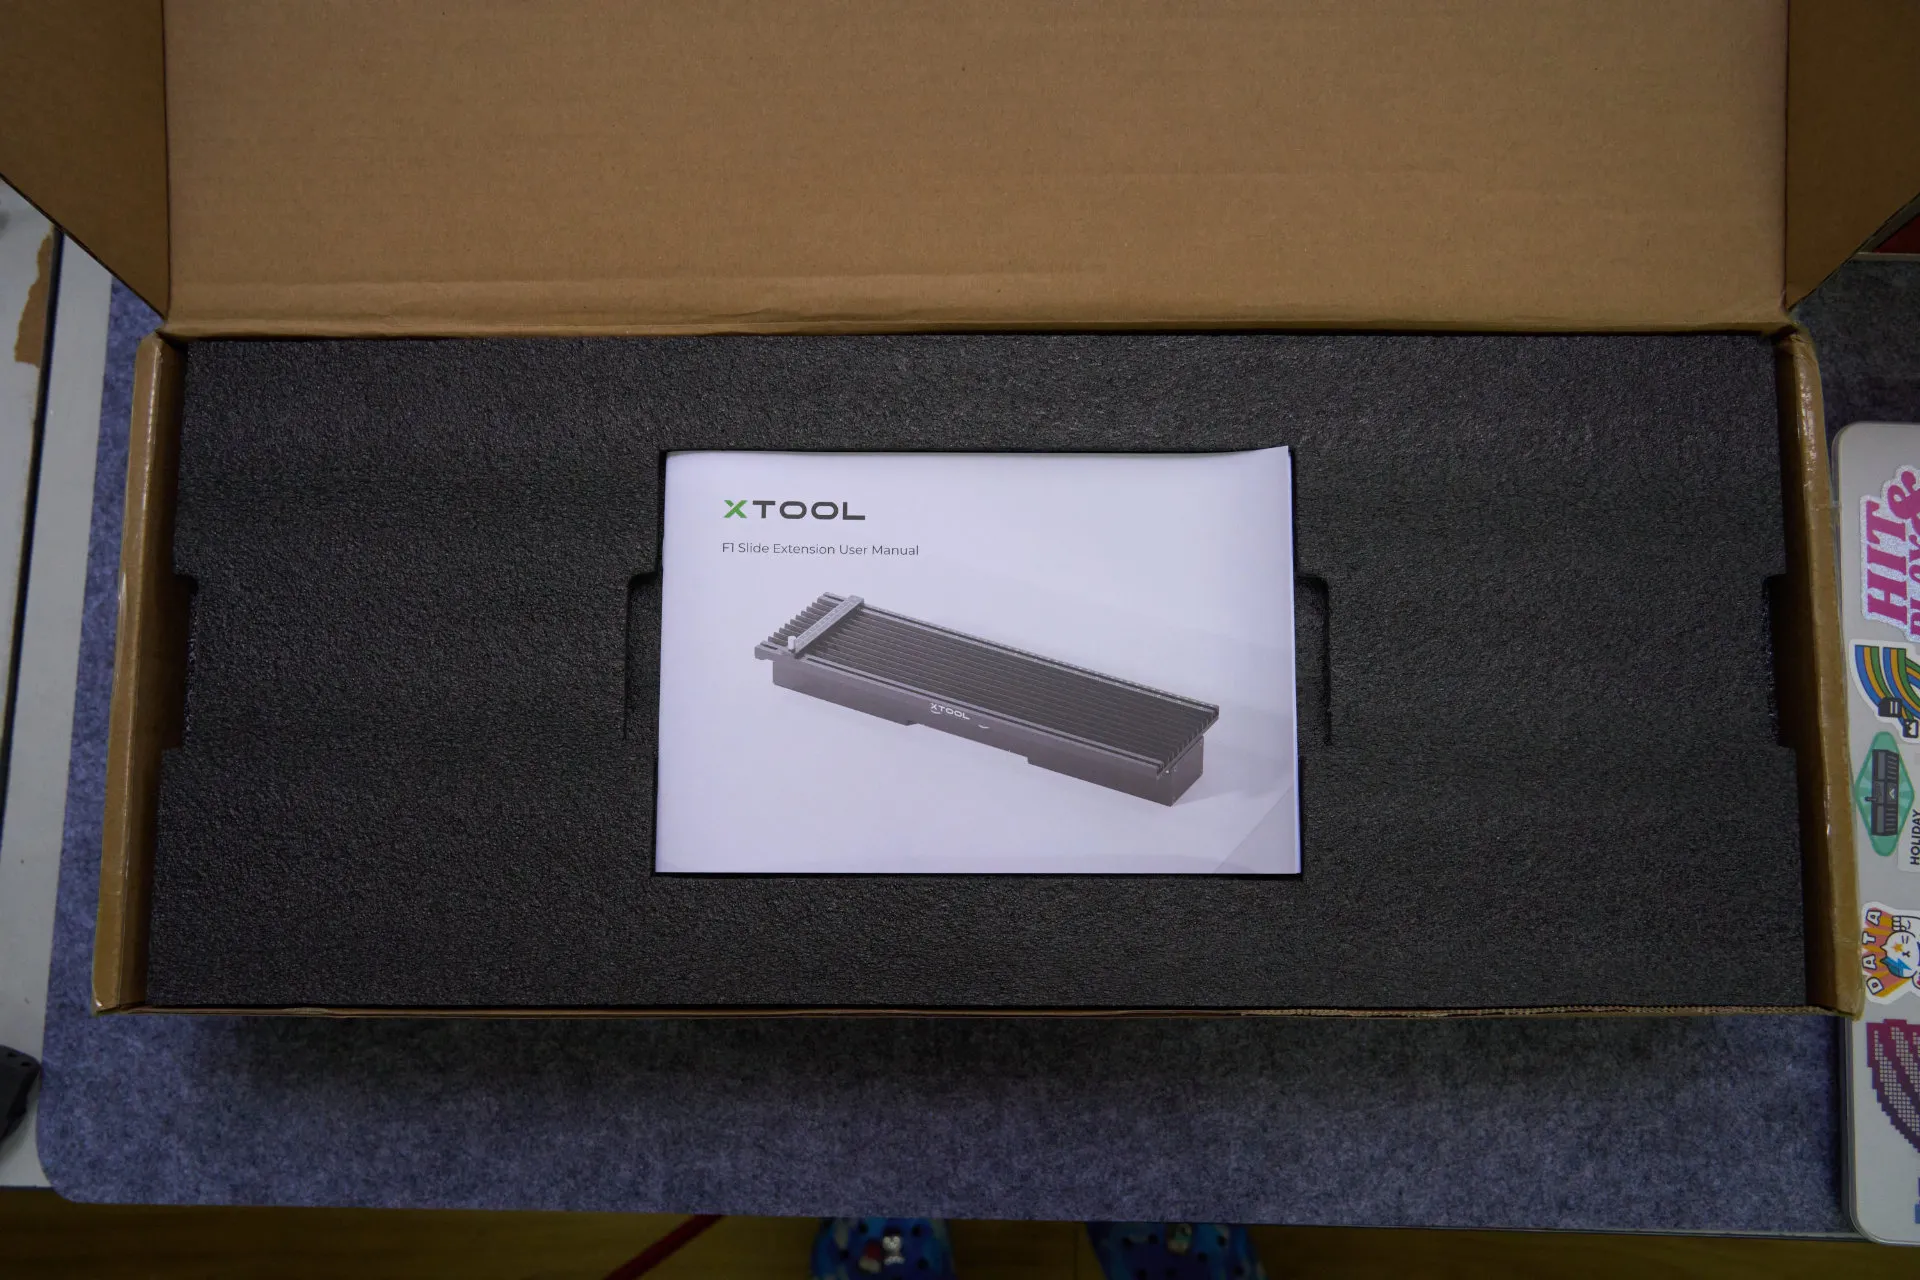
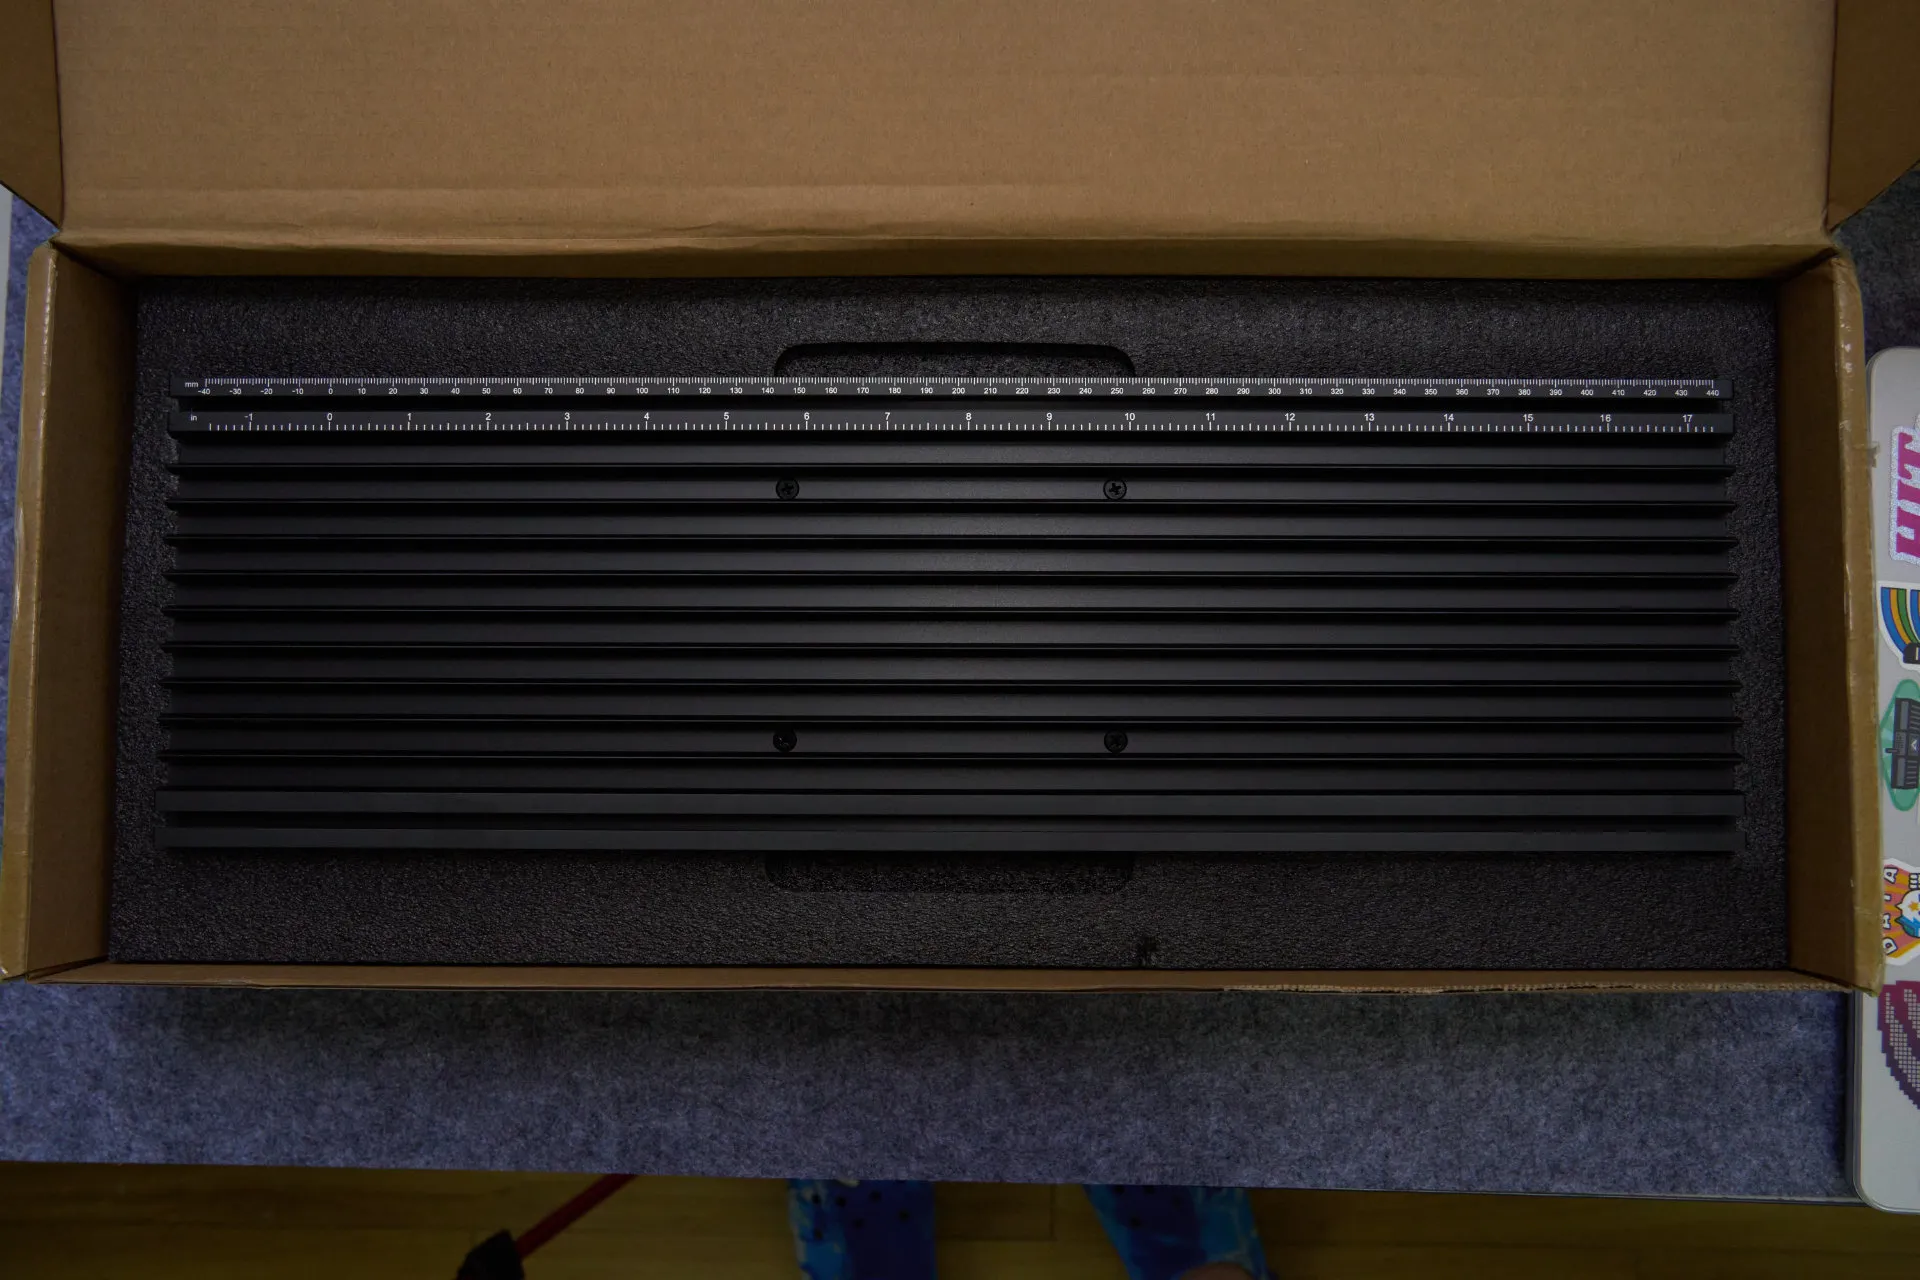
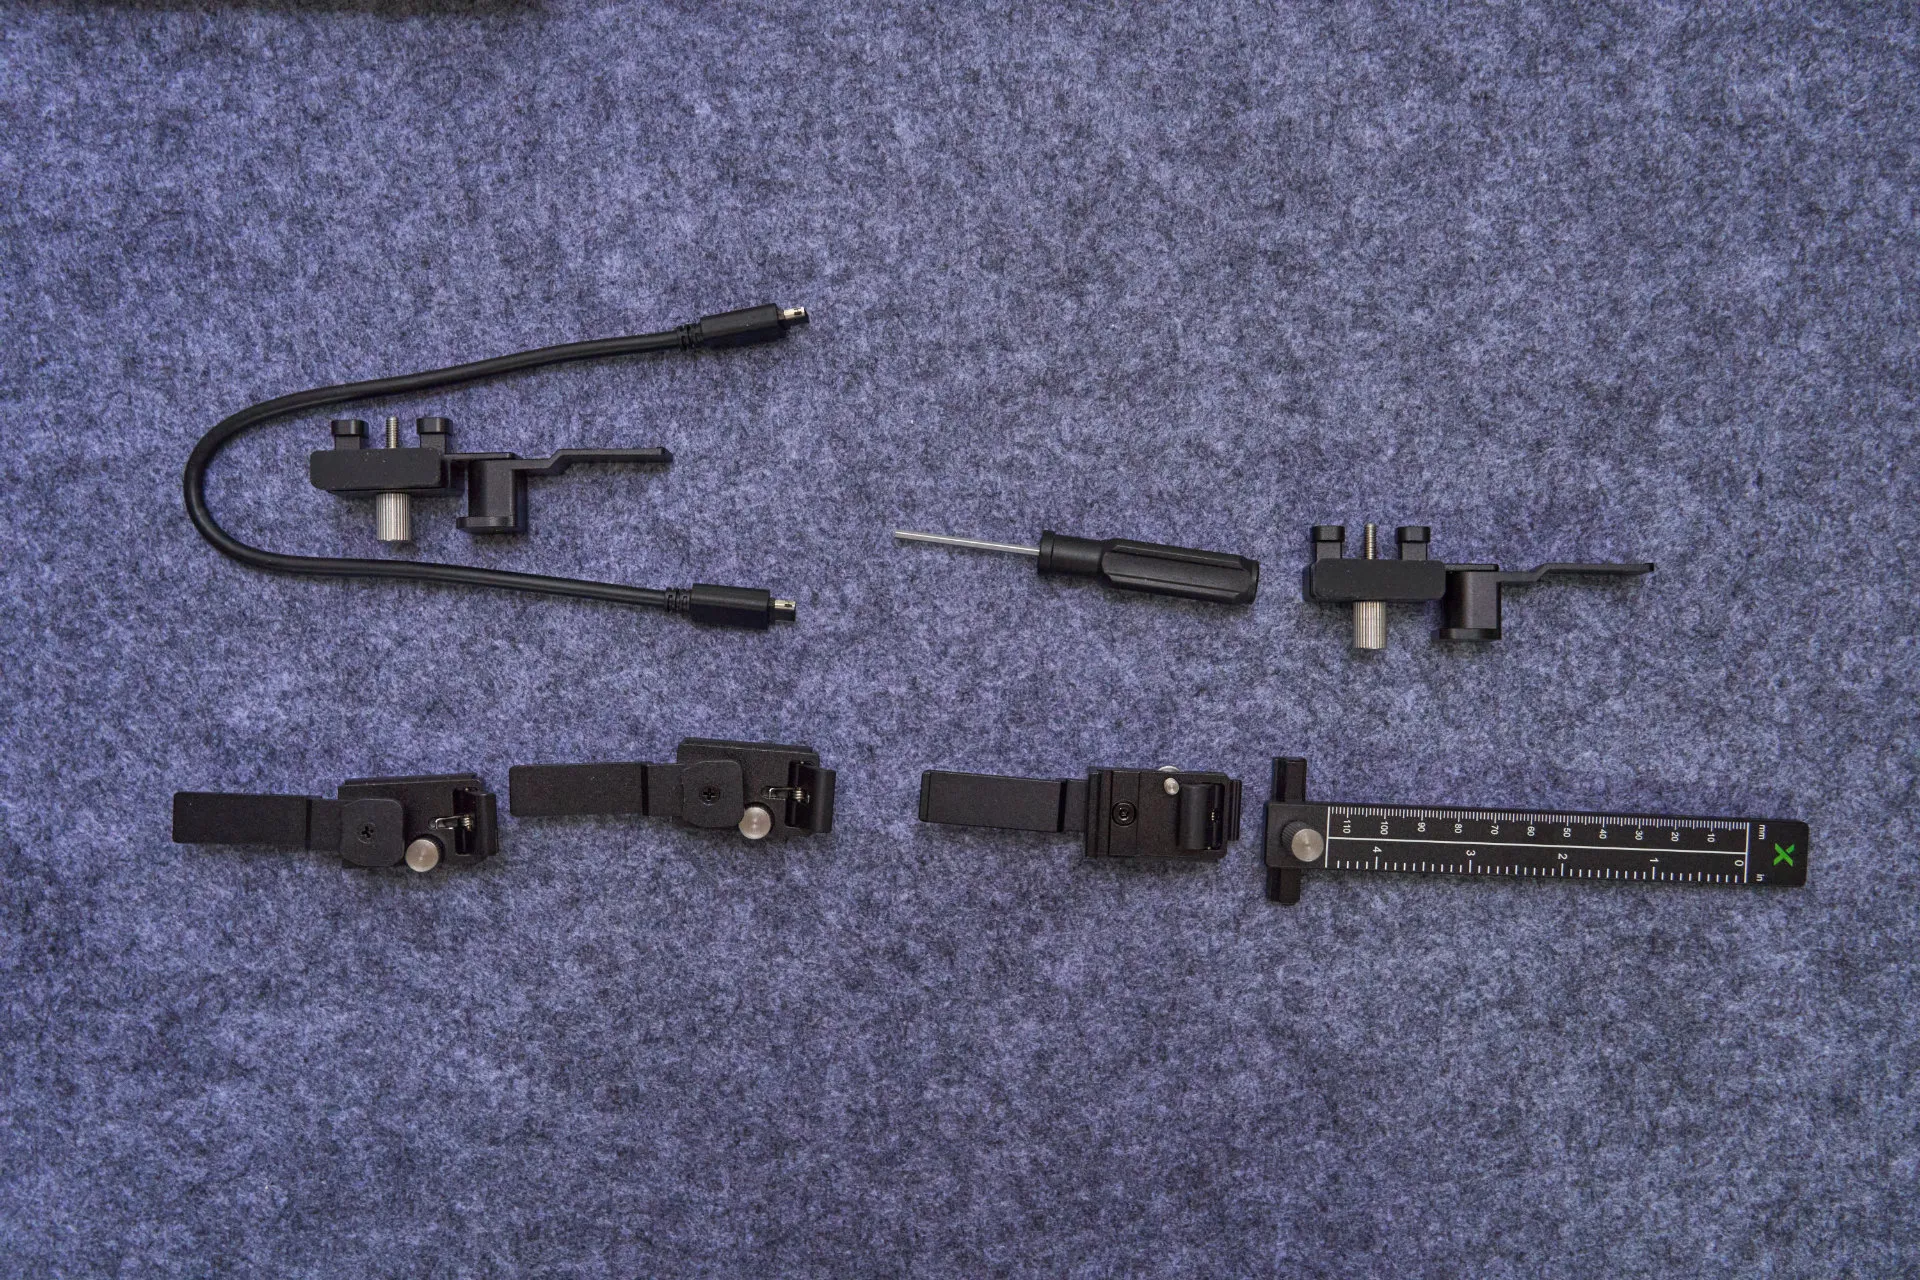
We actually have the slide extension with us too. The unboxing is also fairly straightforward and comes with a bunch of different accessories that is very useful.
Again, the user manual will show us how to calibrate the slider extension. To me, it does sound a bit alien to me since it’s my first time dealing with these things, but eventually got a hang of it and calibrated everything.
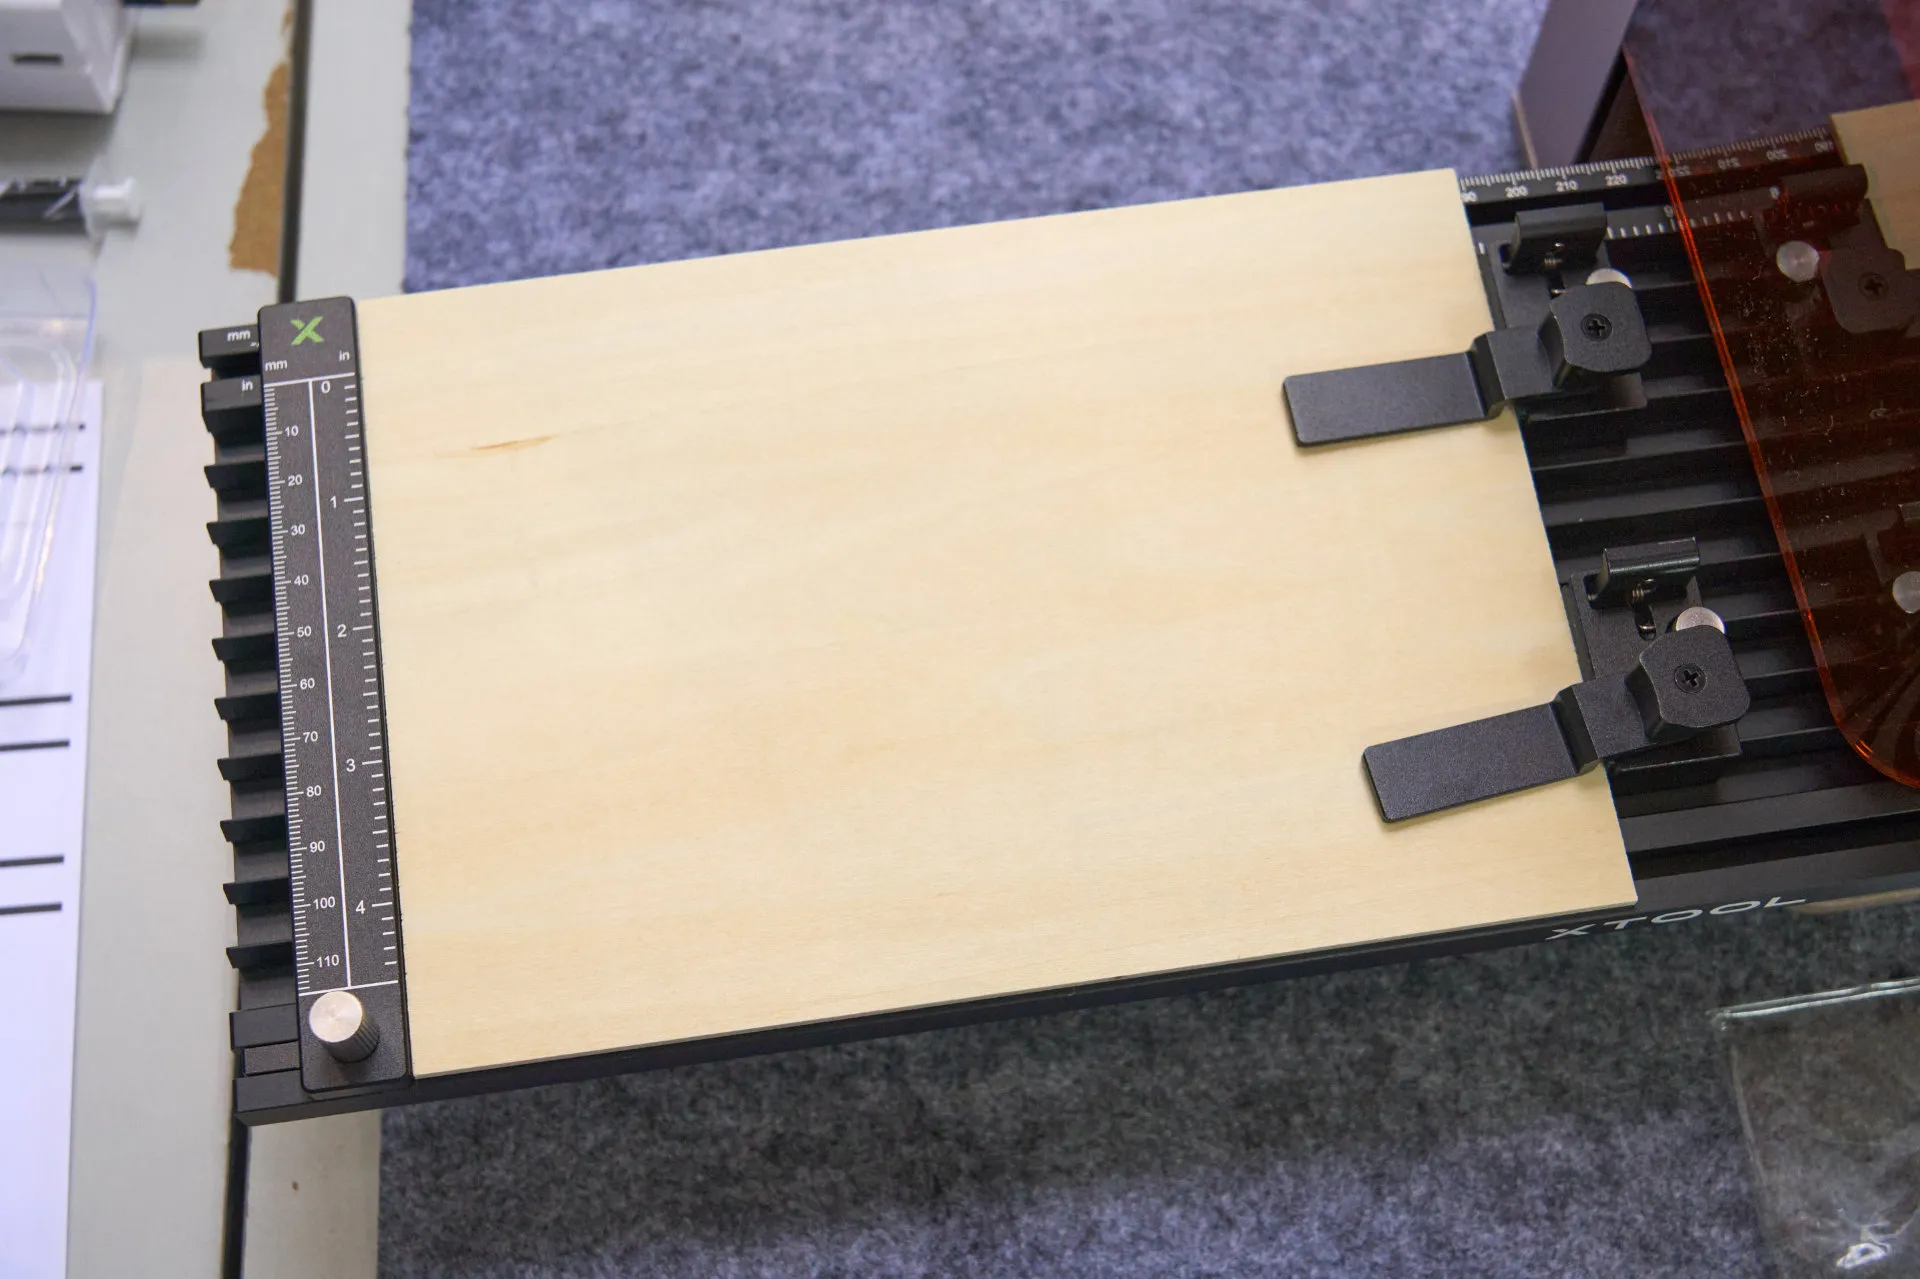
It screws onto the xTool F2’s base plate, comes with a ruler for the material to sit flush against, and also these metal bits to either clamp down on the material, or to push it against the ruler to ensure the material does not move.
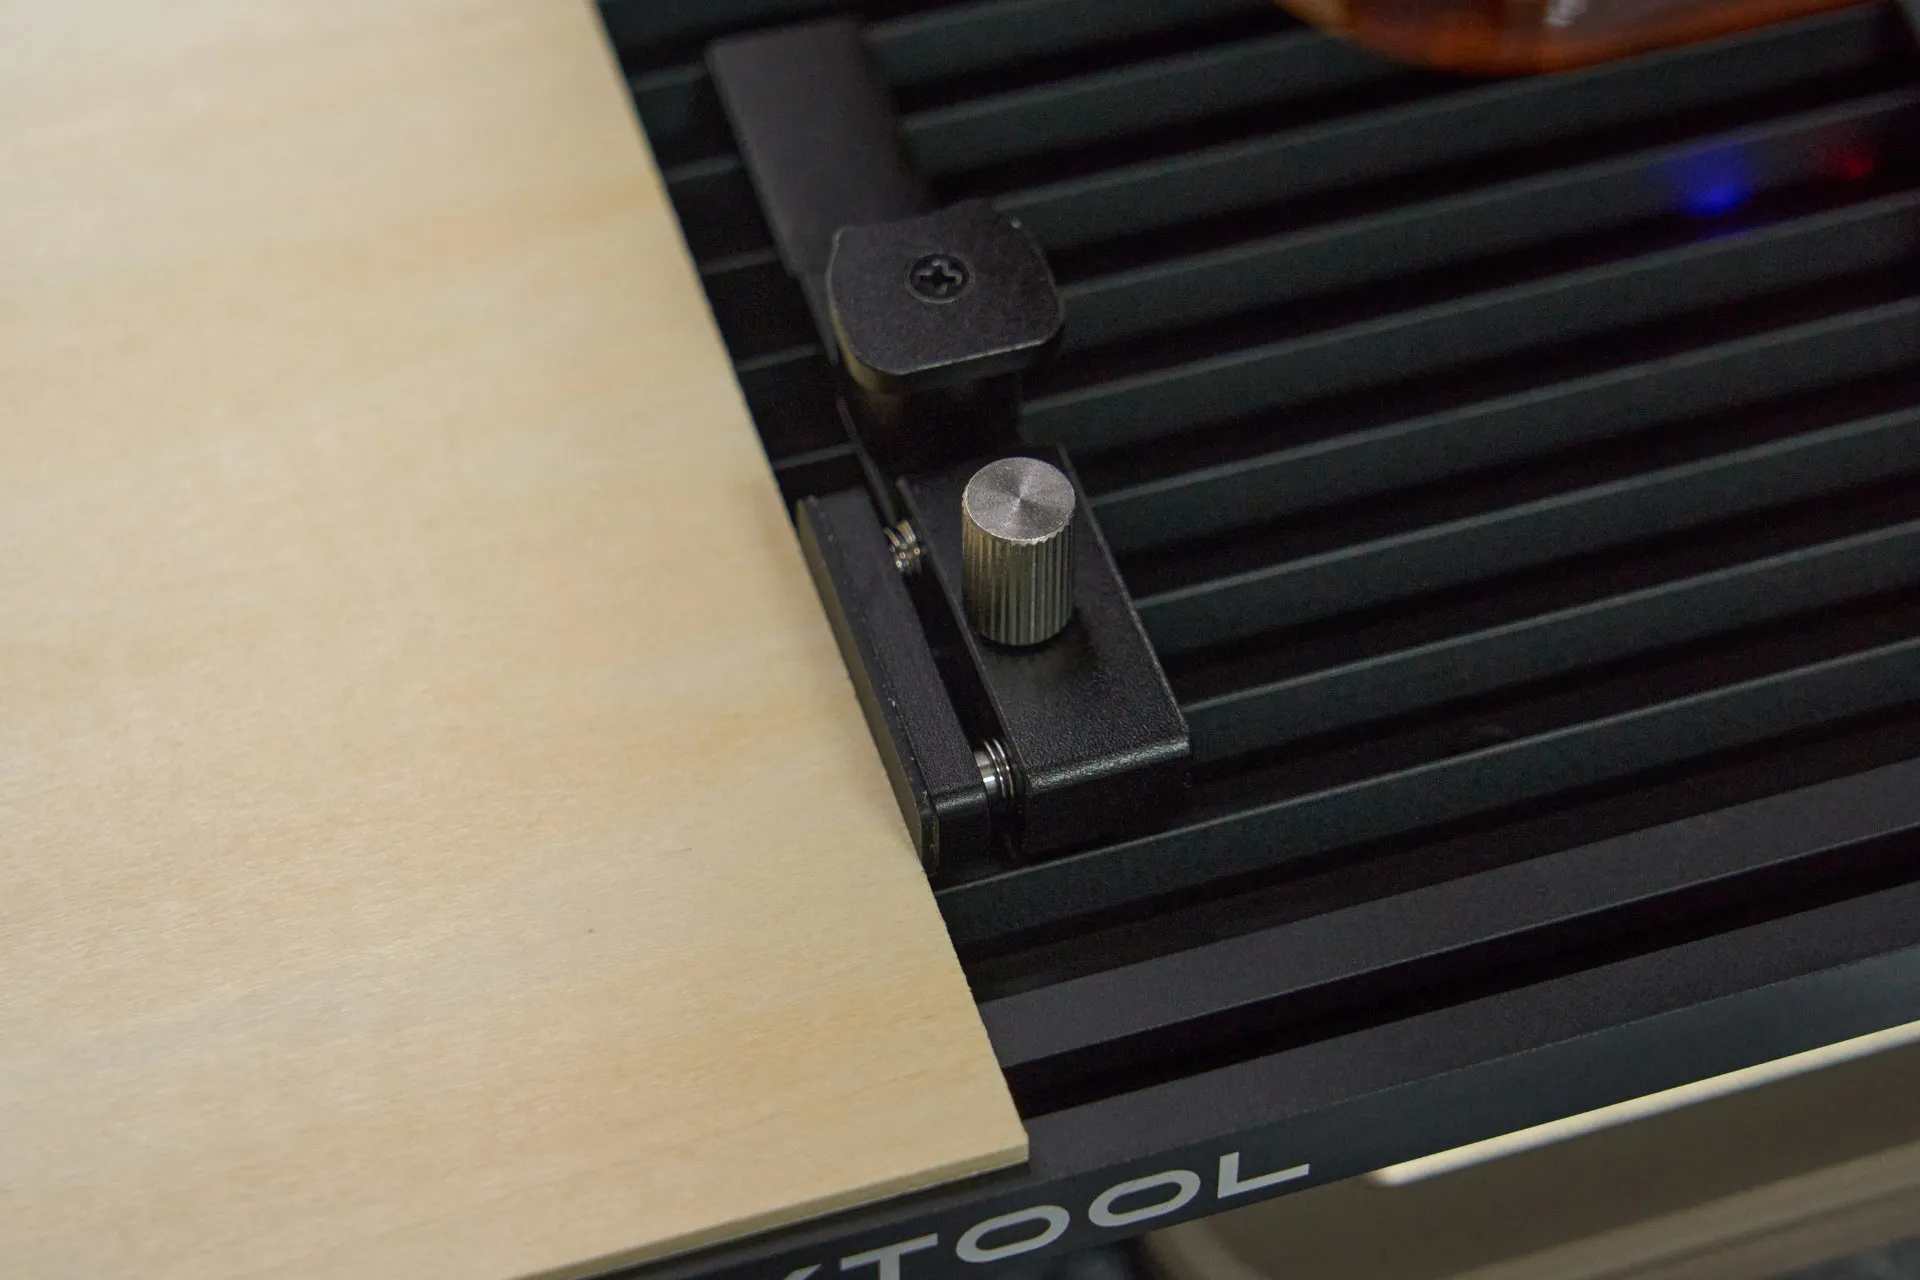
The slider extension connects to the xTool F2 via a proprietary cable and does not require a separate power port.
The xTool Studio app also detects the extension immediately and we can just follow the calibration process and we can get started in less than 5 minutes.
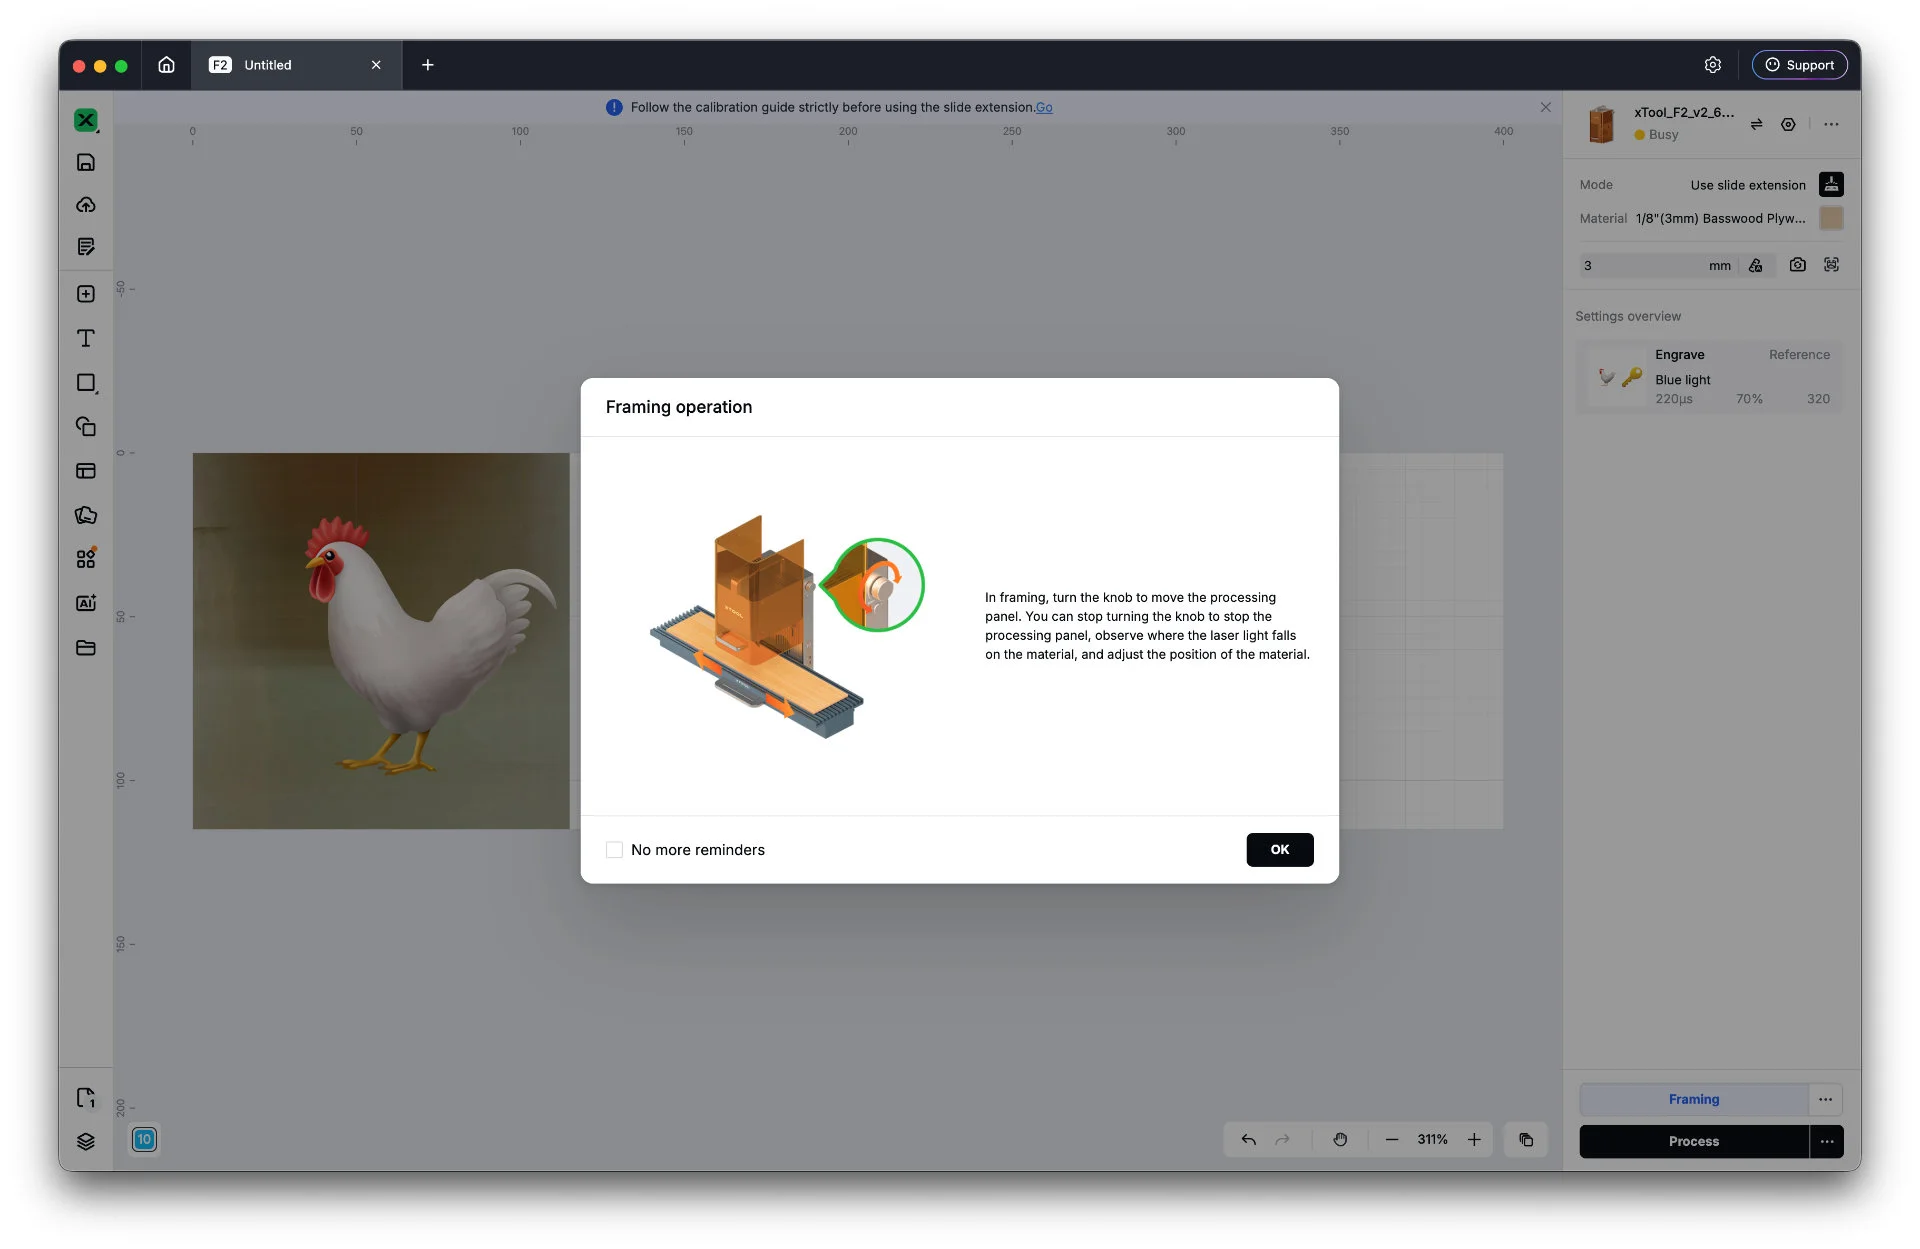
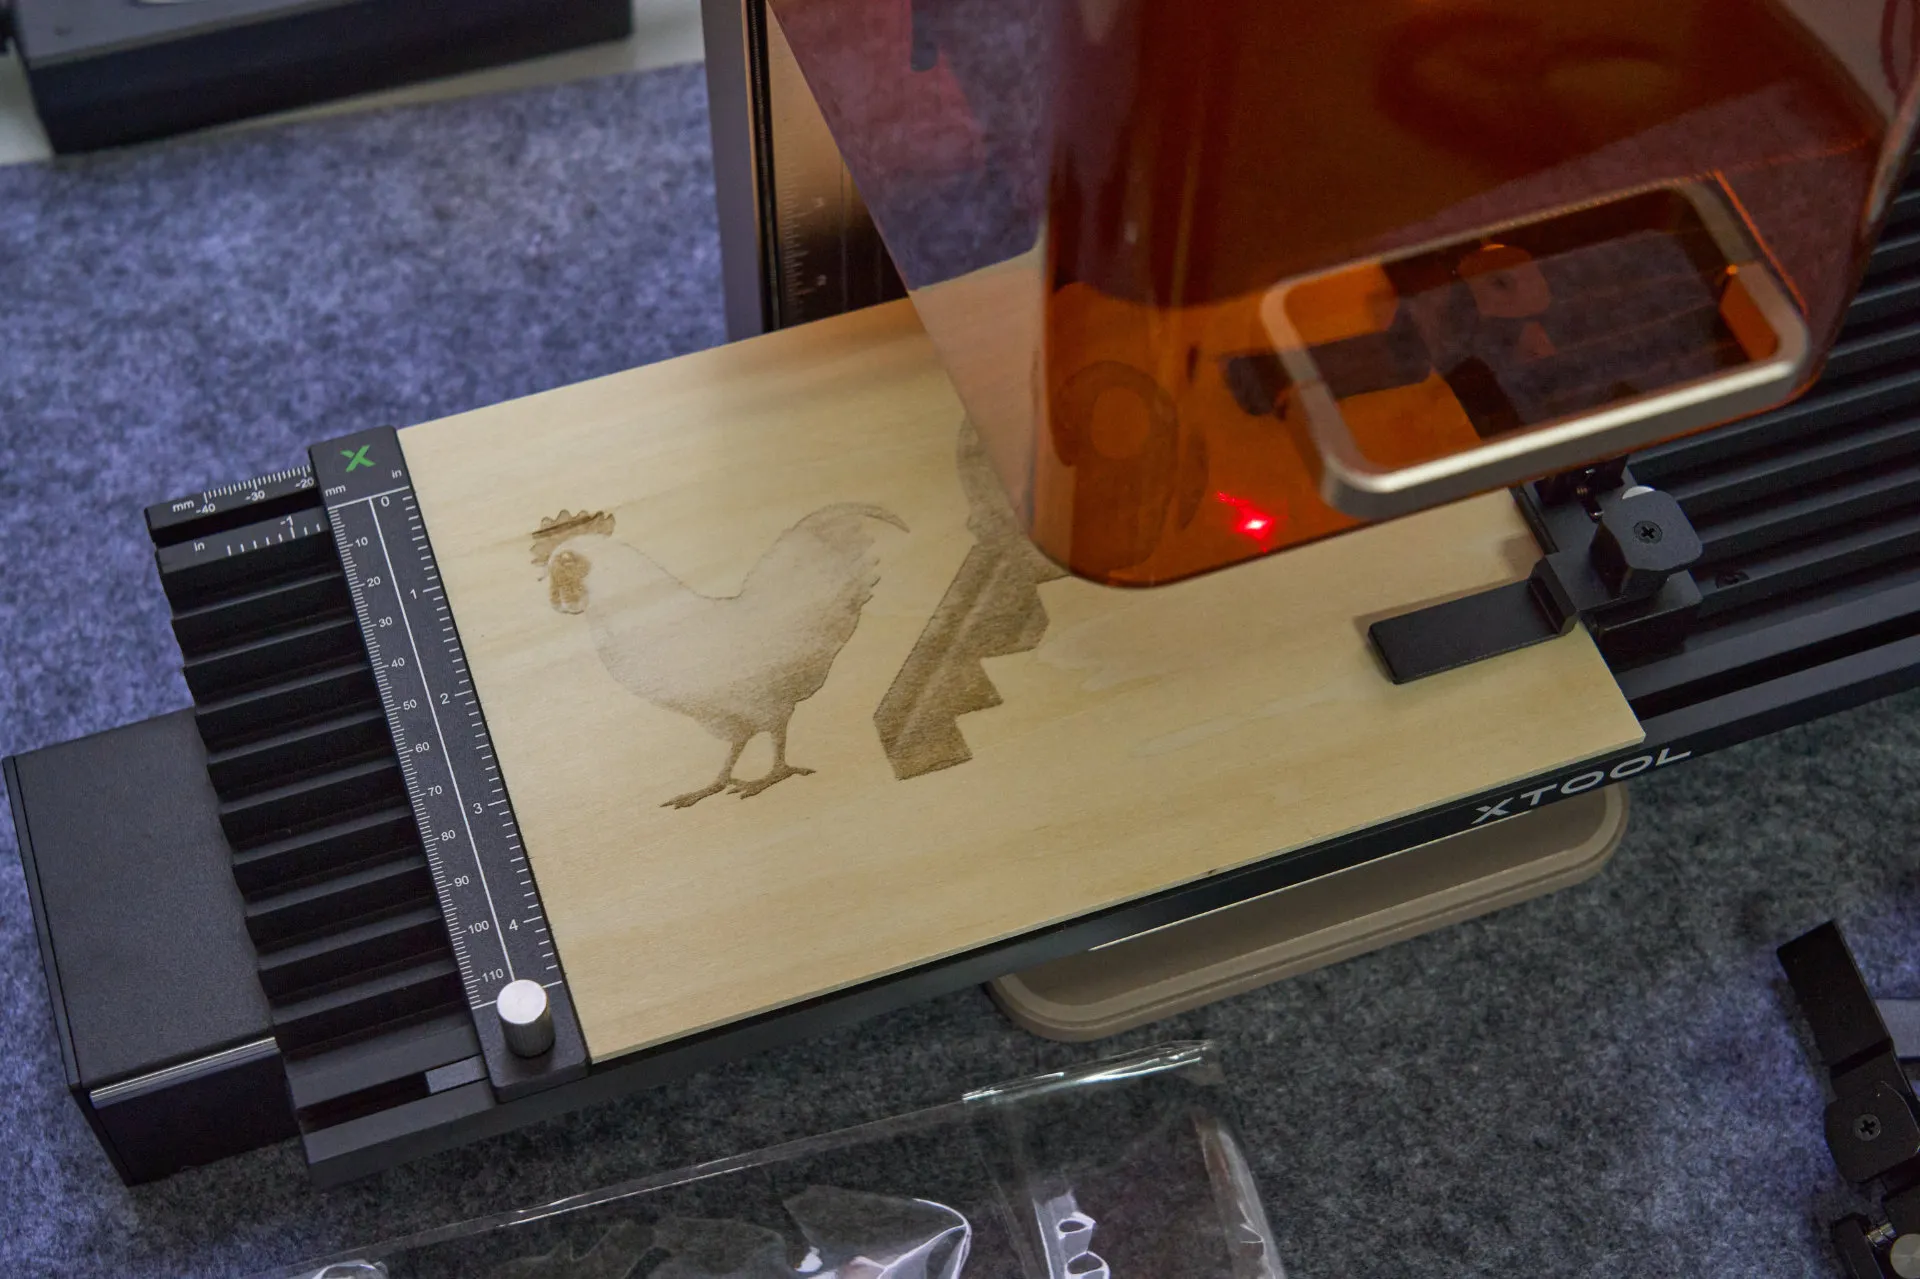
For this demonstration, I loaded up a material larger than the base plate, and the slider extension is necessary to engrave on the two ends of the material. Do take note that the xTool F2’s eye-protection cover (the orange sliding cover) cannot be closed while using the slider extension. Laser safety goggles are required for your safety.
Finally – this is the result. Pretty good for my first attempt with this tool.
Many more features
The xTool F2 actually has a lot more features that can be done via the xTool Studio. For example, 3D embossing, color engraving, black marking (which is what we’re doing), and laser cutting on wood can also be done with the xTool F2.
xTool packs amazing hardware that can basically etch many materials that we have, and the software trickery makes it possible to do color etching as well. All of these features are packed within a compact body and we can bring it anywhere that has a power plug.
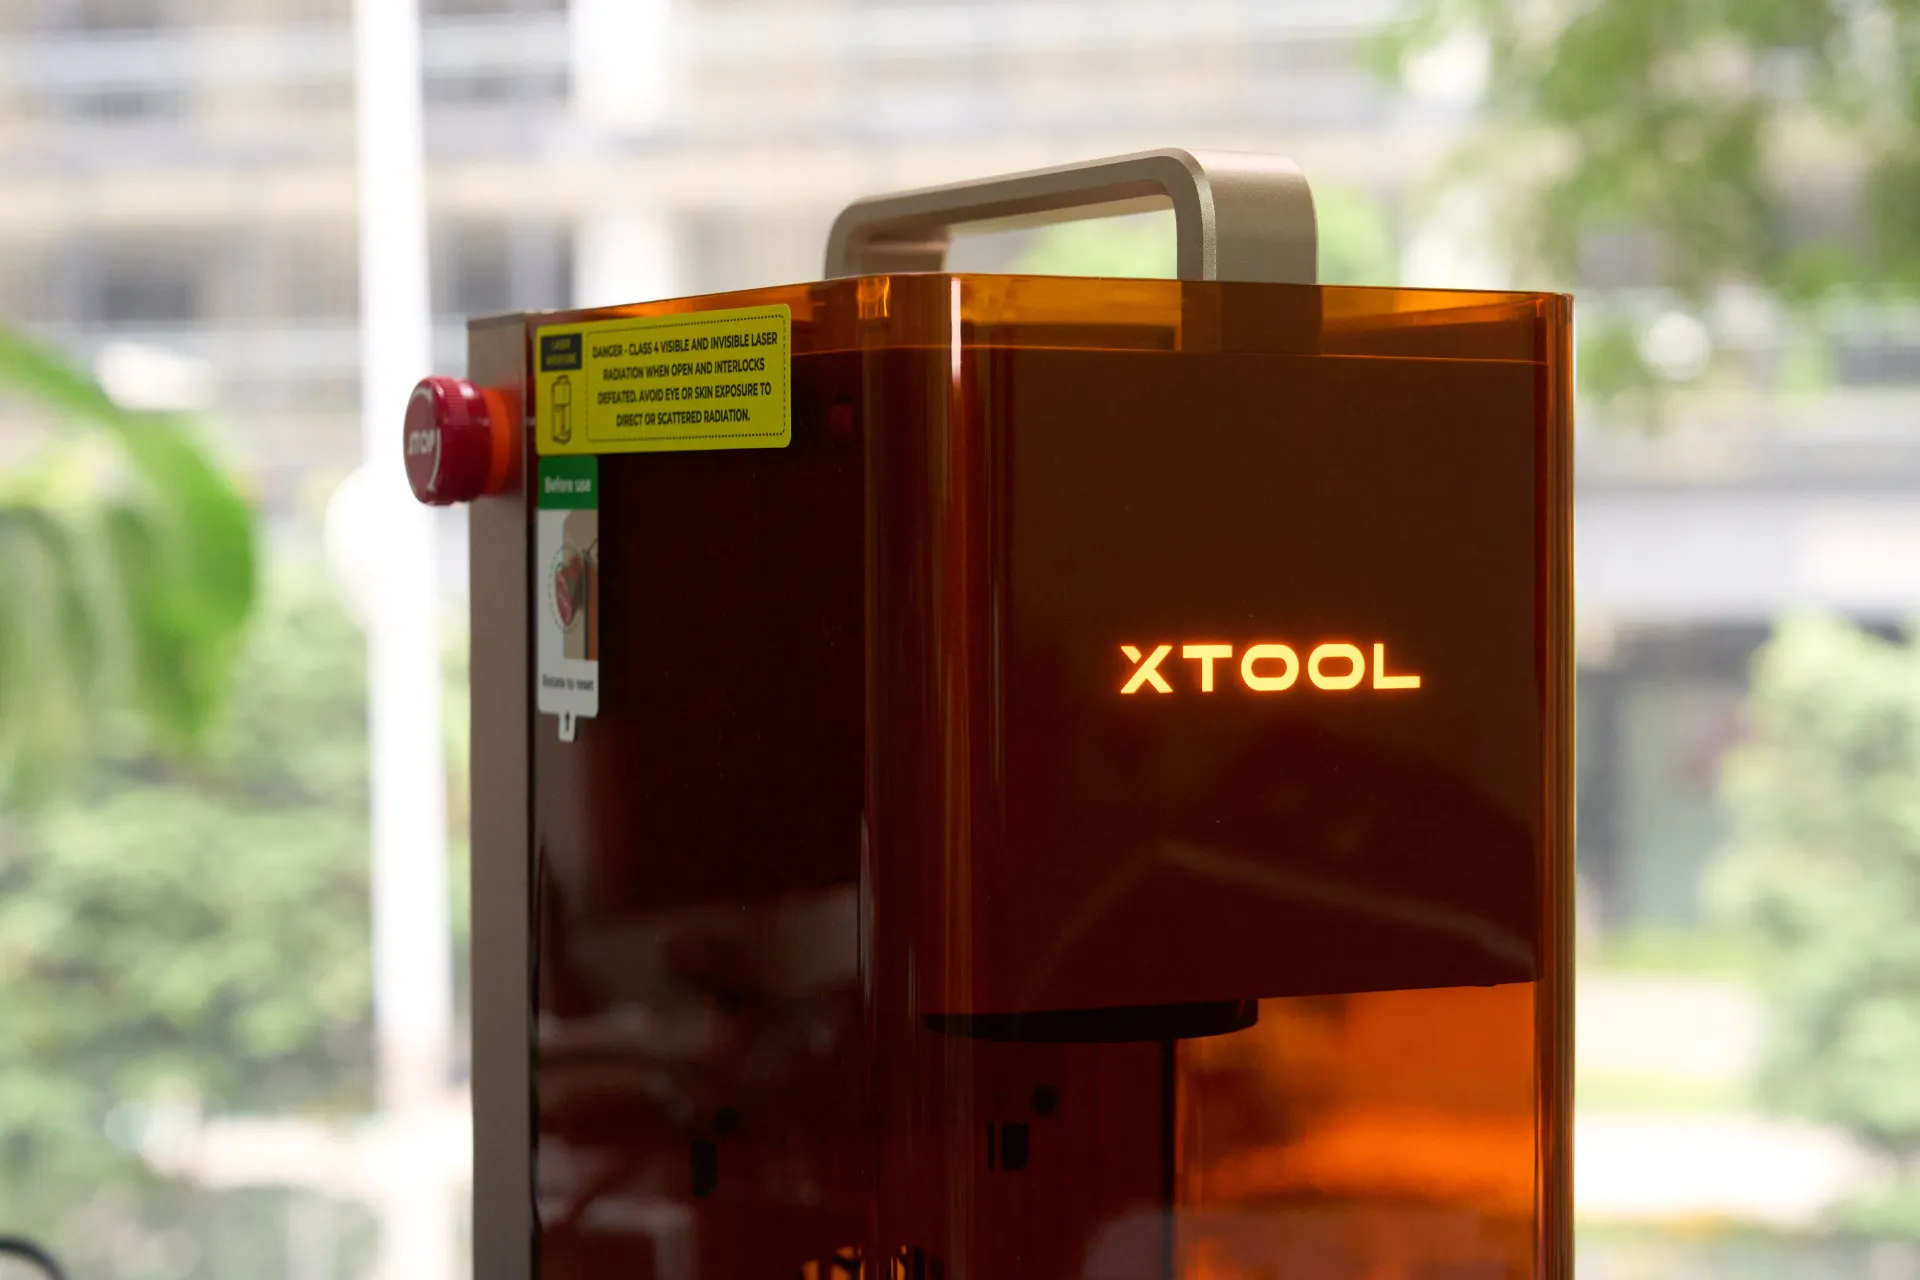
It’s impressive that the xTool F2 has so many features packed within its compact body, yet it’s very simple to get started.
Actual use cases
We’ve seen what the xTool F2 can do in this entire article already – but how can we apply its usage to our day-to-day life, and how can it improve our everyday experience? Well, with this tool here – we can open a small business or a part-time gig doing engraving at a convention. Since the xTool F2 is so portable, we can practically set up a booth with minimal footprint.
With the xTool F2’s super-fast engraving speed, it improves efficiency and in-turn gives us a quick turnaround. The xTool Studio app also lets the potential customer to upload their own design and preview it before actually engraving on their own items.
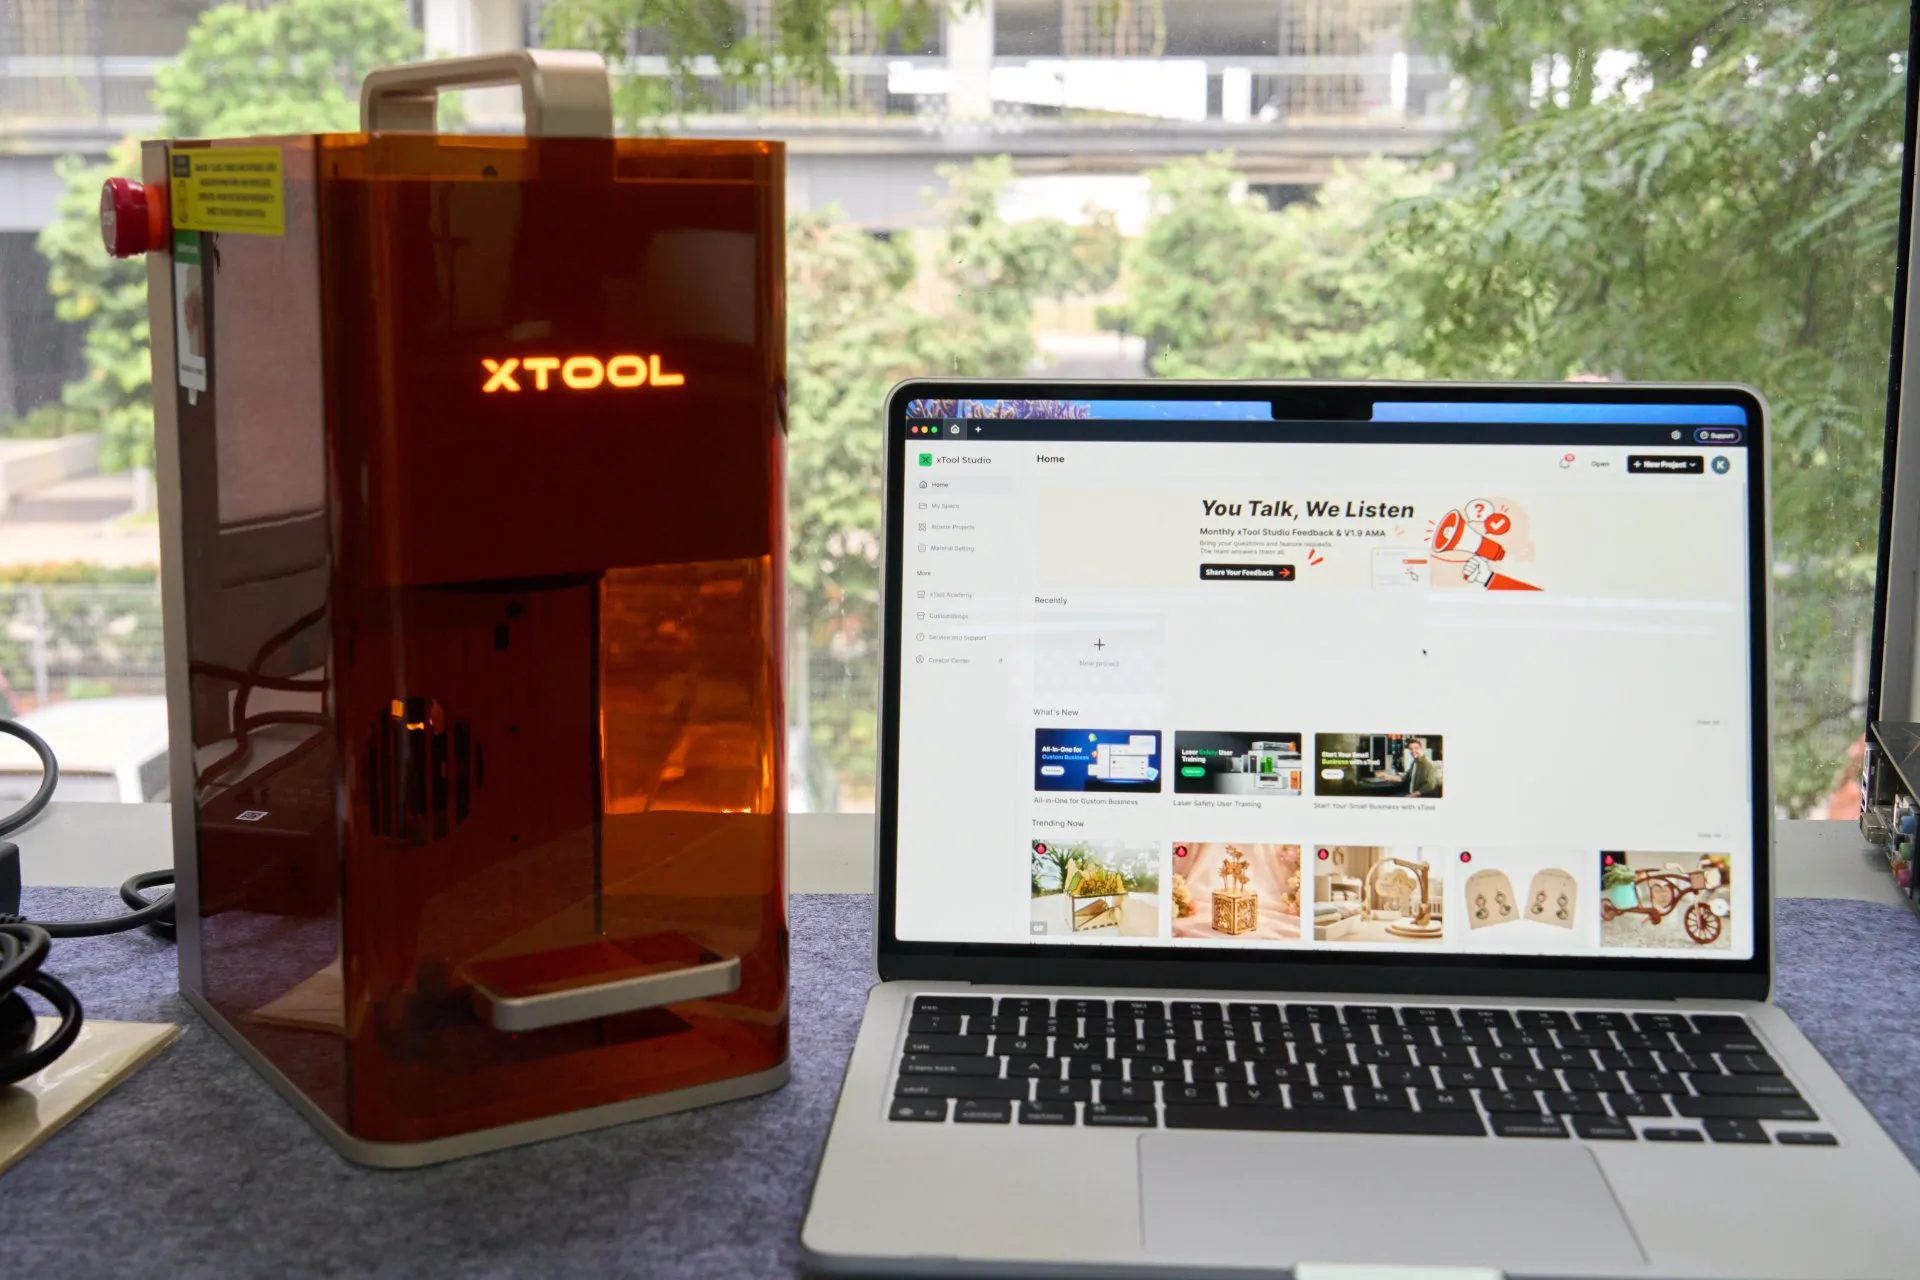
It’s literally on-site production with instant delivery.
Pricing and accessories
There are a few more accessories available for the xTool F2 too, and these accessories are also compatible with its predecessor, the xTool F1.
- xTool RA3 – Engraves cylindrical or ring-shaped items, up to 120mm.
- xTool RA2 Pro – Engraves cylindrical or ring-shaped items, up to 120mm.
- xTool F1 Slide Extension – It’s the one we showed earlier. It expands the workspace to 115×400 mm.
- xTool F1 Pedal or Button Switch – Hands-free operation for efficient batch engraving.
- Desktop Air Purifier – Filters smoke and odors to maintain a clean and healthy workspace.
Where to buy?
The xTool F2 commoditises laser engravers for everyday people. For our set of the xTool F2 with the slider extension, it’s priced at RM5,999. It is available at these sites:
Like our Facebook Page here at NasiLemakTech.com for more news and in-depth reviews! Also, join our Facebook Group for insightful information and memes!
Subscribe to our YouTube channel too!