













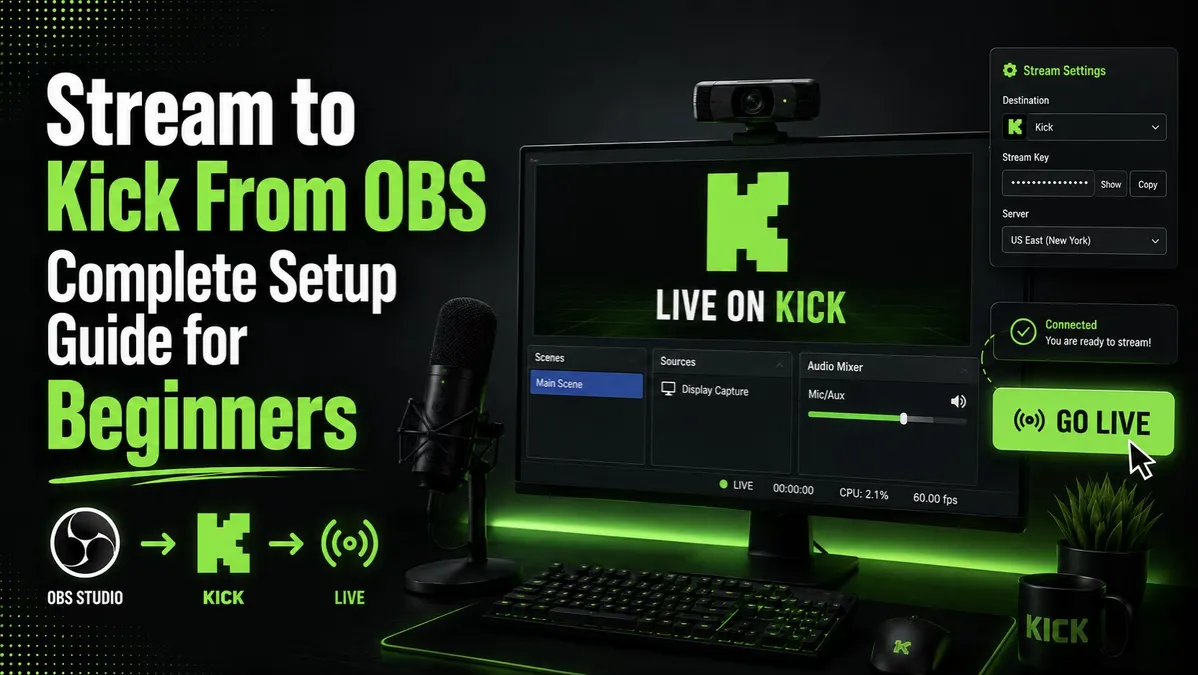

Streaming on Kick isn’t as technical as it may seem at first, but it does usually require a third party platform. If you’re new to streaming, you might find it disappointing that there’s no built-in software to make it easy and convenient. There’s nothing to worry about though.
Learning how to stream to Kick from OBS doesn’t require much experience. This being said, here’s everything you need to make it happen, as well as the steps to go through an easy and suitable setup that will have you live in no time.
What You Need to Stream to Kick from OBS
Before anything else, you’ll need a bit of patience, especially if you’re new to the streaming industry and its various technical jargon. In terms of technicality, requirements are pretty low. Here’s a list of what you’ll need:
- Kick account. If you don’t have a Kick account yet, go ahead and register. You’ll need it to stream and connect via OBS, but also to ensure you get followers.
- OBS Studio. The software is widely used in the streaming industry. While it may seem a little technical, it gives you full control over what you do, especially once you get familiar with it.
- Stream URL. The stream URL is required during the setup. It’s available in the creator dashboard available for Kick users.
- Stream key. Similar to the stream URL, the stream key is available in the same dashboard. You’ll have to go to the settings to locate it.
Other things to remember include setting the service to custom in OBS Studio, let alone using H.264/AVC encoding. The bitrate shouldn’t exceed 8,000kbps to ensure the platform can ingest your data smoothly.
On top of these, it might be a good idea to buy Kick subscribers in the beginning. It will boost your streaming career overnight, let alone increase your popularity. When you look popular, you’ll also pop up in suggestions and search results, so your organic traffic will explode as well.
Get Your Kick Account Ready
Assuming you’ve already registered for Kick, it’s time to set everything up. Log into your account. Once in, you’ll find the creator dashboard, where most of your streaming settings will be. In there, find the menu for settings where you can also update your bio and profile picture.
The things to pay attention to include the stream URL and stream key. You can perform this step later, but you can also copy and paste them somewhere else. Or simply leave the window open in the background, as you’ll need them soon.
Configure OBS Studio
Download and install OBS Studio first. Make sure you get it from a reliable source, such as the official website. Also, get the latest version for your platform to ensure you have the most up-to-date security patches.
Once installed, run it and check the top menu. In the File menu, you’ll find settings. Once there, find the option to stream. You’ll be given a few different options for the service. Pick the custom one.
Then, you’ll have to enter the stream URL in the stream slot. Copy it from Kick. On the same note, paste the stream key from Kick too. The stream key is a matter of security, so make sure you don’t share it around to prevent others from broadcasting to your channel without permission.
Work on the Output Settings
Output settings normally depend on what kind of machinery you have. You’ll find most of them under the settings menu. First, make sure to set the output mode to advanced.
The bitrate should be 6,000kbps for 1080p. Those with a good upload speed can go to 8,000kbps. If you’re not sure about it, give it a try and see if it works.
The keyframe interval can be set to 2. As for the encoder, stick to a hardware solution, such as NVIDIA NVENC. Alternatively, x264 is also a good recommendation if you have a powerful CPU with multiple cores to spare.
Tweak the Video Settings
Go to settings and find the video menu. To keep the stream smooth, stick to 60FPS. Again, it’s not a general rule, and it also depends on your system. The resolution can go to 1920×1080.
If you’re not sure about other small settings, simply leave everything as it is. Everything is set by default to match most people’s needs.
Time to Go Live
Once all these are covered, it’s time to go live. Your setup is ready to go and help you earn your first viewers and subscribers.
To go live, go into OBS and click to start streaming. Double check everything, such as your stream showing up in the creator dashboard on Kick to confirm the connection is active.
Don’t make yourself public until you try the stream. Make sure it’s smooth, with little to no latency. Double check all the settings before inviting people to watch to avoid any technical hiccups.
In the end, learning how to stream to Kick from OBS isn’t the most difficult job in the world. Sure, it may seem technical here and there, but overall, there are only a few basic steps to follow before going live. Adopt a unique approach, bring in some quality, and you’ll be ready to welcome your first viewers and start building your community.
Like our Facebook Page here at NasiLemakTech.com for more news and in-depth reviews! Also, join our Facebook Group for insightful information and memes!
Subscribe to our YouTube channel too!